
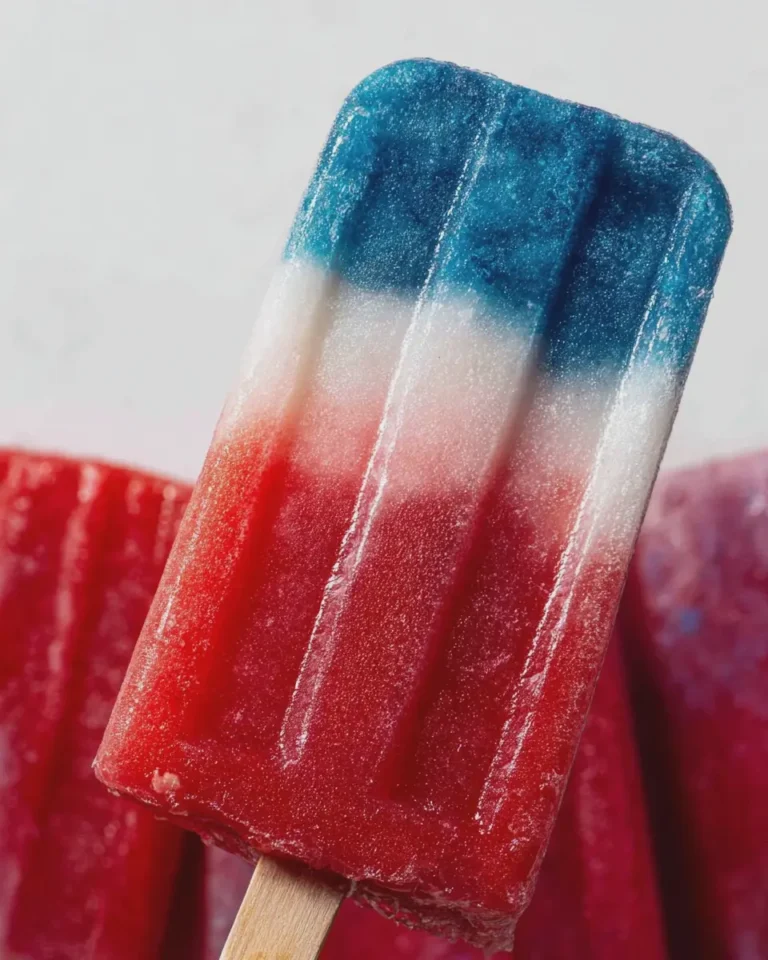
Introduction to Red White and Blue Popsicles
When summer rolls around, nothing quite says refreshment like a popsicle on a hot day. But if you’re like many busy young professionals, grabbing a sugary store-bought one often feels like your only option. That’s where the magic of homemade popsicles comes in. Enter the delightful world of red white and blue popsicles, a fun and festive treat that not only cools you down but also provides a healthier alternative to store-bought options.
Why Homemade Popsicles are a Game-Changer for Busy Young Professionals
In today’s fast-paced lifestyle, convenience often trumps health. However, with a little bit of planning, you can embrace the joy of creating your own frozen treats. Here’s why making your own red white and blue popsicles is a game-changer:
-
Healthier Ingredients: You have full control over what goes into your popsicles. Swap out added sugars for natural sweeteners, and choose fresh, seasonal fruits that pack a nutritional punch. For example, strawberries, blueberries, and coconut water are not just colorful but brimming with vitamins.
-
Time-Saving: Preparing popsicles in batch is a time-efficient way to have healthy snacks ready at your fingertips. Simply blend, pour, and freeze! The prep time can be as little as 10 minutes, giving you more time to unwind after a long day.
-
Fun and Creative: Homemade popsicles are a blank canvas. You can experiment with flavors and colors, making it a fun activity. Have leftover Greek yogurt? Add it for creaminess. Trying to increase your veggie intake? Blend in some spinach or kale for a surprising twist.
The Perfect Outdoor Companion
Whether you’re lounging on your balcony, celebrating a holiday, or hosting friends at a picnic, red white and blue popsicles are visually stunning and delicious. They’re the ideal treat to impress guests without breaking a sweat. Plus, you can make them ahead of time, ensuring you have a delightful surprise during those warm summer gatherings.
If you’re curious about the myriad of possibilities for homemade popsicles, check out this informative guide for tips on healthy ingredients and flavor combinations.
So, why not dive into the refreshing world of homemade red white and blue popsicles? You might discover more than just a tasty treat; you’ll find a new favorite summer ritual!
Ingredients for Red White and Blue Popsicles
List of ingredients needed
Creating delicious red, white, and blue popsicles is easy with the right ingredients. Here’s what you’ll need:
-
Red Layer:
-
2 cups strawberries, hulled and diced
-
2 tablespoons honey or agave syrup (adjust sweetness to taste)
-
White Layer:
-
1 can (13.5 oz) of coconut milk or Greek yogurt for a creamier texture
-
1 tablespoon vanilla extract (for a beautiful flavor)
-
Blue Layer:
-
2 cups blueberries (fresh or frozen)
-
2 tablespoons maple syrup (you can substitute with honey)
Tips for sourcing the best ingredients
When making your red white and blue popsicles, opt for seasonal and local produce for the freshest flavors. Visiting your local farmers’ market can often yield better quality strawberries and blueberries than grocery stores. Don’t hesitate to check for organic options, especially for berries, as they can be high in pesticide residue.
Also, when selecting coconut milk, try selecting full-fat or light options. Read the labels to avoid unnecessary additives. For natural sweeteners, local honey can add a personal touch to your popsicles. Curious about the benefits of choosing organic? Check out this article from Healthline for more insight!
With these tips, you’ll set yourself up for a wonderfully refreshing treat that’s as vibrant as a summer’s day!
Step-by-Step Preparation of Red White and Blue Popsicles
Making red white and blue popsicles is not just fun; it’s a delightful way to celebrate any summer occasion or holiday! Whether you’re gearing up for the Fourth of July or just looking to enjoy a refreshing treat, these layered popsicles are as tasty as they are visually appealing. Follow along with this step-by-step guide, and you’ll have a crowd-pleaser in hand in no time.
Gather Your Ingredients and Tools
Before diving into preparation, let’s collect everything you’ll need for those irresistible popsicles. It’s best to have your ingredients and tools ready to create a smooth workflow. Here’s what you’ll need:
Ingredients:
- 1 box of strawberry-flavored gelatin or pureed strawberries
- 1 box of vanilla pudding mix
- Blueberry puree or blueberry-flavored gelatin
- Whipping cream or yogurt for added creaminess
Tools:
- Popsicle molds (silicone molds work great for easy removal)
- Mixing bowls
- Hand whisk or electric mixer
- Measuring cups and spoons
Make sure to have everything lined up on your countertop, so you’re ready to go!
Mix the Pudding
Let’s start by mixing the pudding. In a large mixing bowl, combine the vanilla pudding mix with the specified amount of milk indicated on the packaging. Whisk vigorously for about 2 minutes until smooth and creamy. This is where the creaminess of the pudding really shines—when you take that first bite, you want it to be velvety smooth!
Tip: For an extra creamy texture, consider using whole milk or adding a splash of heavy cream.
Color Your Pudding Layers
Now, it’s time to get creative! Divide your pudding into two separate bowls. Leave one bowl as it is, and in the other, add some food coloring or blueberry puree to achieve a beautiful blue layer. You want a nice vibrant blue, so feel free to adjust until you get the desired shade.
For the red layer, utilize the strawberry gelatin or pureed strawberries. If you’re using the pudding mix, just mix in food coloring as you did with the blue. Remember, the idea is to have visually striking layers that scream festive fun!
Prepare Your Popsicle Mold
While your pudding mixtures are ready, prepare your popsicle molds. Make sure they are clean and dry. Lightly spray them with a non-stick cooking spray or, if you’re using silicone molds, just remember that they’re typically non-stick, which makes for easier removal later on.
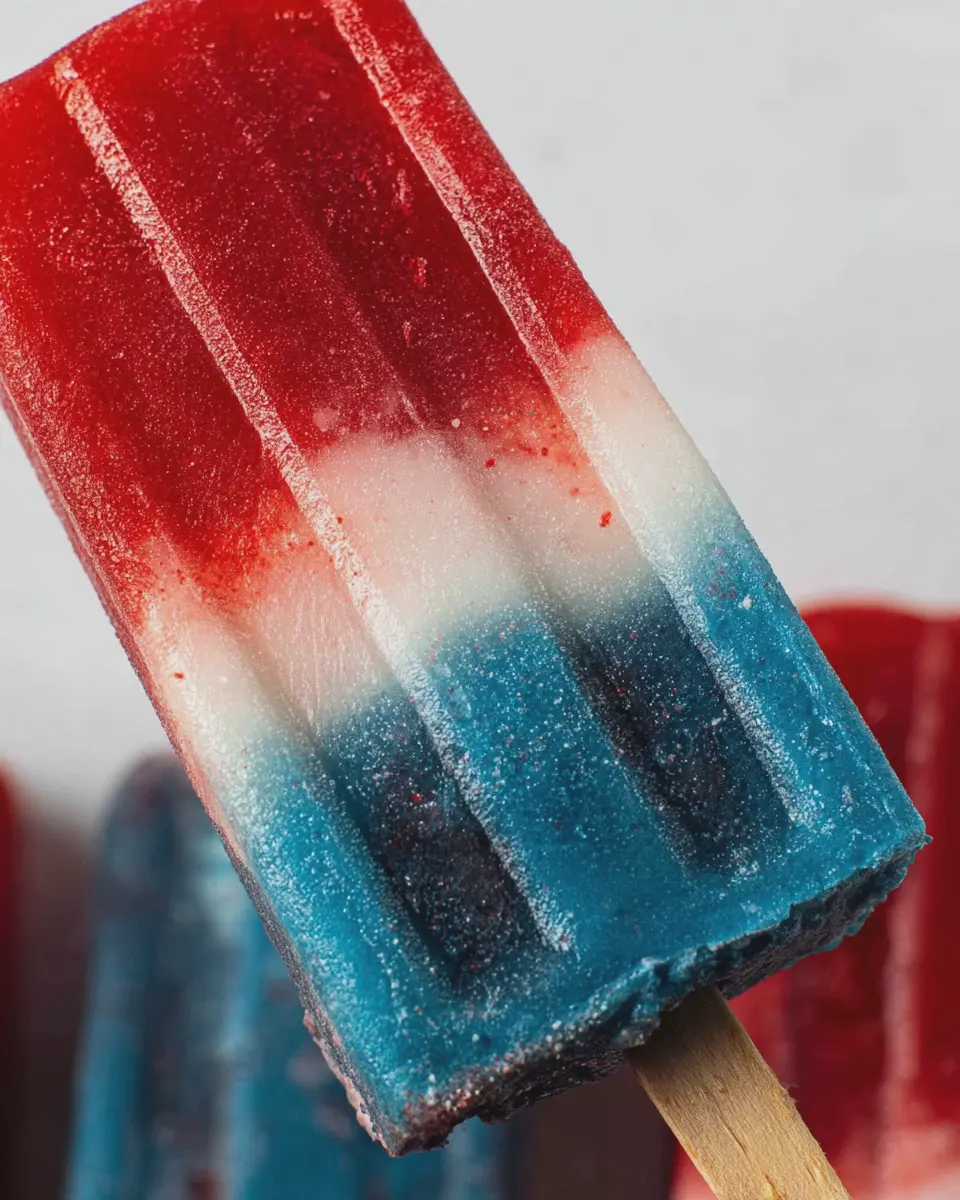
Fill the Mold with Layers
Now the fun begins! Let’s layer those colors into the popsicle molds. Start by pouring the red layer into the bottom of each mold, filling them about one-third of the way full. Once you’ve filled all your molds, place them in the freezer for about 30-45 minutes, or until the layer is set but not frozen solid.
After the red layer, carefully pour in the white (vanilla pudding) layer until you’re about two-thirds full, repeating the freezing process if necessary. Finally, add the blue layer to finish it off. Make sure each layer is evenly distributed for that classic rod of red, white, and blue glory!
Freeze to Perfection
This is the most important step—the waiting game! Once you’ve filled all the molds, insert the sticks and freeze them for at least 4-6 hours or overnight. The longer you freeze them, the easier they’ll be to remove and the better they’ll set.
When you’re ready to enjoy them, run the molds under warm water for a few seconds to loosen the popsicles before pulling them out.
Voilà! You’ve successfully created your own red white and blue popsicles. Now it’s time to enjoy these delightful treats while sharing them at your summer gathering or simply indulging in a quiet moment. They’re not only a visual treat but filled with flavors that burst with every bite!
If you’re looking for more inspirations or related recipes, check out Epicurious for a variety of refreshing summer desserts!
Variations on Red White and Blue Popsicles
Layered Fruit Popsicles
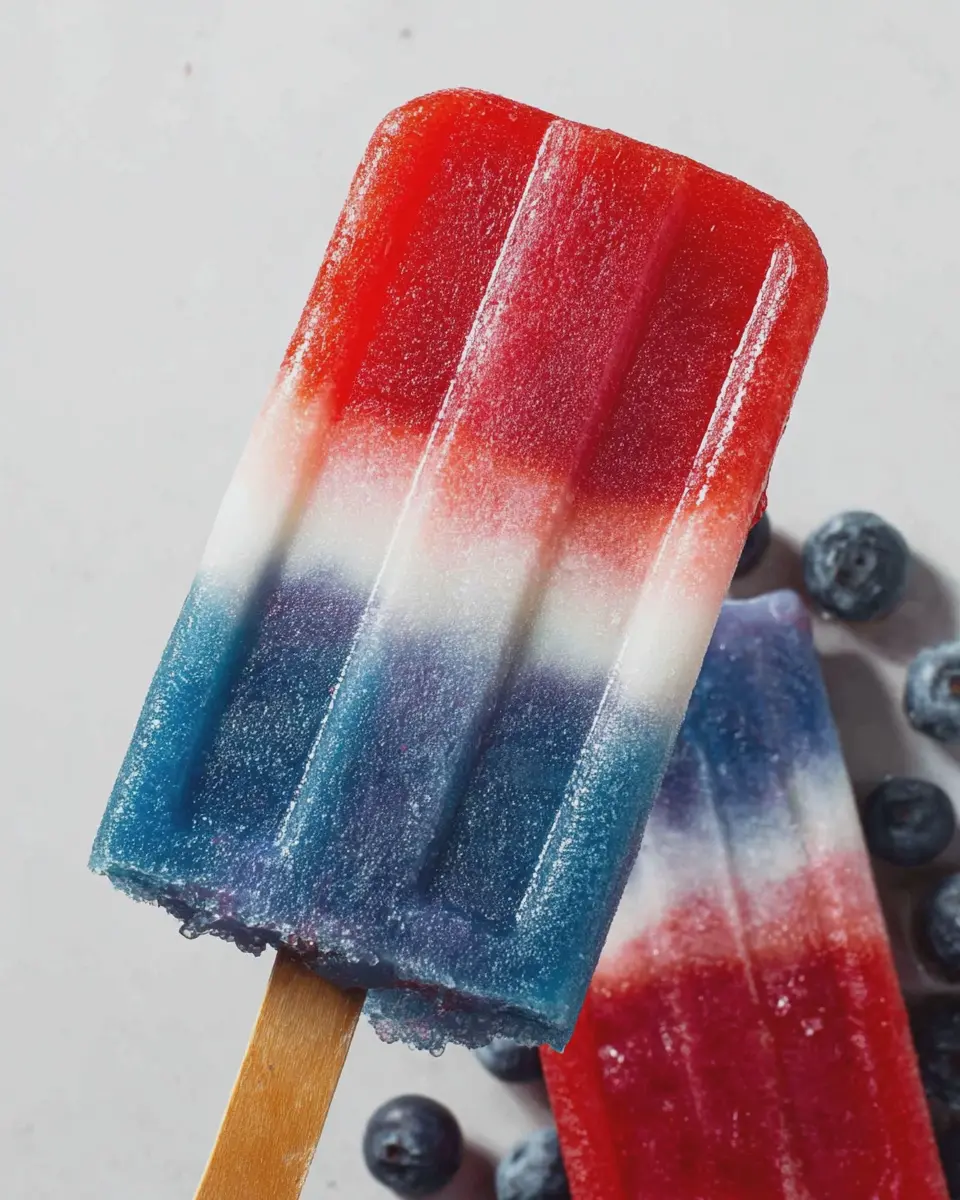
One of the most visually appealing ways to enjoy red white and blue popsicles is by layering your favorite fruits. Simply blend or puree strawberries and blueberries separately, creating vibrant red and blue layers. For the white layer, use pureed coconut or yogurt. Alternate pouring these layers into your molds, allowing each layer to freeze slightly before adding the next. Not only do they look stunning, but they also offer a refreshing burst of natural flavors.
Yogurt-Based Popsicles
If you’re looking for something creamy and indulgent, yogurt-based red white and blue popsicles are the way to go. Mix Greek yogurt with a bit of honey for sweetness. Layer the yogurt with blended strawberries for the red layer and blueberries for the blue layer. The addition of yogurt not only adds a rich flavor but also gives you a dose of protein. You can check out tips for enhancing yogurt flavors on sites like The Kitchn.
Alternative Flavor Twists
Why not experiment with flavors that deviate from the classic? Consider adding a splash of coconut water instead of plain water for a tropical flair. You could also blend in some mint leaves for a refreshing twist. If you feel adventurous, try using flavored sparkling waters to infuse your popsicles with a bubbly zing. The options are endless!
Making red white and blue popsicles can be a fun, creative project that not only impresses but keeps your summer cool and tasty. So grab your ingredients, get creative, and enjoy!
Cooking Tips and Notes for Red White and Blue Popsicles
Common pitfalls and how to avoid them
Creating red white and blue popsicles can be an absolute treat, but there are a few common pitfalls you’ll want to avoid.
- Not layering correctly: If you pour your layers too soon, they might mix together, resulting in a muddled appearance. Stick to a good 30 minutes of freezing time for each layer before adding the next.
- Using overly sugary juice: You want vibrant flavors without overwhelming sweetness. Look for juices labeled as “100% fruit juice” to get natural flavors without unnecessary additives.
- Not fully blending: If your fruit puree isn’t blended well, you may end up with chunky popsicles instead of the creamy texture you desire. Aim for a smooth consistency!
Essential kitchen tools for easy popsicle making
The right tools can make your popsicle-making experience a breeze. Here’s what you’ll need:
- Popsicle mold: Invest in a high-quality silicone mold for easy removal.
- Blender or food processor: To create smooth fruit purees, which are essential for those gorgeous layers.
- Measuring cups and spoons: Precision helps in achieving the right flavor balance and layers.
For more tips on mastering popsicle-making, you can check out resources from The Kitchn or Food Network. Happy freezing!
Serving Suggestions for Red White and Blue Popsicles
Creative Ways to Serve and Display Your Popsicles
When it comes to serving your red white and blue popsicles, presentation can truly elevate this refreshing treat. Consider using colorful popsicle holders or a decorative platter that showcases the vibrant layers of your popsicles. You could even plant them in a bowl of ice for those outdoor summer gatherings, making them easy to grab while keeping them chilled. Another idea is to pair your popsicles with fresh fruits like strawberries and blueberries to enhance the patriotic theme and bring a burst of color to your display.
Pairing Suggestions for a Refreshing Summer Treat
To complement your red white and blue popsicles, think about serving them alongside light summer snacks. Tapas-style dishes work great here—try pairing them with savory turkey bacon bites or chicken ham sliders for something hearty yet light. For a truly refreshing experience, consider offering coconut water or sparkling lemonade as thirst-quenching beverages that harmonize beautifully with the fruity flavors.
For ideas on summer food pairings and presentation tips, explore resources like Taste of Home and Serious Eats. By getting creative, you can make your popsicles the highlight of any summer gathering!
Time Breakdown for Red White and Blue Popsicles
Creating homemade red white and blue popsicles is a delightful and refreshing way to celebrate summer, but knowing how much time to set aside can make the process smoother.
Preparation Time
Making these colorful popsicles takes about 20–30 minutes. You’ll need to chop, blend, and layer your ingredients just right, which can be a fun little kitchen adventure. Grab some fresh strawberries, blueberries, and coconut milk, and I promise the time will fly!
Freezing Time
Once you’ve crafted your delicious layers, pop them into the freezer. You’ll want to leave them in there for at least 4–6 hours, preferably overnight for the best texture. The wait is totally worth it!
Total Time
In total, you’re looking at approximately 4–6.5 hours (including freezing) to enjoy your red white and blue popsicles. So, why not double the recipe? You can always share with friends or keep a stash in the freezer for those unexpected hot days.
Nutritional Facts for Red White and Blue Popsicles
Calories
When it comes to enjoying a refreshing treat like red white and blue popsicles, the calorie count can be surprisingly low! Each popsicle typically contains about 80-100 calories, depending on the ingredients used. This makes them a guilt-free indulgence perfect for warm days or festive gatherings.
Nutritional Breakdown per Serving
Let’s break down the goodness found in these colorful frozen delights:
- Fruits: Packed with vitamins and antioxidants, using berries delivers essential nutrients without added sugars.
- Yogurt or Coconut Milk: A creamy base adds calcium and healthy fats. Depending on the choice, yogurt contributes protein, while coconut milk offers a dairy-free option.
- Natural Sweeteners: If you opt for a bit of honey or maple syrup, you can maintain a healthy sweetness while keeping the overall calorie count in check.
For more on the benefits of fruit, check out this Harvard Health article. Remember, these red white and blue popsicles aren’t just delicious; they’re a fun and healthier alternative to traditional sugary treats!
For some great options on fruits for your popsicles, you might want to explore this USDA guide, which provides a wealth of information on the nutritional profiles of various fruits.
FAQs about Red White and Blue Popsicles
Creating red white and blue popsicles is a festive way to celebrate summer. But as with any fun kitchen project, you might have questions! Here’s a quick FAQ to help you enjoy these treats to the fullest.
How long do these popsicles last in the freezer?
Generally, your popsicles can last up to 2 to 3 months when stored in an airtight container. However, for the best flavor and texture, try to consume them within the first few weeks. If you notice any ice crystals forming on top, it’s a sign they are losing quality. Make sure to check out FoodSafety.gov for more chilly tips!
Can I use non-dairy alternatives for the pudding?
Absolutely! If you’re looking to make these red white and blue popsicles vegan or dairy-free, you can substitute regular pudding with almond, coconut, or soy-based puddings. Just ensure that they’re labeled as dairy-free. These alternatives can still deliver creamy satisfaction without the dairy!
Are these popsicles kid-friendly?
Definitely! These popsicles not only look appealing with their patriotic colors but are also easy to make, making them a hit among kids. Plus, they’re a great way to get children involved in the kitchen. Let them help with the layering process and enjoy a fun, engaging cooking experience!
So go ahead, grab your ingredients, and give it a whirl! You’ll not only create delicious treats but also lovely memories.
Conclusion on Red White and Blue Popsicles
Final thoughts on the joy of homemade treats and sharing them with friends
As the sun blazes down, there’s nothing quite like enjoying red white and blue popsicles on a warm day. They’re not just treats; they’re little moments of joy, perfect for sharing with friends. Crafting these homemade delights allows you to customize flavors and ingredients to suit your taste, creating a truly personal experience.
Imagine inviting friends over for a picnic and serving these colorful pops—everyone will love the festive touch they bring! Plus, making them together can spark laughter and camaraderie. So, gather your crew, whip up a batch, and savor the sweetness of summer! For more ideas on summer treats, check out The Food Network or Bon Appétit.
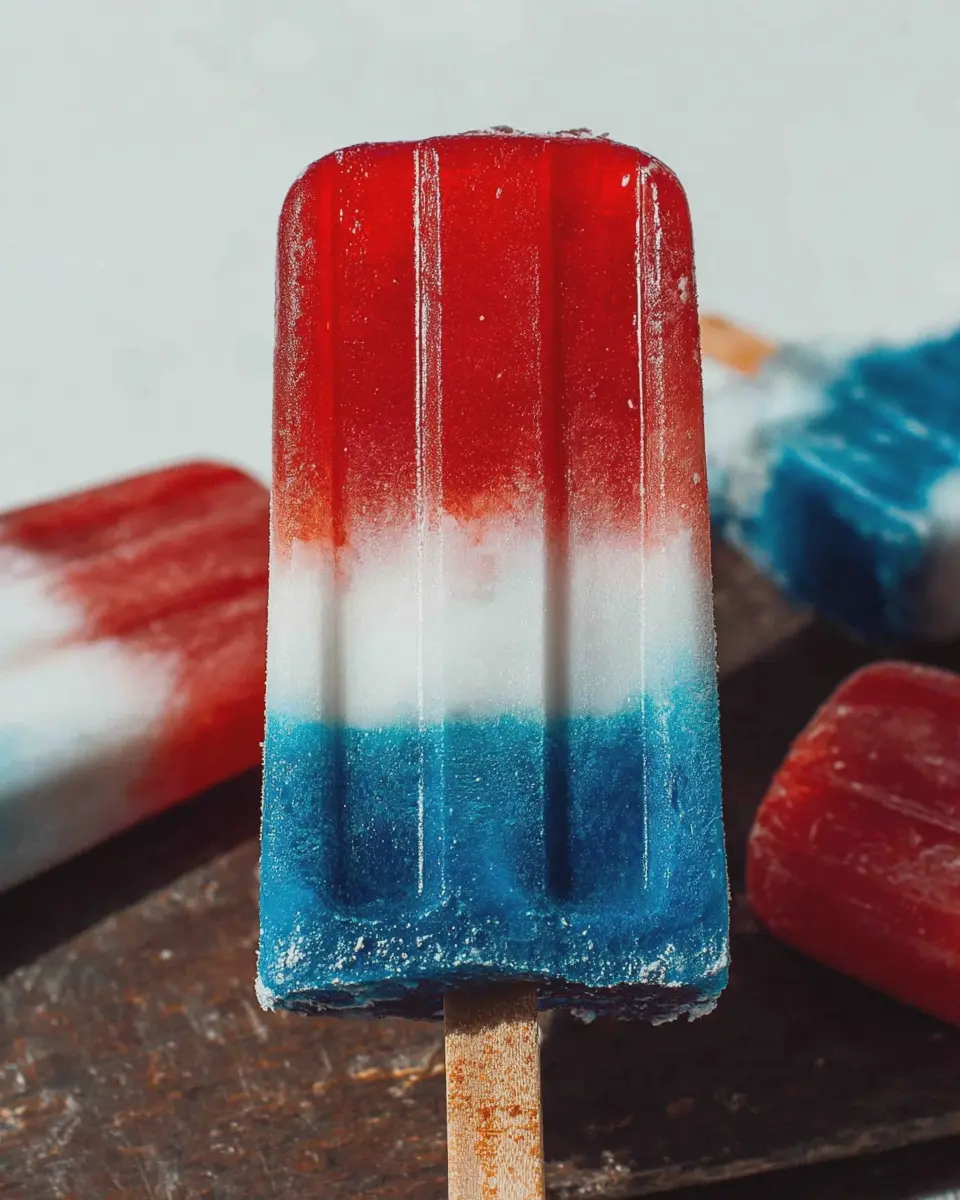
Printred white and blue popsicles: easy, patriotic treats for summer
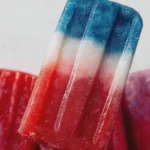
Enjoy these refreshing Red White and Blue Popsicles, perfect for summer gatherings and patriot celebrations!
- Prep Time: 15 minutes
- Total Time: 6 hours
- Yield: 10 popsicles 1x
- Category: Dessert
- Method: Freezing
- Cuisine: American
- Diet: Vegan
Ingredients
- 2 cups strawberries, hulled
- 2 cups blueberries
- 2 cups coconut milk
- 1/4 cup honey or maple syrup
- 1 teaspoon vanilla extract
Instructions
- Blend the strawberries until smooth, then pour the mixture into popsicle molds, filling them about one-third full.
- Freeze for about 2 hours, or until solid.
- In a bowl, mix the coconut milk, honey, and vanilla extract. Pour this mixture over the frozen strawberry layer, filling the molds again about one-third full.
- Freeze for another 2 hours.
- Blend the blueberries until smooth. Pour this final layer over the coconut layer in the molds and freeze until completely solid, about 4 hours or overnight.
- To remove popsicles, run warm water over the outside of the molds for a few seconds until they release.
Notes
- For a vegan option, replace honey with maple syrup.
- Get creative with layers; alternate fruit and yogurt for variety!
Nutrition
- Serving Size: 1 popsicle
- Calories: 80
- Sugar: 10g
- Sodium: 5mg
- Fat: 4g
- Saturated Fat: 3g
- Unsaturated Fat: 1g
- Trans Fat: 0g
- Carbohydrates: 12g
- Fiber: 1g
- Protein: 1g
- Cholesterol: 0mg
Keywords: Red White and Blue Popsicles, summer treats, patriotic recipes, frozen desserts