
Introduction to Peanut Butter Fingers
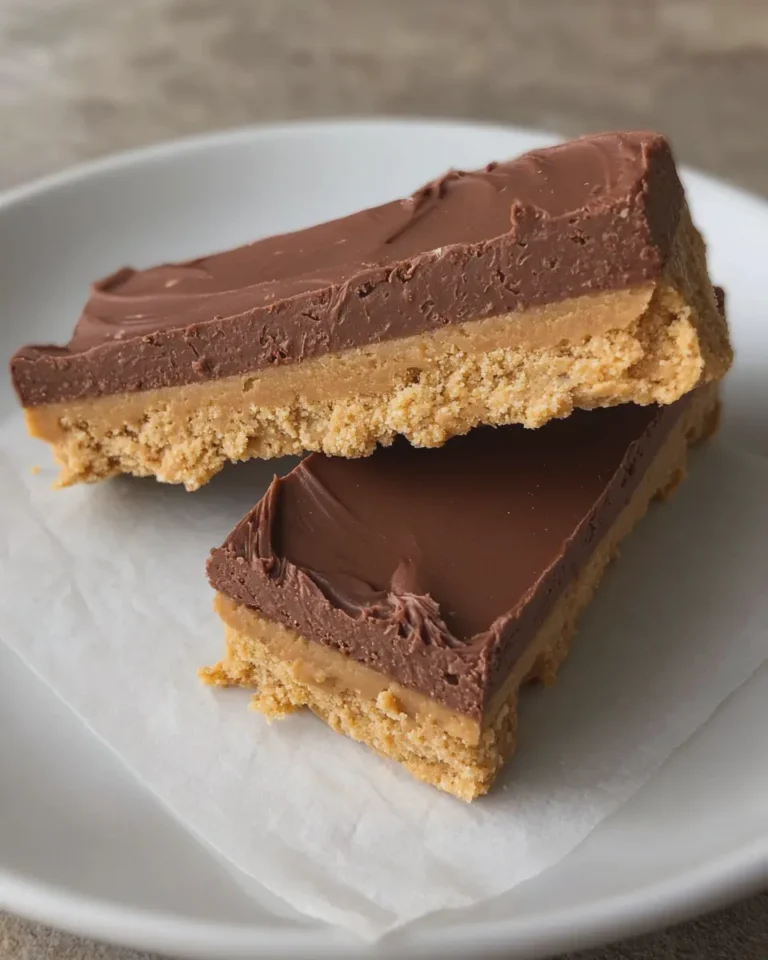
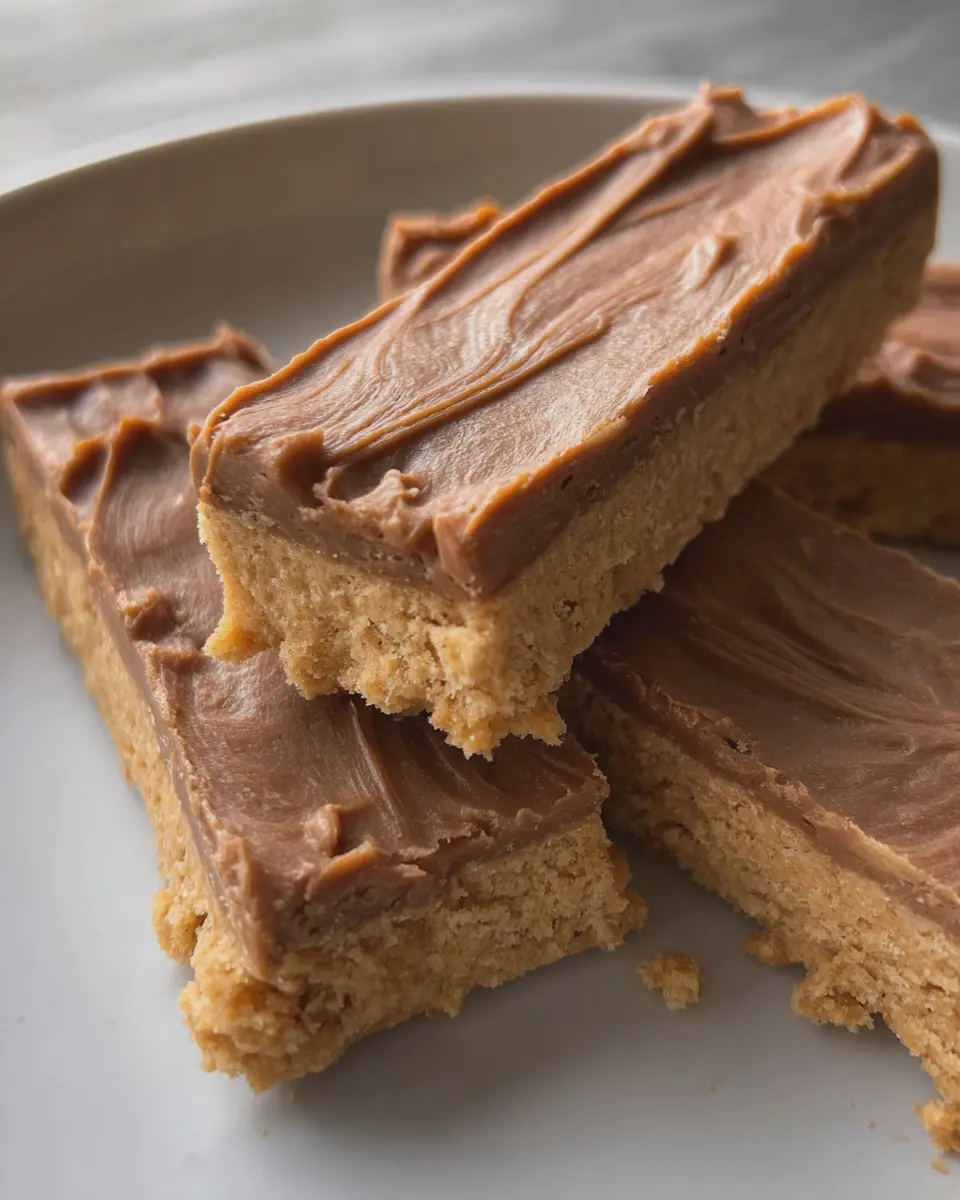
If you’ve ever had a craving for something sweet yet satisfying, peanut butter fingers are likely to pop into your mind. These delightful treats, often resembling bars or squares, have an intense peanut butter flavor that’s hard to resist. But what makes them so beloved, you ask? Let’s dive into it!
What Makes Peanut Butter Fingers a Beloved Treat?
Peanut butter fingers have a special place in the hearts of many for several reasons:
-
Ease of Preparation: With just a handful of ingredients and minimal effort, you can whip up a delicious batch that satisfies that sweet tooth. Whether you’re new to baking or a seasoned pro, these bars are a breeze!
-
Nutritious Twist: Many recipes include oats and natural sweeteners, making them not just a treat but a snack you can feel good about. In fact, incorporating peanut butter can provide a good dose of protein, healthy fats, and essential vitamins—perfect for a quick energy boost!
-
Versatile Variations: While traditional recipes are fantastic, there’s so much room for creativity. You can drizzle chocolate on top, add chopped nuts, or even mix in dried fruits for added texture and flavor. Fancy a little crunch? Try tossing in some crunchy peanut butter instead!
-
Community and Memories: For many, peanut butter fingers are more than just a treat; they come with memories of family gatherings and potlucks. There’s something nostalgic about sharing these bars with friends and family, making them much more than a simple dessert.
Statistics reveal that peanut butter is a household favorite, with around 90% of American homes stocking it in their kitchens (according to a survey by the National Peanut Board). Considering how much we love it, it’s no wonder peanut butter fingers have carved their niche!
As you embark on making these delicious bars, consider incorporating local ingredients or getting creative with flavors. You could even explore other nut butters if you want to swap out peanut butter for something new. If you’re looking for more inspiration, check out The Spruce Eats for various ways to reinvent this classic treat.
So, are you ready for some sweet, scrumptious peanut butter fingers? Let’s get started!
Ingredients for Peanut Butter Fingers
Creating delicious peanut butter fingers is all about using simple, quality ingredients. Below is a list of what you’ll need to whip up this delightful treat that’s perfect for snacking or dessert.
Essential Ingredients
-
1 cup creamy peanut butter: This rich and smooth base is the star of the show. Opt for natural peanut butter that has no added sugars or hydrogenated oils for a healthier choice.
-
½ cup honey or maple syrup: This provides natural sweetness while keeping the recipe sticky and delightful. If you’re looking for a vegan option, go for maple syrup!
-
2 cups rolled oats: These deliver that satisfying chewiness and are an excellent source of fiber. You can use gluten-free oats if needed.
-
½ cup chocolate chips: A must-have for a touch of indulgence. Dark chocolate or dairy-free chocolate chips work great here.
-
A pinch of salt: Don’t skip this! It enhances the flavors and brings out the sweetness of the peanut butter fingers.
These ingredients blend together beautifully to create a deliciously satisfying snack. If you want to explore more about healthy snacking habits, check out resources like Healthline. So, are you ready to get started? Your taste buds are in for a treat!
Preparing Peanut Butter Fingers
Creating peanut butter fingers is more than just a recipe; it’s an experience that fills your kitchen with warm, cozy aromas and leaves you with delicious treats to share—or keep all to yourself! Let’s dive into the simple, clear steps to make these delightful treats.
Gather your ingredients
Before diving into the mixing bowl, it’s wise to get all your ingredients together. Here’s what you’ll need:
- ½ cup unsalted butter (softened)
- 1 cup packed brown sugar
- ½ cup granulated sugar
- 2 eggs
- 1 cup smooth peanut butter
- 1 ½ cups all-purpose flour
- 1 teaspoon baking soda
- ½ teaspoon salt
- Optional: 1 cup chocolate chips for extra indulgence
You can easily find these in your local grocery store, or if you’re short on time, consider checking out Instacart for delivery options.
Cream the butter and sugars
Once you’ve gathered everything, the first step is to cream the butter and the two types of sugar. In a large mixing bowl, use an electric mixer to combine the softened butter with the brown and granulated sugars until the mixture is light and fluffy. This typically takes about 2-3 minutes. Not only does this step create a wonderful texture, but it also helps combine all those sweet flavors.
Mix in the eggs and peanut butter
Next up is the fun part! Add in the eggs, one at a time, mixing well after each addition. This emulsification helps bind the ingredients together. Then, stir in your peanut butter until smooth. If you love peanut butter as much as I do, you might find yourself tasting the mixture a time or two—just make sure to leave enough for the bars!
Combine dry ingredients
In a separate bowl, whisk together your flour, baking soda, and salt. This helps to evenly distribute the baking soda and salt, ensuring each bite is perfectly balanced. Gradually add these dry ingredients to your creamy mixture, mixing until just combined. Overmixing can lead to dense bars, and we want them to remain tender and chewy, right?
Bake the peanut butter bars
Preheat your oven to 350°F (175°C). Grease a 9×13-inch baking pan, or line it with parchment paper for easy removal. Pour in your peanut butter fingers batter and smooth the top with a spatula. Bake for 20-25 minutes, or until a toothpick inserted in the center comes out clean. During baking, the smell of warm peanut butter will be heavenly!
Prepare the topping
While your peanut butter fingers are cooling, let’s whip up an optional topping. In a small saucepan, melt together 1 cup of chocolate chips with 2 tablespoons of coconut oil over low heat, stirring until smooth. This glossy chocolate topping adds an extra layer of deliciousness.
Spread and set the topping
Once your peanut butter fingers are cool to the touch, pour the melted chocolate over the top. Gently spread it into an even layer using a spatula. Let this set for about 30 minutes or until the chocolate is firm. If you’re impatient, a quick stay in the fridge can expedite this process!
Cut and serve the peanut butter fingers
Now comes the best part—enjoying your creation! Once the topping has set, remove the bars from the pan using the parchment paper for easy lifting. Cut them into squares or fingers—whatever shape suits your style! Serve them up at a gathering, pack some for lunch, or just enjoy a few as a sweet snack during the week.
Creating peanut butter fingers is a simple pleasure that can easily fit into your busy lifestyle. Plus, each bite is packed with flavor and nostalgia. So the next time you crave something sweet, why not give these a try? You’ll have a delightful treat in no time!
Variations on Peanut Butter Fingers
If you’re as obsessed with peanut butter fingers as I am, you’ll love discovering some fun variations that can spice up your snack time! Here are a couple of ideas to satisfy your cravings while keeping things exciting in the kitchen.
Peanut Butter Fingers with Added Nuts
For those who like a little crunch in their treats, consider adding a mix of nuts to your classic peanut butter fingers. Chopped almonds, walnuts, or pecans not only enhance the texture but pack a nutritional punch. Nuts are rich in healthy fats, protein, and essential vitamins, making your snack even more satisfying.
Just toss a handful into the mix before spreading your batter onto the pan. You can even toast them lightly for an added depth of flavor. Plus, this variation adds a delightful contrast to the creamy peanut butter. If you’re looking for nutrition stats, the American Heart Association provides excellent resources on the benefits of nuts here.
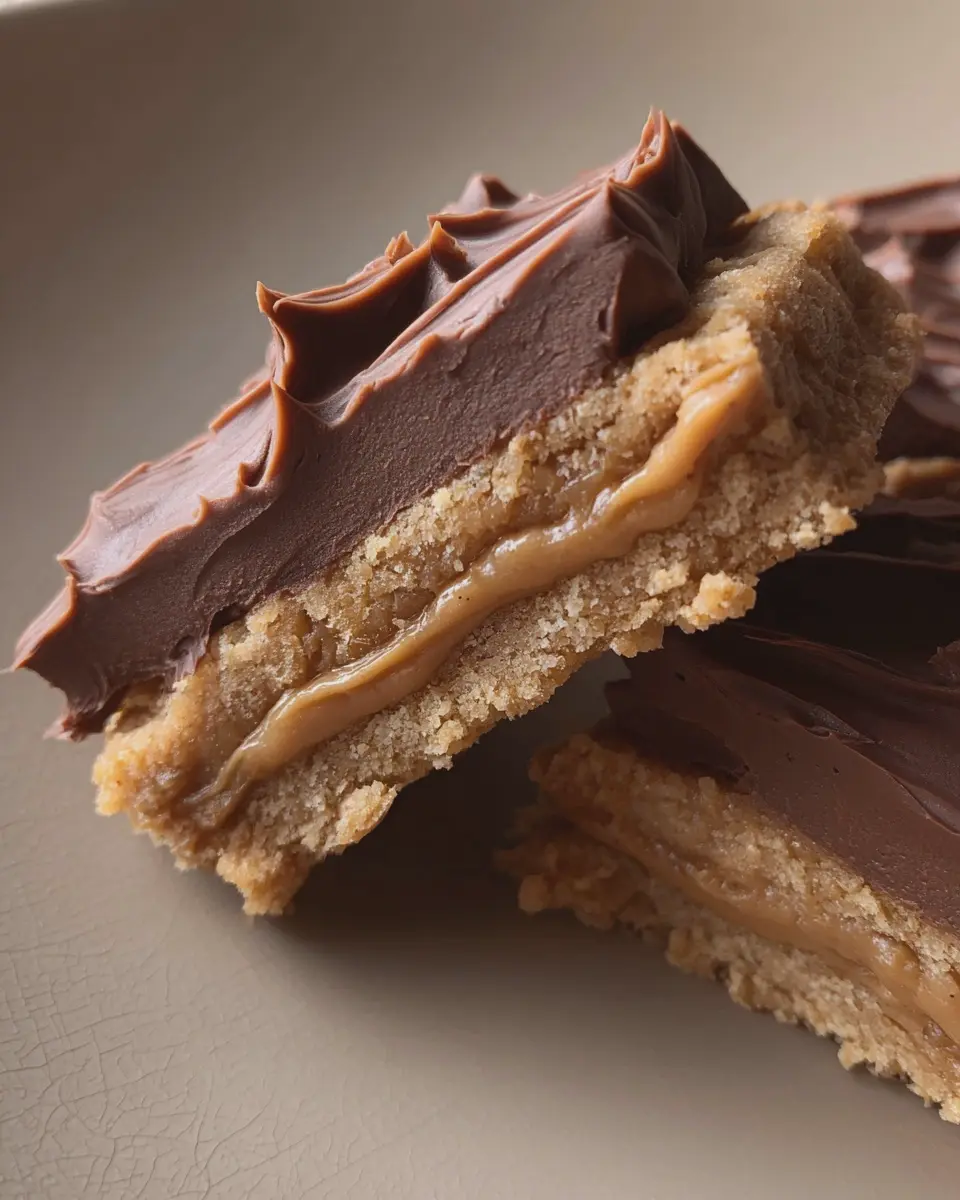
Chocolate-Dipped Peanut Butter Fingers
Who can resist the combination of chocolate and peanut butter? Elevate your peanut butter fingers by dipping them in melted chocolate. Just melt some semi-sweet or dark chocolate chips in a microwave or double boiler, then dip each finger into the luscious mixture.
Let them cool on a wire rack for a decadent treat that’s perfect for sharing (or not!). Not only do you get the rich flavor of chocolate, but you also add a sweet touch that takes these fingers to a whole new level. According to health experts, dark chocolate can also have health benefits when consumed in moderation—just another reason to indulge a little!
Whether you’re enjoying these snacks alone or sharing with friends, these variations can take your peanut butter fingers game up a notch!
Cooking tips and notes for Peanut Butter Fingers
Creating the perfect peanut butter fingers is all about understanding your ingredients and techniques. Here are some helpful tips to guide you through the process:
Choose Quality Ingredients
When making peanut butter fingers, the quality of your peanut butter is crucial. Opt for natural peanut butter without added sugars or oils for the best flavor. If you prefer a crunchier texture, you can use a mix of creamy and chunky varieties.
Measure Accurately
For consistent results, use a kitchen scale to measure your ingredients. This is particularly important for the flour and sugar as even slight variations can affect the texture.
Don’t Rush the Mixing
When combining your ingredients, mix until just combined. Overmixing can lead to a denser finished product, which isn’t ideal for our light and chewy peanut butter fingers.
Chill for Better Results
If you want to enhance the flavors, let your batter chill in the fridge for about an hour before baking. This allows the ingredients to meld beautifully.
Explore Serving Suggestions
There’s so much you can do with your peanut butter fingers. For extra flair, consider drizzling melted dark chocolate over the top or sprinkling a few chopped nuts before cutting them into bars.
For visual inspiration and ideas, check out The Peanut Butter & Co Blog for creative twists!
By following these tips, you’ll craft peanut butter fingers that will leave your friends and family asking for more. Happy baking!
Serving Suggestions for Peanut Butter Fingers
When it comes to peanut butter fingers, serving them up in style can elevate your snacking experience. Here are some delightful suggestions to enhance the flavors and textures of this classic treat:
Pair with Fresh Fruits
Consider serving your peanut butter fingers alongside fresh fruits like apple slices or banana halves. The natural sweetness and crunch of these fruits create a perfect harmony with the rich, creamy peanut butter flavor. You could also drizzle a bit of honey or maple syrup atop the fruits for that extra touch of sweetness.
Elevate with Nutty Toppings
Add a sprinkle of chopped nuts or granola to your peanut butter fingers for added crunch. Almonds, walnuts, or even a bit of coconut can bring a delightful texture while boosting the nutritional value. This is a great way to make a quick snack feel a bit more gourmet.
Serve with a Side of Dipping Sauce
For an exciting twist, whip up a quick chocolate or yogurt dip to accompany your peanut butter fingers. Melted dark chocolate or a simple yogurt-based dip can turn your snack into a decadent dessert experience. Check out more dipping ideas for inspiration.
Enjoy with a Cozy Beverage
Pair your treat with a warm cup of herbal tea or a refreshing glass of almond milk. The gentle flavors of these beverages complement the rich taste of peanut butter, making for a cozy snack session perfect for unwinding after a long day.
These thoughtful suggestions not only make your peanut butter fingers more appealing but also turn them into a delightful gathering or solo snack. Now, who can resist such charm?
Time Breakdown for Peanut Butter Fingers
When you’re craving a delicious treat, knowing how much time you need can make all the difference! Here’s a quick breakdown for making your peanut butter fingers:
Preparation Time
Getting everything ready for your peanut butter fingers will take about 15 minutes. This includes gathering your ingredients, measuring them out, and mixing them together.
Baking Time
The baking process is relatively speedy. You’ll want to set aside around 25 minutes for them to bake to perfection. Make sure to keep an eye on them in that last few minutes—you want them just right.
Total Time
In total, you’ll spend about 40 minutes from start to finish. Perfect for a weeknight dessert or a weekend treat!
For more tips and ideas on creating delectable treats, you might find resources like King Arthur Baking or Food Network particularly helpful. Happy baking!
Nutritional Facts for Peanut Butter Fingers
When you’re craving a sweet treat that doesn’t compromise your health goals, peanut butter fingers can be a delightful choice. Let’s break down the nutritional benefits of these tasty snacks.
Calories
In a typical serving of peanut butter fingers, you’re looking at approximately 150 calories. This makes them a suitable option for a post-workout snack or even a satisfying afternoon pick-me-up.
Protein
One of the best aspects of peanut butter fingers is their protein content. Each serving can pack around 5 grams of protein, thanks to the nourishing peanut butter, perfect for muscle recovery and keeping you full longer.
Sugar
While these snacks are deliciously sweet, they contain about 8 grams of sugar per serving. It’s always good to keep an eye on sugar intake, and using natural sweeteners can help mitigate this while still satisfying your sweet tooth.
For further insights on making healthier snack choices, consider exploring resources like the American Heart Association for more information on nutrition. Enjoy making your peanut butter fingers—a snack that delights both the palate and the health-conscious mind!
FAQs about Peanut Butter Fingers
Can I substitute different types of nut butter?
Absolutely! While the classic peanut butter fingers recipe calls for peanut butter, you can easily switch it out for other nut butters like almond, cashew, or sunflower seed butter. Each option will lend a unique flavor and texture, so feel free to experiment. For a nut-free alternative, sunflower seed butter is a great choice that keeps the recipe safe for those with allergies.
How do I store peanut butter fingers?
Keeping your peanut butter fingers fresh is essential for enjoying them at their best. Store them in an airtight container at room temperature for about a week. If you want to extend their shelf life, consider refrigerating them, which can maintain their freshness for up to two weeks. For longer-term storage, you can freeze individual bars wrapped in plastic wrap and then in foil. This way, you’ll have a delicious snack ready whenever a craving strikes!
How can I make peanut butter fingers gluten-free?
Making your peanut butter fingers gluten-free is a breeze! Simply substitute regular flour with your favorite gluten-free flour blend or almond flour. Ensure that any added ingredients, like oats or chocolate chips, are labeled gluten-free to avoid any cross-contamination. With these simple adjustments, you can enjoy these tasty treats while adhering to gluten-free dietary needs.
Incorporate these tips into your preparation and enjoy a delightful, health-conscious snack that fits your lifestyle! If you’re looking for even more information about food substitutions and gluten-free baking, check out resources like Gluten-Free Cooking for valuable insights.
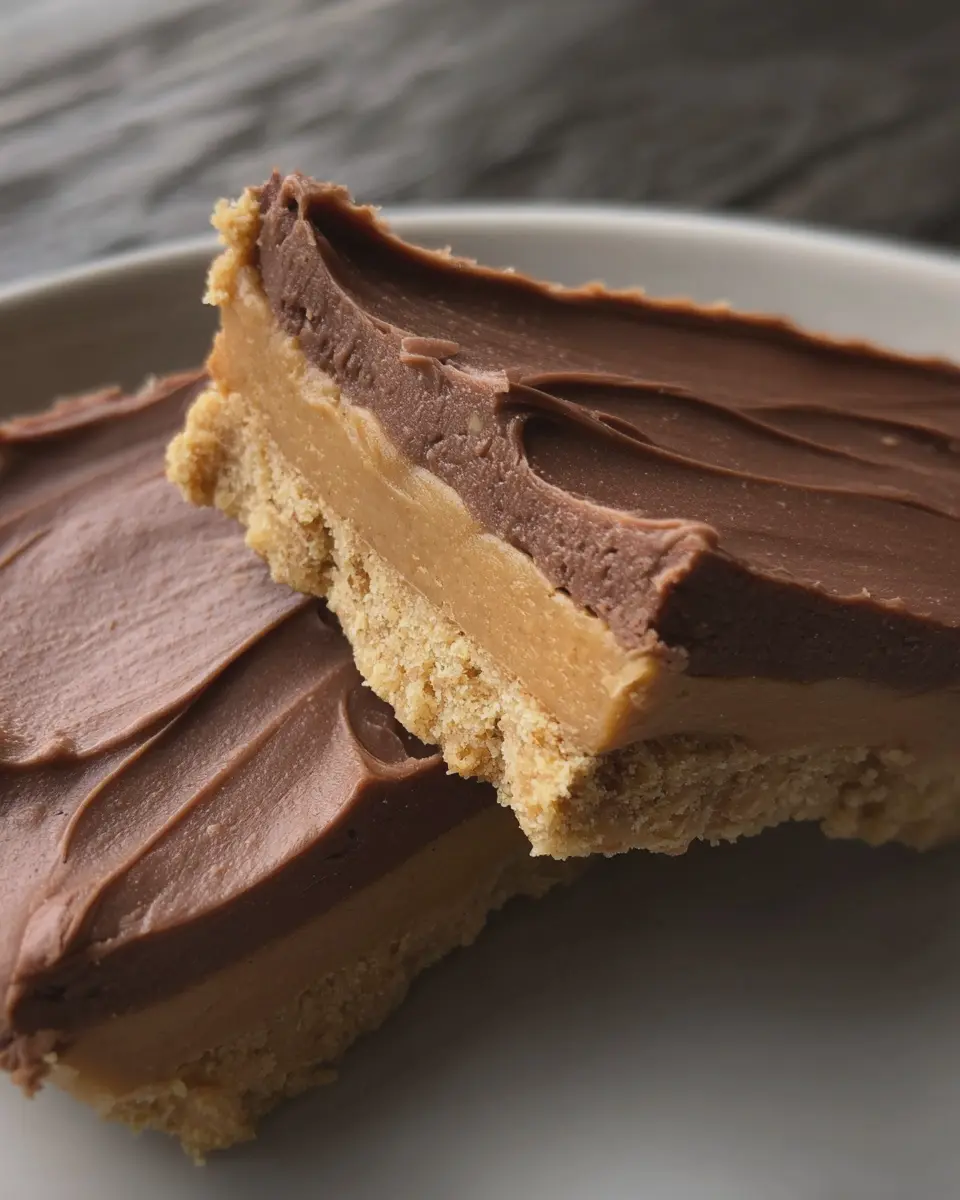
Conclusion on Peanut Butter Fingers
In summary, peanut butter fingers are not just a delightful treat; they are versatile and easily customizable! Whether you’re packing them for a snack on the go or serving them at a casual gathering, their chewy and nutty flavor will definitely be a hit.
You can experiment with ingredients like oats, nuts, or even dark chocolate to elevate your creation. Plus, these treats are a simple way to satisfy sweet cravings while incorporating some healthy fats into your diet. For more delicious variations, check out resources like EatingWell or Food Network. So, roll up your sleeves and start making your own peanut butter fingers—you won’t regret it!
PrintPeanut Butter Fingers: The Easy Indulgence Your Family Will Love
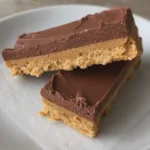
A delightful treat that combines creamy peanut butter with a hint of sweetness, perfect for families.
- Prep Time: 10 minutes
- Cook Time: 30 minutes
- Total Time: 40 minutes
- Yield: 16 pieces 1x
- Category: Dessert
- Method: baking
- Cuisine: American
- Diet: vegetarian
Ingredients
- 1 cup peanut butter
- 1 cup sugar
- 1 egg
- 1 teaspoon vanilla extract
- 1 cup graham cracker crumbs
Instructions
- Preheat the oven to 350°F (175°C).
- In a mixing bowl, combine the peanut butter, sugar, egg, and vanilla extract until smooth.
- Add the graham cracker crumbs and mix until well incorporated.
- Spread the mixture into a greased baking dish.
- Bake for 25-30 minutes or until golden brown.
- Let cool before cutting into squares.
Notes
- For a richer flavor, consider adding chocolate chips to the mixture.
- Serve with a glass of cold milk for an extra treat.
Nutrition
- Serving Size: 1 piece
- Calories: 150
- Sugar: 10g
- Sodium: 50mg
- Fat: 7g
- Saturated Fat: 1.5g
- Unsaturated Fat: 5g
- Trans Fat: 0g
- Carbohydrates: 20g
- Fiber: 1g
- Protein: 4g
- Cholesterol: 20mg
Keywords: Peanut Butter Fingers, dessert, family treats