Introduction to Garlic Butter Shrimp Boil Tray
A delicious homemade experience
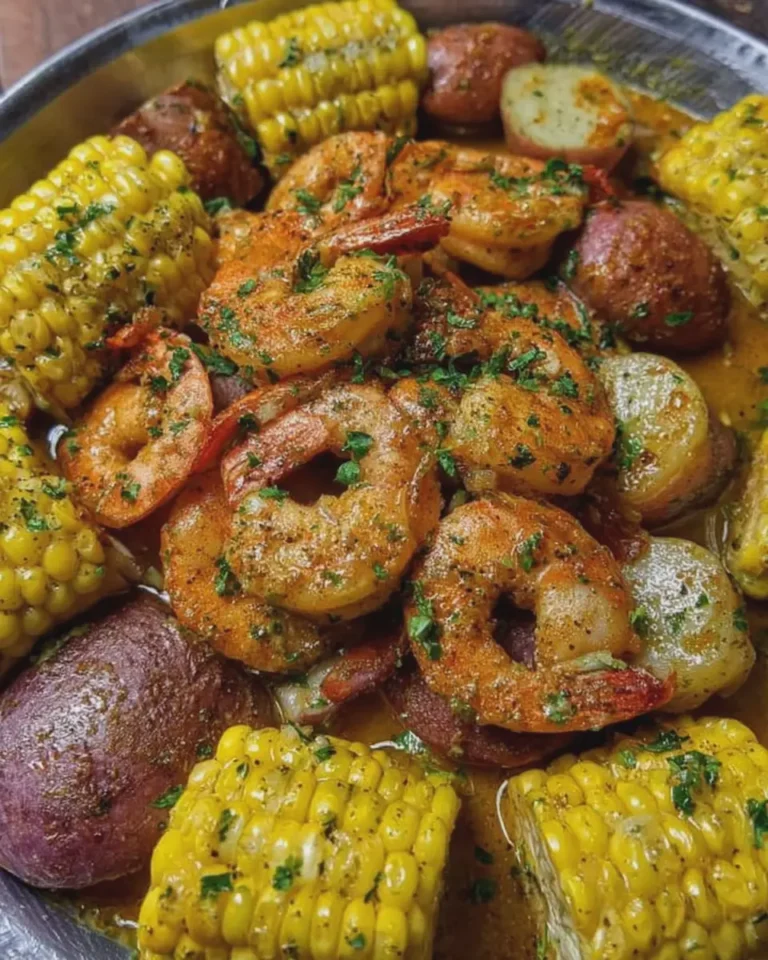
If you’re looking for a dish that brings flavor, fun, and ease to your dining table, look no further than the garlic butter shrimp boil tray. Imagine succulent shrimp, fresh vegetables, and aromatic garlic mingling together on one tray. This dish is not just a meal; it’s an experience. Growing up in a coastal town, shrimp boils were a staple at family gatherings, and they continue to evoke memories of laughter and shared moments.
The beauty of the garlic butter shrimp boil tray lies in its simplicity. You can make it in less than an hour with minimal cleanup, which means more time enjoying the company of friends. You simply toss everything onto a sheet pan, drizzle with melted garlic butter, and let the oven do the magic. There’s something remarkably satisfying about pulling a delicious, aromatic meal out of the oven all at once.
Why shrimp boils are perfect for young professionals
As a young professional, your time is often stretched thin. Between busy work schedules and social commitments, finding the balance can feel daunting. That’s why the garlic butter shrimp boil tray is a fantastic choice. Here’s why:
-
Quick Preparation: With just a few simple steps—chopping veggies, seasoning, and baking—you’ll have a hearty meal ready in about 30-40 minutes. Perfect for those busy weekdays!
-
Effortless Cleanup: Utilizes a single tray, which means less time scrubbing pots and more time relaxing.
-
Flexible Ingredients: Whether you’re a fan of corn, potatoes, or spicy sausage, adjust your tray to include your favorite vegetables and proteins—chicken ham or turkey bacon can be excellent additions for variety.
For a more nutritional perspective, studies show that seafood like shrimp is rich in protein and Omega-3 fatty acids, making meals like these not just delicious but beneficial as well. The balance of flavors in a shrimp boil offers a comforting yet exciting option to spice up your weeknight dinners.
Ready to dive into this flavorful adventure? Your taste buds are in for a treat!
Ingredients for Garlic Butter Shrimp Boil Tray
The essentials for a tasty meal
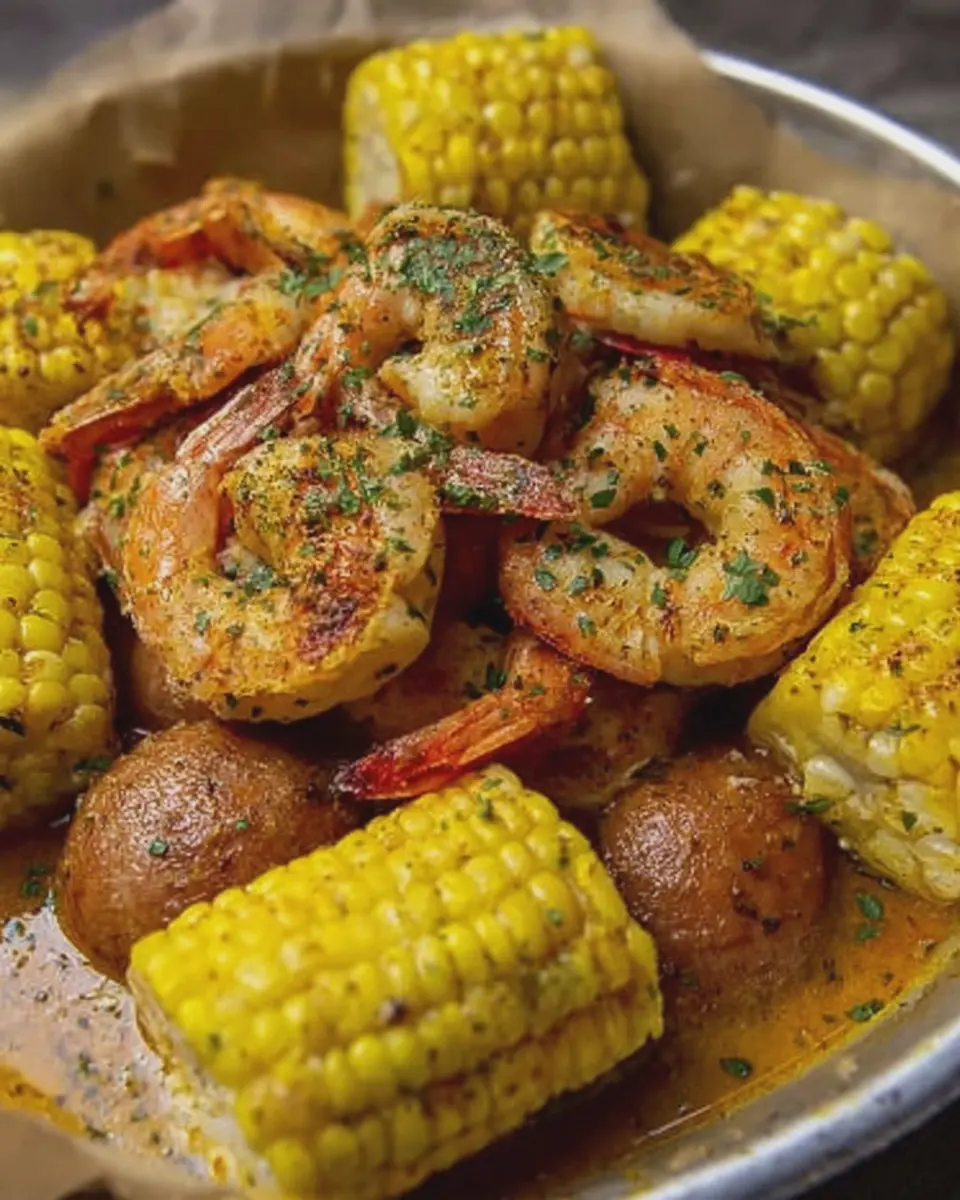
Creating a garlic butter shrimp boil tray starts with a handful of essential ingredients that pack a flavor punch. Here’s what you’ll need for that savory, comforting vibe:
- Shrimp: Fresh or frozen, make sure they’re deveined and shelled for easy eating.
- Garlic: One of the stars of this dish, use minced garlic for maximum flavor.
- Butter: Unsalted butter allows you to control the salt levels—important for a balanced taste.
- Corn on the cob: Cut into bite-sized pieces for sweetness and crunch.
- Potatoes: Baby potatoes or new potatoes work best; they cook evenly and absorb flavors nicely.
- Seasonings: Old Bay seasoning is traditional, but feel free to mix in your favorites like cayenne pepper or Italian herbs for extra kick.
Optional ingredients to elevate your dish
Want to take your garlic butter shrimp boil tray to the next level? Consider adding these optional ingredients:
- Turkey bacon: Adds a smoky flavor and a nice crunch.
- Chicken ham: A delicious twist that complements the dish beautifully.
- Beef sausage: For those who like a heartier meal, slice up some smoked sausage.
- Lemon wedges: Freshly squeezed lemon juice brightens up the flavors.
- Fresh herbs: Parsley or cilantro adds a pop of color and freshness.
By mixing and matching these flavors, you can elevate your shrimp boil to something extraordinary! For more insights on ingredient pairings, check out this guide on how to flavor seafood that dives deep into seasoning basics.
Step-by-Step Preparation for Garlic Butter Shrimp Boil Tray
When it comes to impressing guests or simply enjoying a delightful meal at home, nothing beats a garlic butter shrimp boil tray. This dish combines the sweetness of shrimp with the richness of garlic butter and the freshness of vegetables. Ready to dive into the experience? Let’s break it down step by step!
Boil the corn
The first step in this flavorful journey is preparing that sweet corn. Fresh corn is a fantastic addition, bringing brightness and texture that complements our shrimp.
- Start by bringing a large pot of water to a rolling boil.
- Once boiling, add a pinch of salt. This will enhance the flavor of the corn.
- Add your ears of corn (cut them in half if you’re working with large ears) and let them boil for about 8-10 minutes until tender.
- Once cooked, transfer the corn to a platter or a large bowl to cool slightly. This is where the magic begins!
Prepare the shrimp
While the corn is cooling, turn your attention to the shrimp. It’s best to use fresh shrimp, but if you’re opting for frozen, just ensure they’re properly thawed.
- Clean the shrimp: Rinse them under cold water and remove the shells, leaving the tails on for a nice presentation.
- Devein the shrimp by making a shallow cut along the back and removing the dark vein. This not only makes them more visually appealing but also enhances the overall eating experience.
Season your shrimp
Now it’s time to pack some flavor into those beautiful shrimp. The seasoning blend can make or break your garlic butter shrimp boil tray.
- In a small bowl, mix together:
- 1 tablespoon paprika
- 1 teaspoon garlic powder
- 1 teaspoon onion powder
- Salt and pepper to taste
- Toss your cleaned shrimp with this seasoning mixture to ensure they’re coated evenly. Remember, you’re not just adding flavor; you’re setting the stage for great taste!
Cook the shrimp to perfection
Cooking shrimp is all about timing. Overcooked shrimp can be rubbery — not what you want in your garlic butter shrimp boil tray.
- In a large skillet, melt some butter over medium-high heat (about 2-3 tablespoons).
- Add your seasoned shrimp to the skillet.
- Cook them for about 2-3 minutes on each side. You’ll know they’re ready when they turn pink and opaque.
- Once done, transfer them to your corn platter.
Make the garlic butter sauce
A garlic butter sauce can elevate your shrimp boil from good to unforgettable.
- In the same skillet, melt an additional 4 tablespoons of butter.
- Once melted, add minced garlic (about 5 cloves) and sauté for 1-2 minutes until fragrant but not browned.
- For a little zing, consider adding a squeeze of lemon juice or a dash of cayenne pepper for heat. If you’re curious about health benefits, Garlic is known for its antioxidant properties.
Combine and serve
Now, let’s bring everything together in a dazzling presentation!
- Place the corn back on a serving tray and nestle the shrimp on top.
- Drizzle the garlic butter sauce over the shrimp and corn, ensuring to get all that flavorful goodness.
- For a pop of color, toss in some fresh parsley or sliced green onions.
And there you have it! Your garlic butter shrimp boil tray is ready to be devoured. Serve it warm and watch your friends and family dig in. This dish not only tantalizes the palate but also brings a touch of coastal charm to any table. Enjoy!
Variations on Garlic Butter Shrimp Boil Tray
Shrimp Boil with Spicy Sausage
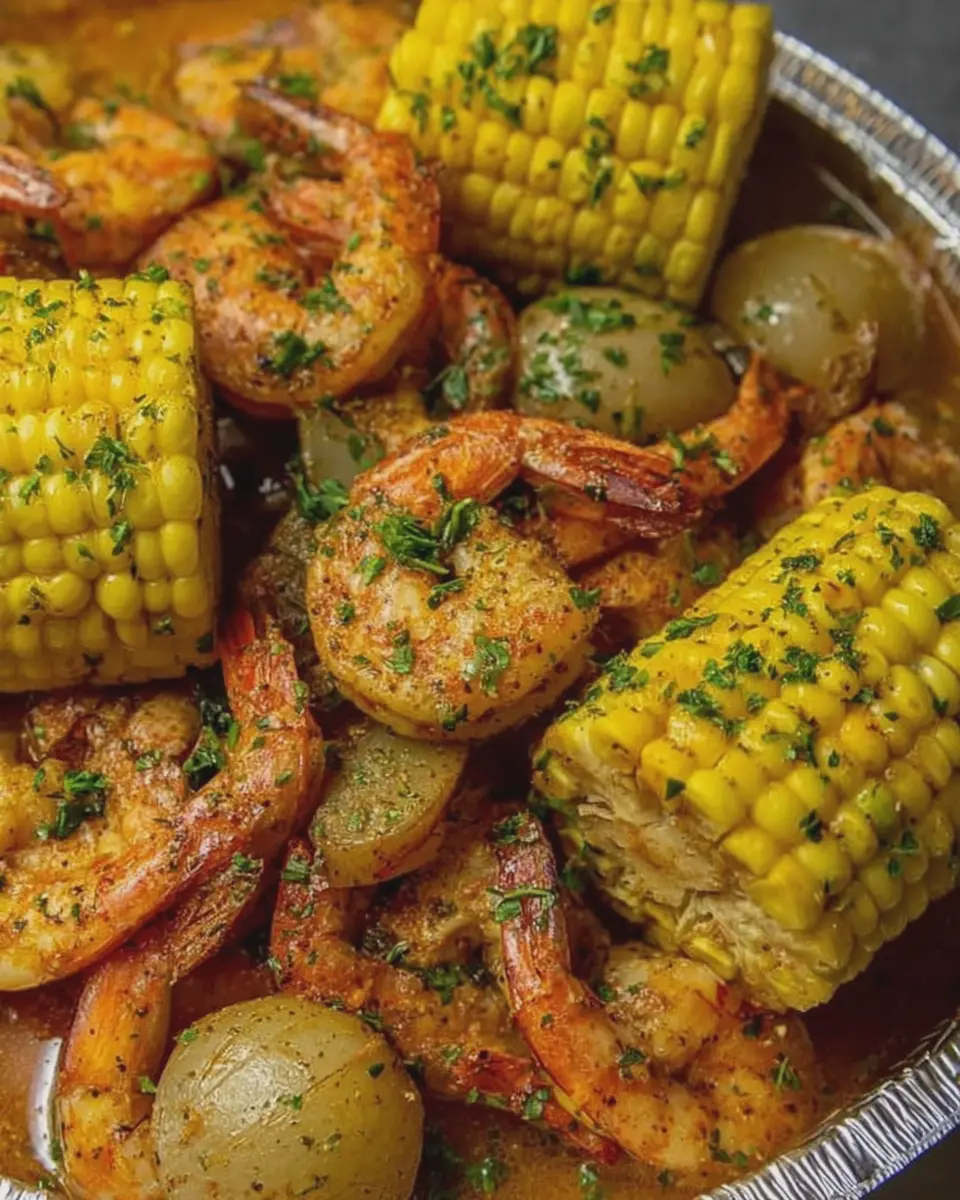
For those who crave a bit of heat, adding spicy sausage to your garlic butter shrimp boil tray can elevate the dish into a flavor-packed adventure. Consider using smoked beef sausage for that rich, deep flavor. Simply slice the sausage and mix it in with your shrimp, corn, and potatoes. The spices from the sausage will infuse the butter and garlic sauce, creating a deliciously spicy twist that will tantalize your taste buds. Pair this with a refreshing cucumber salad or some crusty bread to balance the heat. Want a secret tip? Squeeze fresh lemon juice over the entire tray right before serving—you’ll be amazed at the freshness it brings!
Vegetarian Garlic Butter Boil
For a lighter, plant-based option, try a vegetarian garlic butter boil. Instead of shrimp, load your tray with an assortment of seasonal vegetables like artichokes, asparagus, and bell peppers. The garlic butter sauce works wonders here—drench your veggies in it to ensure every bite is flavorful. You can also add hearty ingredients like potatoes and corn for a filling dish. Want to amp up the flavor? Toss in some smoked paprika or a dash of nutritional yeast to mimic that savory, umami taste. This option caters beautifully to those looking for a comforting meal without the meat, making it perfect for gatherings or casual dinners.
By experimenting with these variations, you’ll keep your garlic butter shrimp boil tray fresh and exciting, encouraging you and your guests to come back for more! Interested in more cooking tips? Check out these vegetarian cooking blogs for inspiration.
Cooking Tips and Notes for Garlic Butter Shrimp Boil Tray
Achieving the Right Texture and Flavor
To make the ultimate garlic butter shrimp boil tray, the secret lies in your ingredient preparation. Start by ensuring your shrimp are fresh and ideally deveined, as this enhances both texture and ease of eating. Don’t forget to lightly season your vegetables. A sprinkle of sea salt and a dash of black pepper before roasting can elevate the flavor leaps. For that extra kick, consider squeezing fresh lemon juice over everything just before serving. It brightens up the dish beautifully!
For added depth, why not try a splash of chicken stock instead of just water? It’ll pull those flavors together like a comforting hug.
Impress Your Guests with Presentation
A beautifully arranged garlic butter shrimp boil tray can turn a simple meal into a feast for the senses. Use a large, colorful serving platter and layer your shrimp, vegetables, and slices of turkey bacon artfully. Garnish with fresh parsley or a sprinkle of paprika for a pop of color; it goes a long way in making your dish visually appealing. Serve everything with lemon wedges on the side — they not only look stunning but allow your guests to customize their flavor experience!
For more tips on plating foods beautifully, check out this visual guide from Bon Appétit. Your friends are sure to be impressed!
Serving Suggestions for Garlic Butter Shrimp Boil Tray
Perfect Pairings with Sides and Drinks
When it comes to your garlic butter shrimp boil tray, sides and beverages can elevate the entire experience. Consider serving it alongside:
- Corn on the Cob: Sweet and tender, it’s the perfect complement to the savory shrimp.
- Roasted Potatoes: The crispy edges and fluffy interior will soak up the delicious garlic butter.
- Garden Salad: A light and refreshing salad, perhaps with a citrus vinaigrette, can balance the dish’s richness.
For drinks, opt for something refreshing like lemonade or a sparkling water infused with fresh fruits. These options won’t overpower the shrimp, allowing the garlic and butter flavors to shine through.
Creative Ways to Plate Your Dish
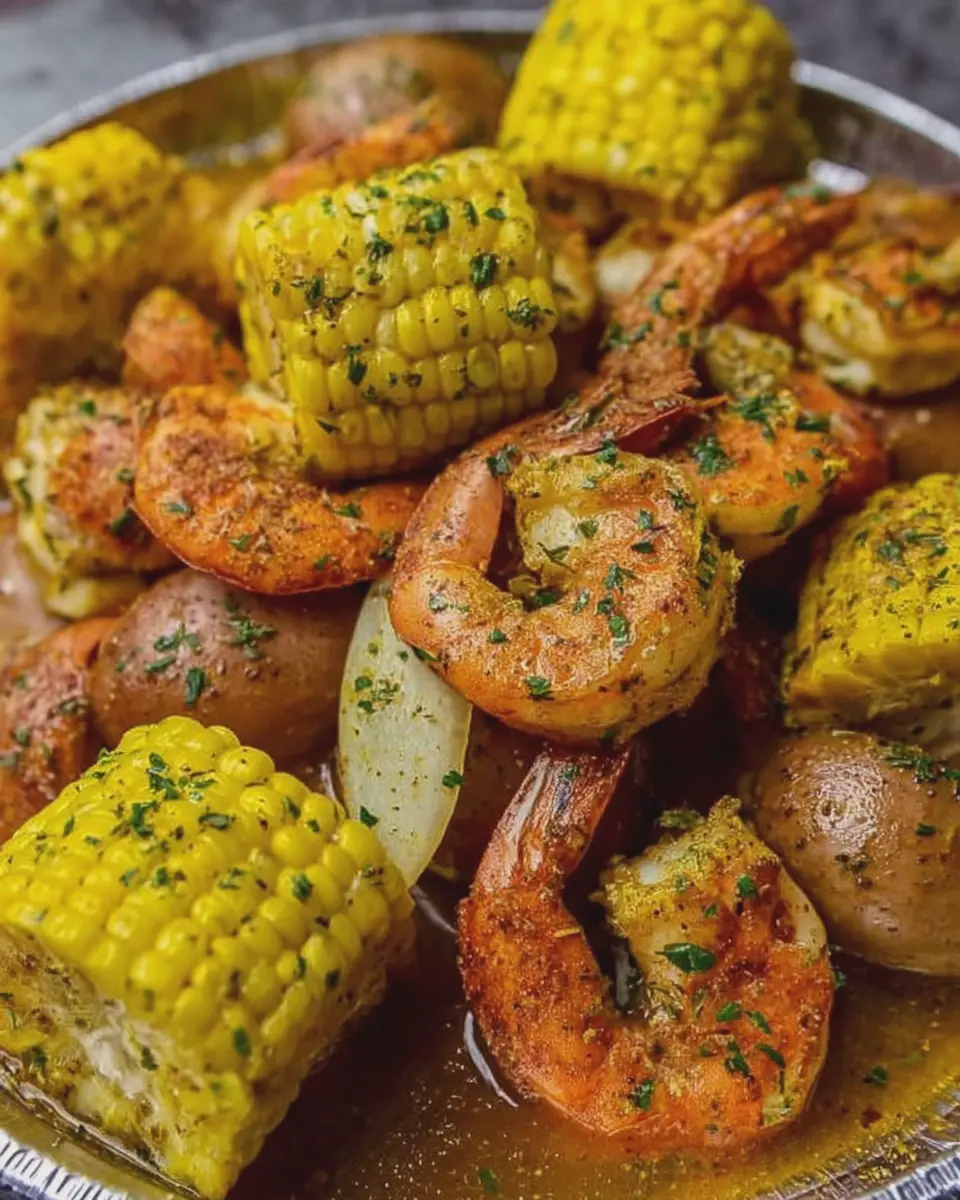
Plating your garlic butter shrimp boil tray can be an art form. Here are some tips to make it visually appealing:
- Large Serving Platter: Spread the shrimp, corn, and potatoes evenly, showcasing their vibrant colors.
- Use Parchment Paper: Line the tray with parchment for a rustic touch. It’s easy to clean and adds charm.
- Garnish Generously: Fresh parsley or cilantro adds a pop of color and an aromatic finish.
Feel free to explore other creative plating ideas, like serving individual portions in bowl-like shells or mason jars for a fun twist. Get inspired by other culinary blogs like Serious Eats for more plating techniques.
Your guests will be impressed, and you’ll enjoy a meal that’s just as delightful to the eyes as it is to the palate!
Time Breakdown for Garlic Butter Shrimp Boil Tray
Preparation time
Getting your ingredients ready will take about 15 minutes. Focus on chopping veggies, peeling shrimp, and measuring out your seasonings. It’s a fun way to unwind after a long day!
Cooking time
The cooking process is quick and efficient, taking approximately 25 minutes. You’ll be stirring, sautéing, and boiling all those delightful flavors together.
Total time
In total, you’re looking at just about 40 minutes from start to finish for this garlic butter shrimp boil tray. That’s a pretty sweet deal for a meal that’s bursting with flavor! If you’re interested in learning more about quick meal prep, check out this guide on meal planning.
Nutritional Facts for Garlic Butter Shrimp Boil Tray
When whipping up a delightful garlic butter shrimp boil tray, it’s great to know what you’re serving up! This dish is not only delicious but also packed with nutrients.
Calories per serving
Each serving of this shrimp boil tray contains approximately 350 calories, making it a satisfying yet light option for dinner.
Key nutrients
You’ll find an abundance of key nutrients in this meal, including:
- Protein: Essential for muscle repair and growth, thanks to shrimp and turkey bacon.
- Healthy fats: Coming from butter and any added oils.
- Vitamins: Various vegetables provide vitamins A and C, which support your immune system.
Dietary considerations
This recipe can easily accommodate various dietary preferences. The garlic butter shrimp boil tray is naturally gluten-free and can be made low-carb by skipping starchy vegetables. If you’re looking to reduce your sodium intake, consider using low-sodium chicken ham or turkey bacon.
For more detailed nutritional insights, check out the USDA FoodData Central here. Understanding what’s in your food not only helps you make healthier choices but also allows you to truly enjoy each bite!
Enjoy making this delicious dish that’s as nutritionally rich as it is flavorful!
FAQs about Garlic Butter Shrimp Boil Tray
How can I store leftover shrimp boil?
Storing your leftover garlic butter shrimp boil tray is super simple! Allow the dish to cool down to room temperature, then transfer it into an airtight container. You can keep it in the refrigerator for up to three days. If you have a larger batch, consider separating it into smaller portions for easier reheating. For longer storage, freeze the shrimp boil in a freezer-safe container, and it should last up to three months. When you’re ready to enjoy it again, just defrost in the fridge overnight and reheat on the stovetop for the best results.
Can I use frozen shrimp instead of fresh?
Absolutely! Frozen shrimp can work beautifully in your garlic butter shrimp boil tray. Just make sure to thaw them properly before cooking. You can do this by placing the shrimp in a bowl of cold water for about 15-20 minutes, or simply let them thaw overnight in the fridge. Keep in mind that frozen shrimp might release some water during cooking, so adjust your seasoning as needed.
What’s a good alternative to shrimp in this recipe?
If shrimp isn’t your thing—or maybe you’ve developed a shellfish allergy—don’t fret! You can easily switch it up. For a meatier option, consider using chicken breast or fish. The flavors of garlic butter pair well with various proteins—make sure to adjust the cooking times accordingly. Turkey bacon can also add a savory element if you’re looking to include a smoky flavor in your dish. For more creativity, check out Seafood Nutrition’s resource.
This versatility makes the garlic butter shrimp boil tray not just yummy, but adaptable to suit your taste preferences!
Conclusion on Garlic Butter Shrimp Boil Tray
Why you should try this recipe today
If you’re looking to turn a weeknight dinner into a flavor-packed experience, the garlic butter shrimp boil tray is a must-try! Not only is it easy to prepare, but it also visually impresses. With vibrant colors and that irresistible aroma, you’ll love sharing it with friends or family. Plus, it’s a great way to enjoy healthy seafood, rich in omega-3 fatty acids, which are excellent for heart health. The best part? Minimal cleanup!
Encouragement to embrace homemade meals
Embracing homemade meals, like this shrimp boil, can transform your dining experience. Cooking creates memories, fosters creativity, and encourages healthier choices. Why not experiment with herbs or spices you love? A quick search on the benefits of cooking at home reveals even more advantages. Trust me, your kitchen will thank you as you explore flavors and techniques that make each meal uniquely yours!
PrintGarlic Butter Shrimp Boil Tray: Easy Family-Friendly Delight

A delicious and easy-to-make Garlic Butter Shrimp Boil Tray that the whole family will love.
- Prep Time: 15 minutes
- Cook Time: 30 minutes
- Total Time: 45 minutes
- Yield: 4 servings 1x
- Category: Seafood
- Method: Baking
- Cuisine: American
- Diet: Gluten-Free
Ingredients
- 1 pound shrimp, deveined
- 1/2 pound sausage, sliced
- 4 cups baby potatoes, halved
- 2 cups corn, cut into thirds
- 1/2 cup butter
- 4 cloves garlic, minced
- 1 tablespoon Old Bay seasoning
- 1 teaspoon paprika
- 1/2 teaspoon salt
- 1/4 teaspoon black pepper
Instructions
- Preheat the oven to 400°F (200°C).
- In a large bowl, combine shrimp, sausage, potatoes, and corn.
- In a saucepan, melt butter and sauté garlic until fragrant.
- Add Old Bay seasoning, paprika, salt, and pepper to the butter mixture and mix well.
- Pour the garlic butter over the shrimp mixture and toss to coat.
- Spread the mixture evenly on a large baking tray.
- Bake for 25-30 minutes or until shrimp are cooked through and veggies are tender.
- Serve hot and enjoy!
Notes
- For extra flavor, add lemon juice and fresh parsley before serving.
- Adjust spice levels to your preference.
Nutrition
- Serving Size: 1 serving
- Calories: 450
- Sugar: 2g
- Sodium: 850mg
- Fat: 25g
- Saturated Fat: 10g
- Unsaturated Fat: 15g
- Trans Fat: 0g
- Carbohydrates: 35g
- Fiber: 3g
- Protein: 25g
- Cholesterol: 200mg
Keywords: Garlic Butter Shrimp Boil Tray, easy shrimp recipes, family-friendly dinner