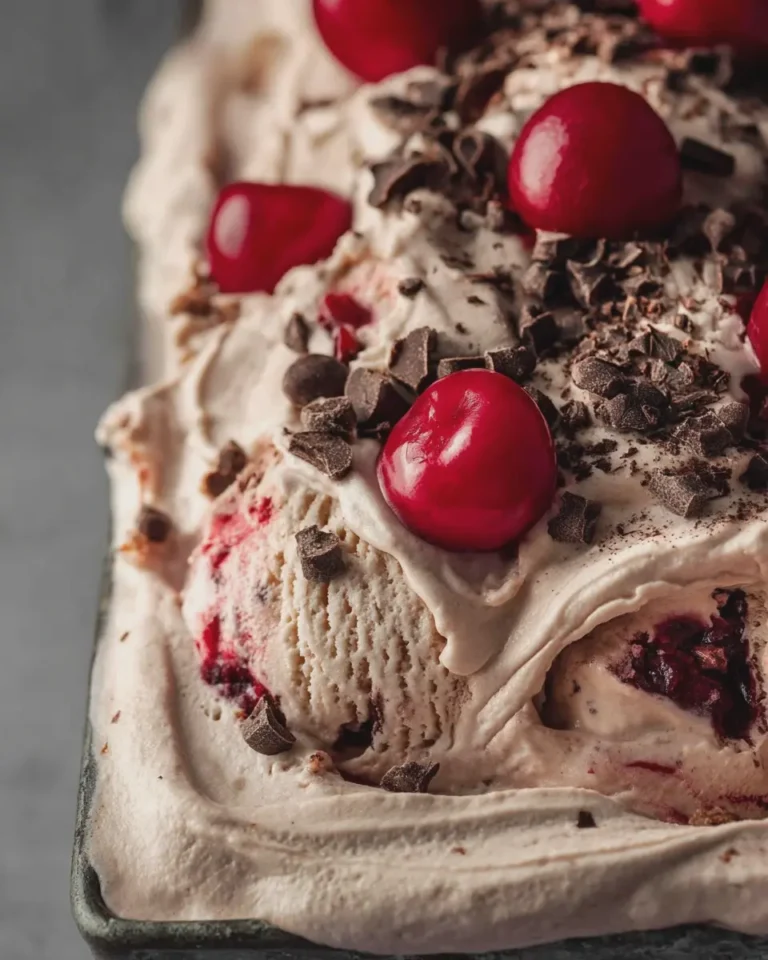
Introduction to Chocolate Cherry Cheesecake Ice Cream
If you’re anything like me, the thought of indulging in a scoop of chocolate cherry cheesecake ice cream in the warm sun can bring a smile to your face. This creamy delicacy intricately combines two beloved desserts: the rich sweetness of chocolate and the zesty brightness of cherries, all while packing that delightful cheesecake punch. The best part? You get the chance to create it right in your own kitchen!
Why Choose Homemade Ice Cream?
So, why go the homemade route?
-
Quality Ingredients: When you make ice cream from scratch, you have control over every ingredient that goes in. You can choose organic, fresh cherries, high-quality chocolate, and cream that’s free from preservatives and artificial flavors. It’s like crafting a masterpiece where you pick the best paints.
-
Customization: Craving more chocolate? Add extra cocoa powder. Want a tangier cheesecake base? Experiment with the cream cheese ratio. You can tweak the recipe to suit your taste buds perfectly.
-
Fun Factor: Making ice cream at home can be a fun activity to do with friends or family. It turns into a creative experience where everyone can contribute—from chopping cherries to tasting along the way.
Did you know that homemade ice cream can be healthier, too? By using real fruit and controlling the sugar levels, you can enjoy a guilt-free treat that doesn’t skimp on flavor. Plus, as per a study published by the USDA, homemade ice cream can have fewer additives compared to store-bought versions. This means you can serve a dessert that’s not just delicious but also smarter for your body.
As we dive deeper into the recipe, prepare your taste buds for a luxurious blend of flavors. The balance of decadent chocolate and the tart cherry will take your dessert game to a whole new level, appealing to both chocolate lovers and cheesecake enthusiasts.
So grab your ice cream maker and let’s get started on crafting this delightful chocolate cherry cheesecake ice cream that could be your new summer staple! Keep reading for the recipe and some tasty tips along the way.
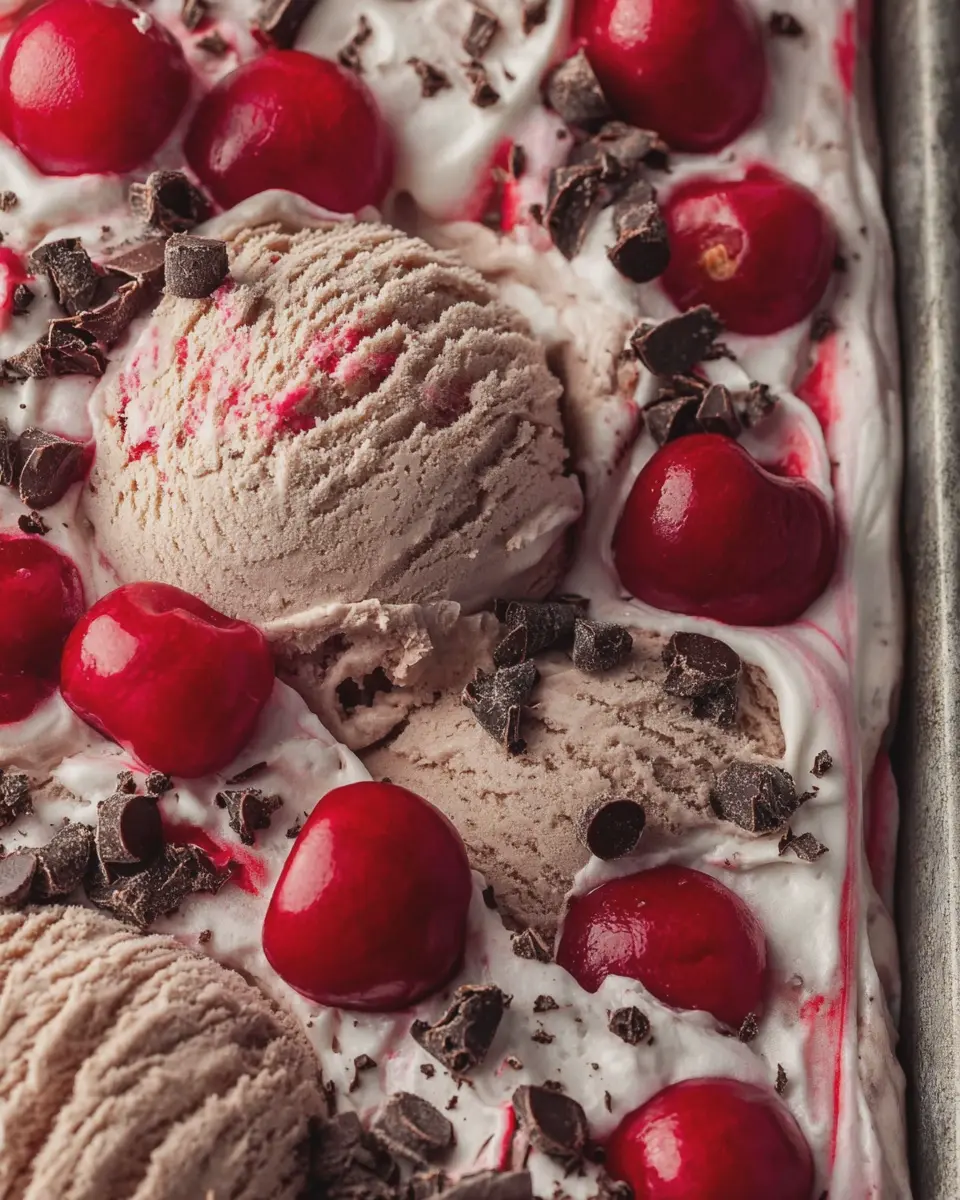
Ingredients for Chocolate Cherry Cheesecake Ice Cream
Creating a delightful chocolate cherry cheesecake ice cream doesn’t require a treasure trove of ingredients, but the ones you do need are essential for capturing that perfect balance between richness and tartness. Let’s dive into what you’ll need for this delicious dish.
Essential Ingredients List
- Cream Cheese: Approximately 8 ounces, softened. This adds the classic cheesecake flavor and creaminess.
- Heavy Cream: 2 cups, for that luscious, creamy texture.
- Whole Milk: About 1 cup, to lighten the mixture and provide a lovely base.
- Granulated Sugar: 3/4 cup, sweetening it just right.
- Vanilla Extract: 1 teaspoon, bringing all the flavors together.
- Cocoa Powder: 1/2 cup, for that rich chocolate essence.
- Frozen Cherries: 1 to 1.5 cups, either whole or chopped, depending on your preference.
- Chocolate Chips: 1 cup, for an added indulgence of chocolate bites.
These ingredients will create harmonizing flavors that will leave your taste buds dancing! For a more in-depth guide on why each ingredient matters, check out this compelling read on the science of ice cream from the Ice Cream Institute.
Step-by-Step Preparation of Chocolate Cherry Cheesecake Ice Cream
Making chocolate cherry cheesecake ice cream at home is a delightful project that will not only please your taste buds but also impress your friends. This creamy, decadent treat combines the richness of cheesecake with the playful flavors of cherries and chocolate. Let’s dive into the steps to create this scrumptious dessert!
Oreos and Butter Mixture
First things first—let’s start with the base of our ice cream. The crust-like component will provide a fantastic crunch and richness that complements the creamy layers.
- Ingredients Needed:
- 20 Oreo cookies
- 4 tablespoons of unsalted butter (melted)
Instructions:
-
Crush the Oreos: Place the Oreo cookies in a zip-lock bag and crush them using a rolling pin until you have fine crumbs. You could also use a food processor for this step, which will save you some muscle effort (and give you a smoother texture).
-
Combine with Butter: In a mixing bowl, combine the crushed Oreos with the melted butter. Mix until the crumbs are all coated. This delicious mixture will be the foundation of our chocolate cherry cheesecake ice cream.
The trick here is to ensure the butter is evenly distributed, so every spoonful of ice cream carries that rich, chocolatey flavor!
Cream Cheese and Ice Cream Base
Next up is creating the creamy filling that will be the heart and soul of your ice cream.
- Ingredients Needed:
- 8 ounces of cream cheese (softened)
- 1 cup of sugar
- 2 cups of heavy cream
- 1 teaspoon of vanilla extract
Instructions:
-
Blend Cream Cheese: In a large bowl, beat the softened cream cheese with an electric mixer until it’s smooth and creamy—no lumps allowed!
-
Add Sugar and Vanilla: Slowly mix in the sugar and vanilla extract until fully combined.
-
Incorporate Heavy Cream: Gradually add the heavy cream to your mixture, beating on low until combined. Then increase the speed to medium, whipping it until smooth.
This rich ice cream base is incredibly versatile. You can even customize the flavors by adding a touch of almond extract if you’re feeling adventurous!
Combining Oreo Mixture and Cherry Filling
Now for the best part—combining everything together!
- Ingredients Needed:
- 1 cup of cherry pie filling
- Reserved Oreo mixture
Instructions:
-
Layering Ingredients: In a large bowl, gently fold the cherry pie filling into the cream cheese ice cream base. You want the cherries to be beautifully distributed throughout but not completely broken down.
-
Add Oreos: Finally, fold in the Oreo mixture gently, ensuring it’s well combined but still has some texture.
As you mix, you can already envision how every bite of your chocolate cherry cheesecake ice cream will be a delightful experience.
Transferring to a Container
It’s time to get everything into a container!
- Choose a Freezer-Safe Container: Make sure it has a tight-fitting lid.
Instructions:
-
Fill Container: Spoon your ice cream mixture into the container. Smooth the top with a spatula to make it neat.
-
Optional Layer: If you want to add more Oreo crumbs or cherries on top, feel free to sprinkle them over the surface for that extra touch.
Freezing Process
This is where the magic happens—time to freeze!
- Set Freezer to Lowest Temperature:
Instructions:
-
Cover and Freeze: Seal your container and place it in the freezer. Allow the ice cream to freeze for at least 4-6 hours, but overnight is best to achieve a firm texture.
-
Serving: When you’re ready to dive in, let the chocolate cherry cheesecake ice cream sit at room temperature for about 10 minutes before scooping. This will help you get those perfect, creamy scoops.
Creating your own chocolate cherry cheesecake ice cream is not only a fun endeavor but also a way to treat yourself and your loved ones to a delicious homemade treat. So gather your ingredients, and indulge in this fantastic dessert. Enjoy every spoonful!
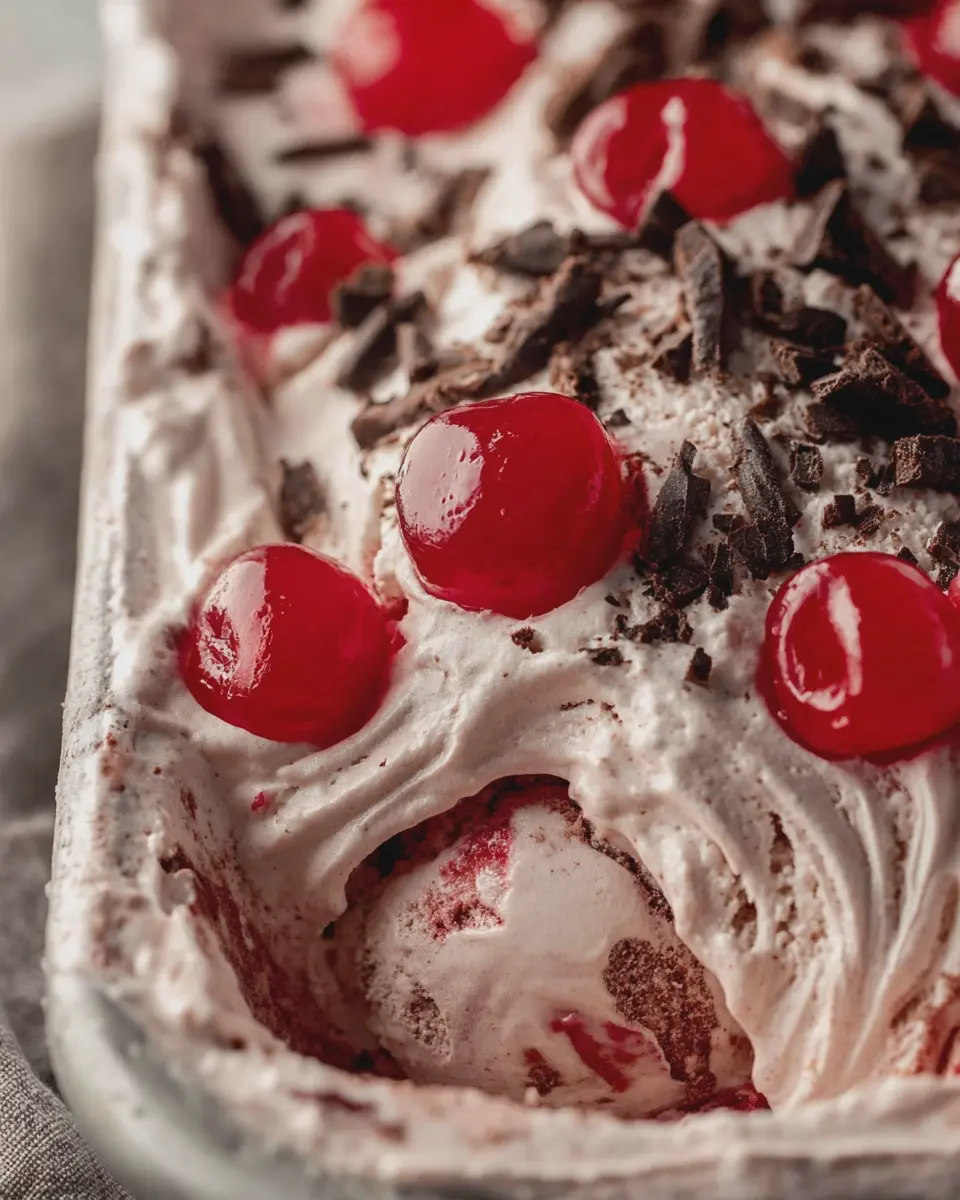
Variations on Chocolate Cherry Cheesecake Ice Cream
Indulge in a Chocolate Cherry Cheesecake Swirl
If you’re a fan of delightful textures, try creating a chocolate cherry cheesecake ice cream swirl! This variation involves taking a basic cheesecake ice cream base and adding generous ribbons of cherry and luscious chocolate sauce. As you mix, let each scoop tell a story of creamy cheesecake, bright cherry flavor, and rich chocolate. To prepare the swirl, simply heat equal parts of cherry preserves and chocolate sauce until they blend together. Then layer this mixture into your ice cream base before freezing. The visual appeal? Absolutely stunning! Not only does this method intensify the flavor with each spoonful, but it also adds an eye-catching swirl that’s perfect for entertaining guests or enjoying a quiet night in. For more tips on flavor combinations, check out this guide.
Explore the No-Churn Option
Don’t have an ice cream maker? No problem! The no-churn option allows you to whip up delicious chocolate cherry cheesecake ice cream without needing any fancy gadgets. Just combine whipped cream with sweetened condensed milk and some cream cheese until smooth. Fold in your cherry pie filling and chocolate chips or swirls for flavor. It’s really that simple! Pour it into a container and freeze for about 6 hours or overnight. This method is not just easy; it’s a fun way to involve friends or family in the kitchen, turning ice cream-making into a memorable experience. Plus, the no-churn base ensures a creamy, smooth texture that you won’t believe was so effortless to create!
Feel free to experiment with other flavors like pistachio or even berries to keep things exciting!
Cooking Tips and Notes for Chocolate Cherry Cheesecake Ice Cream
Creating the perfect chocolate cherry cheesecake ice cream is all about attention to detail and balancing flavors. Here are some key tips to ensure your ice cream comes out smooth, creamy, and bursting with flavor:
Key tips for success
-
Use Quality Ingredients: The better the ingredients, the better the flavor. Opt for real cream cheese and fresh cherries if possible. They add a depth that substitutes can’t match.
-
Chill Your Mixture: For a smoother texture, chill your ice cream base in the refrigerator before churning. This step reduces ice crystals, making for a creamier ice cream.
-
Blend or Chunk?: Consider your texture preference. For a thicker cherry cheesecake experience, blend some cherries into the mixture while folding in some entire cherries for a delightful pop of flavor.
-
Taste as You Go: Adjust the sweetness according to your palate. Sometimes, the cherries may sweeten the mixture enough, reducing the need for additional sugar.
These small adjustments can make a world of difference in your chocolate cherry cheesecake ice cream journey. Happy churning! For more ice cream techniques, check out The Ice Cream Bar’s techniques for expert tips.
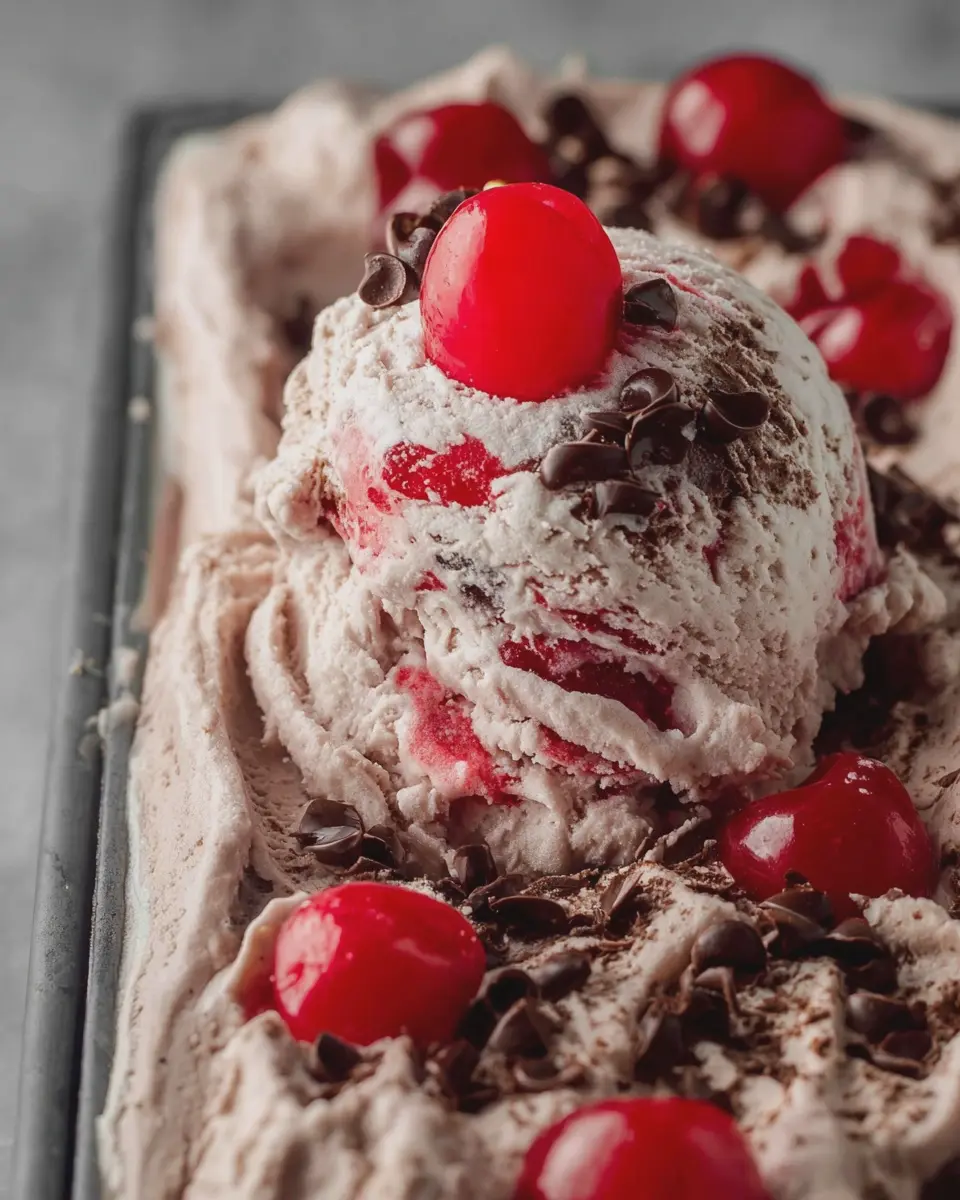
Serving Suggestions for Chocolate Cherry Cheesecake Ice Cream
Creative Ways to Serve
When it comes to enjoying your chocolate cherry cheesecake ice cream, the possibilities are as tempting as the flavors themselves! Here are some delightful ideas to elevate your dessert experience:
-
Sundae Style: Layer your ice cream in a glass with whipped cream, chopped nuts, and a drizzle of chocolate syrup. Not only does it taste divine, but it also looks stunning!
-
With Fresh Cherries: Garnish with fresh cherries for a burst of natural sweetness that complements the rich chocolate and creamy cheesecake. A fresh touch can really highlight the flavors.
-
On a Sweet Cone: Serve your ice cream in a waffle cone rolled in crushed graham crackers to mimic the cheesecake crust. It adds texture and makes every bite that much more fun.
-
As a Milkshake: Blend your chocolate cherry cheesecake ice cream with milk for a decadent milkshake that’s perfect for a summer treat. You can even top it with whipped cream and a cherry!
Did you know that ice cream has been loved since ancient times? According to History.com, early versions were enjoyed by royalty around the world. Why not treat yourself like royalty with these serving ideas?
Time Breakdown for Chocolate Cherry Cheesecake Ice Cream
When it comes to making chocolate cherry cheesecake ice cream, being aware of your time commitment can really help. Here’s a quick breakdown to keep your expectations in check:
Preparation time
Start your adventure in ice cream making with about 20 to 30 minutes for preparation. You’ll need time to mix your ingredients and ensure the cream cheese is softened, so it blends smoothly. Be sure to allow the chocolate to cool before combining it with other elements for the best results.
Freezing time
Once your mixture is ready, it’s time to let it chill. Freeze the ice cream for about 4 to 6 hours to achieve the creamy texture we all crave. Plan ahead so you can scoop into this delightful treat later.
Total time
Ultimately, you’ll be looking at around 5 to 6.5 hours from start to finish, including both preparation and freezing. So go ahead, take the plunge into this rich, luscious recipe! You can also check out more on ice cream making techniques from sources like Serious Eats to elevate your skills!
Nutritional Facts for Chocolate Cherry Cheesecake Ice Cream
Calories per serving
When indulging in this delightful chocolate cherry cheesecake ice cream, you’ll be pleased to know it’s a treat worth every calorie! Each serving typically contains around 260–300 calories. It’s a perfect balance of richness and sweetness, making it a satisfying dessert without overdoing it.
Key nutrients
Let’s take a peek at what makes this ice cream not just tasty but also a bit nutritious:
- Protein: Around 5g, thanks to the cream cheese and any milk you choose.
- Fat: About 14-16g, primarily healthy fats from the cream.
- Carbohydrates: Roughly 26g, mainly from the sugar and cherries, providing a quick energy boost.
- Fiber: Cherries contribute some fiber, around 1g per serving.
For those looking to indulge occasionally without guilt, feeling informed about what you’re consuming adds to the enjoyment! If you’re interested in how to make it healthier or want to learn more about balanced diets, you might check out sources like Healthline or Nutrition.gov.
FAQ about Chocolate Cherry Cheesecake Ice Cream
How long can I store homemade ice cream?
When it comes to storing your delightful Chocolate Cherry Cheesecake Ice Cream, it’s best to keep it in an airtight container to maintain its creamy texture and flavor. Generally, homemade ice cream can last about 2 to 3 weeks in the freezer. However, for the best taste and texture, try to enjoy it within the first week. This helps ensure that the fresh cherries and rich chocolate flavors remain vibrant!
Can I substitute ingredients for a healthier version?
Absolutely! If you’re looking to lighten up your chocolate cherry cheesecake ice cream, consider these tips:
- Swap cream for Greek yogurt: This can reduce fat and add protein.
- Use low-sugar alternatives: Replace granulated sugar with stevia or erythritol for a lower-calorie option.
- Opt for dark chocolate: Choose chocolate with higher cocoa content (70% or more) for a richer flavor and less sugar.
- Choose fresh cherries: If you can, use fresh cherries instead of canned to avoid added sugars.
These swaps can still give you an indulging experience without the full calorie load.
What if my ice cream is too hard after freezing?
If you find that your Chocolate Cherry Cheesecake Ice Cream is too hard after freezing, don’t fret! This can happen sometimes, especially if you didn’t churn it enough or if it was in the freezer for too long. Simply let it sit at room temperature for about 5 to 10 minutes before scooping. If it’s still difficult to scoop, you can transfer it to the fridge for about 20-30 minutes. Enjoy your delicious treat without the struggle!
For more tips on ice cream storage and techniques, check out the comprehensive guide on Making the Best Ice Cream.
These little tricks can make homemade ice cream an easy and enjoyable experience!
Conclusion on Chocolate Cherry Cheesecake Ice Cream
Final thoughts on making this delightful treat
Creating chocolate cherry cheesecake ice cream is not just about following a recipe; it’s about indulging in the joy of combining flavors and textures. Imagine a creamy scoop of rich cheesecake, swirled with luscious cherry and decadent chocolate.
When you make this dessert, you’re not just treating yourself but crafting a memorable experience for friends or family too. Don’t hesitate to experiment with ingredients or textures—adding chunks of chocolate or a sprinkle of nuts can elevate your creation.
For more inspiration and tips on ice cream recipes, check out Food & Wine or Serious Eats. Now, grab your ice cream maker and start blending!
PrintChocolate Cherry Cheesecake Ice Cream Recipe You’ll Indulge In

Indulge in a creamy and rich Chocolate Cherry Cheesecake Ice Cream perfect for any dessert lover.
- Prep Time: 15 minutes
- Cook Time: 0 minutes
- Total Time: 4 hours 15 minutes
- Yield: 6 servings 1x
- Category: Dessert
- Method: Ice Cream Maker
- Cuisine: American
- Diet: Vegetarian
Ingredients
- 2 cups heavy cream
- 1 cup cherry puree
- 1 cup cream cheese, softened
- 3/4 cup sugar
- 1 teaspoon vanilla extract
- 1/2 cup chocolate chips
- 1/4 cup chopped cherries
Instructions
- In a large bowl, beat the cream cheese with sugar until smooth.
- Gradually add the heavy cream, mixing until combined.
- Stir in cherry puree and vanilla extract.
- Fold in chocolate chips and chopped cherries.
- Pour the mixture into an ice cream maker and churn according to the manufacturer’s instructions.
- Transfer to a container and freeze for at least 4 hours before serving.
Notes
- For a richer flavor, use dark chocolate chips.
- Let the ice cream sit at room temperature for a few minutes before scooping.
Nutrition
- Serving Size: 1 cup
- Calories: 250
- Sugar: 23g
- Sodium: 50mg
- Fat: 18g
- Saturated Fat: 11g
- Unsaturated Fat: 5g
- Trans Fat: 0g
- Carbohydrates: 22g
- Fiber: 1g
- Protein: 3g
- Cholesterol: 60mg
Keywords: Chocolate Cherry Cheesecake Ice Cream, ice cream recipe, dessert