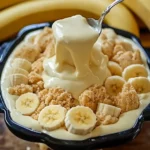
Introduction to Banana Pudding
Banana pudding is a quintessential American dessert that has graced tables for generations. Originating in the southern United States, it has become a beloved treat across the country due to its rich, creamy layers and satisfying flavor combination. Traditionally made with layers of vanilla wafers, sliced bananas, and custard or pudding, this dessert is a timeless classic that brings comfort and nostalgia to every bite.
What makes this particular banana pudding recipe stand out is its simplicity and richness. By blending easy-to-find ingredients like instant vanilla pudding mix and sweetened condensed milk, we achieve a velvety texture that feels indulgent but is straightforward to prepare. Whether you’re hosting a potluck, celebrating a special occasion, or simply craving a delightful dessert, this recipe is sure to please.
For more inspiration on how to layer desserts beautifully, check out Layered Desserts Inspiration.
Overview of Ingredients
To create the best banana pudding ever, you’ll need a handful of basic yet powerful ingredients that combine to produce a creamy, flavorful masterpiece.
Main Components
Here’s what you’ll need:
- 2 cups cold milk
- Provides the base for the pudding’s creamy texture.
- 1 (5-ounce) package instant vanilla pudding mix
- Adds a rich, sweet vanilla flavor.
- 1 (14-ounce) can sweetened condensed milk
- Elevates the dish with intense sweetness and smoothness. Learn more about its versatility at Vanilla Pudding Recipes Tips.
- 1 tablespoon vanilla extract
- Enhances the overall flavor profile.
- 1 (12-ounce) container frozen whipped topping, thawed
- Creates a light and fluffy texture when folded into the pudding.
- 1 (16-ounce) package vanilla wafers
- Adds a crunch and serves as a sturdy base for the layers.
- 14 small bananas, sliced (or to taste)
- Brings natural sweetness and a touch of tartness.
Substitutions and Variations
If you’re looking to mix things up or can’t find a particular ingredient, here are some alternatives:
- Cookies: Instead of vanilla wafers, use shortbread cookies or Chessman cookies for a buttery twist.
- Whipped Topping: Substitute store-bought whipped topping with homemade whipped cream for an elevated, fresher taste.
- Pudding Mix: Swap vanilla pudding mix for banana-flavored pudding to amplify the banana flavor.
For more insights on choosing the perfect bananas for this recipe, visit How to Choose Ripe Bananas.
This combination of thoughtfully chosen ingredients and versatile substitutions ensures your banana pudding is customizable while maintaining its iconic appeal.
Preparation Process
Creating the best banana pudding ever is all about layering flavors and textures to achieve a creamy, delicious dessert. Follow these step-by-step directions for perfect results every time.
Step-by-Step Directions
Whisking the Pudding Mix
To begin, prepare the pudding base:
- In a large mixing bowl, combine 2 cups of cold milk and 1 (5-ounce) package of instant vanilla pudding mix.
- Use a whisk to beat the mixture for approximately 2 minutes, or until it thickens to a smooth consistency.
Pro Tip: For best results, ensure the milk is very cold before starting. This will help the pudding set more effectively.
If you’re curious about enhancing flavors in simple desserts, explore this guide on Vanilla Pudding Recipes Tips.
Incorporating Sweetened Condensed Milk and Vanilla Extract
Next, elevate the pudding’s creaminess by adding:
- 1 (14-ounce) can of sweetened condensed milk
- 1 tablespoon of vanilla extract
- Gently stir until the mixture is smooth and fully incorporated.
Pro Tip: Take your time when combining these ingredients. Smooth consistency is key to avoiding lumps in your final pudding mixture. Learn more about using sweetened condensed milk in desserts at Vanilla Pudding Recipes Tips.
Adding Whipped Topping
To achieve the dessert’s signature light and airy texture:
- Gently fold in 1 (12-ounce) container of thawed whipped topping using a spatula.
- Ensure the whipped topping is evenly distributed, but be careful not to overmix, as this can deflate the mixture.
Pro Tip: Use gentle, sweeping motions when folding to preserve the fluffiness of the whipped topping.
Layering the Banana Pudding
Layering is essential for the perfect bite of banana pudding. Here’s how to do it:
Base Layer
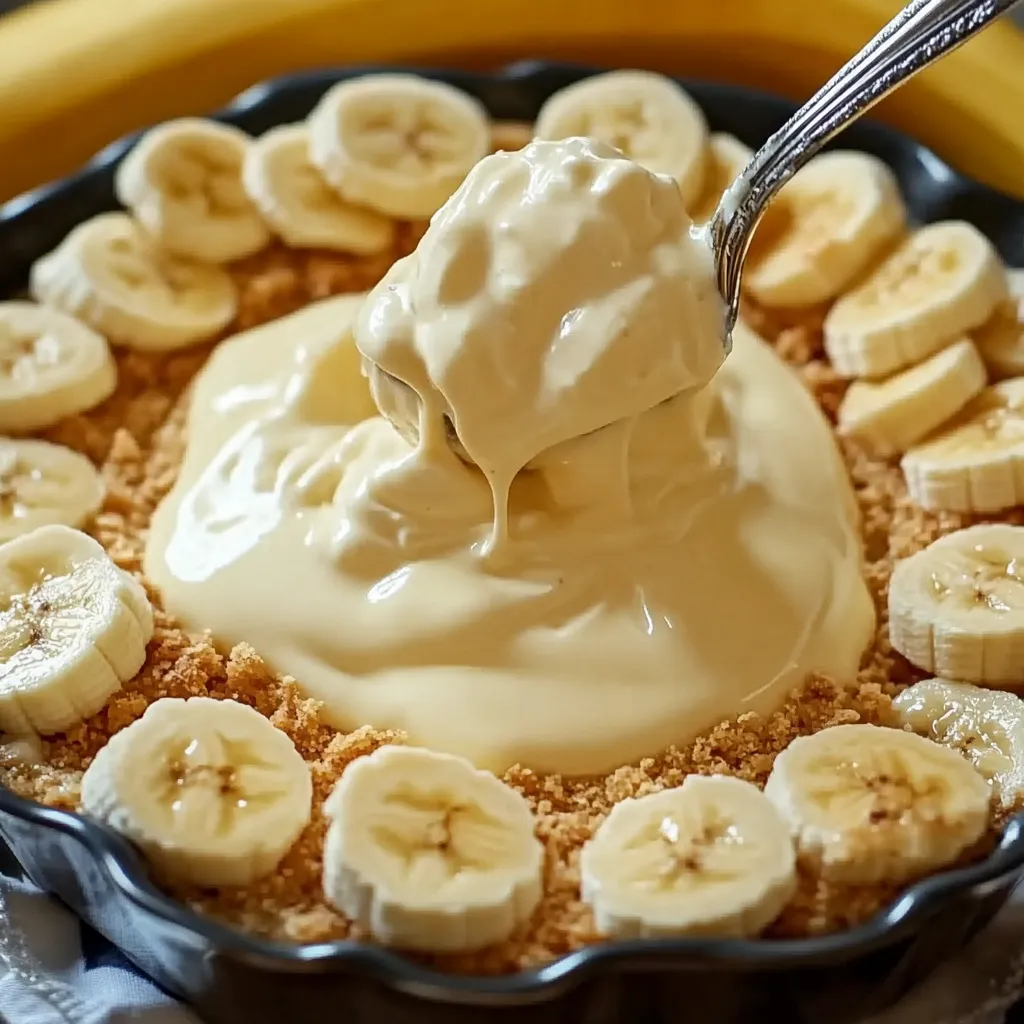
- Begin by placing a layer of vanilla wafers at the bottom of a large glass serving bowl.
- Ensure the cookies are evenly distributed to provide a sturdy foundation.
Pro Tip: Use unbroken wafers for a neater appearance and better structural integrity.
Banana and Pudding Mixture Layers
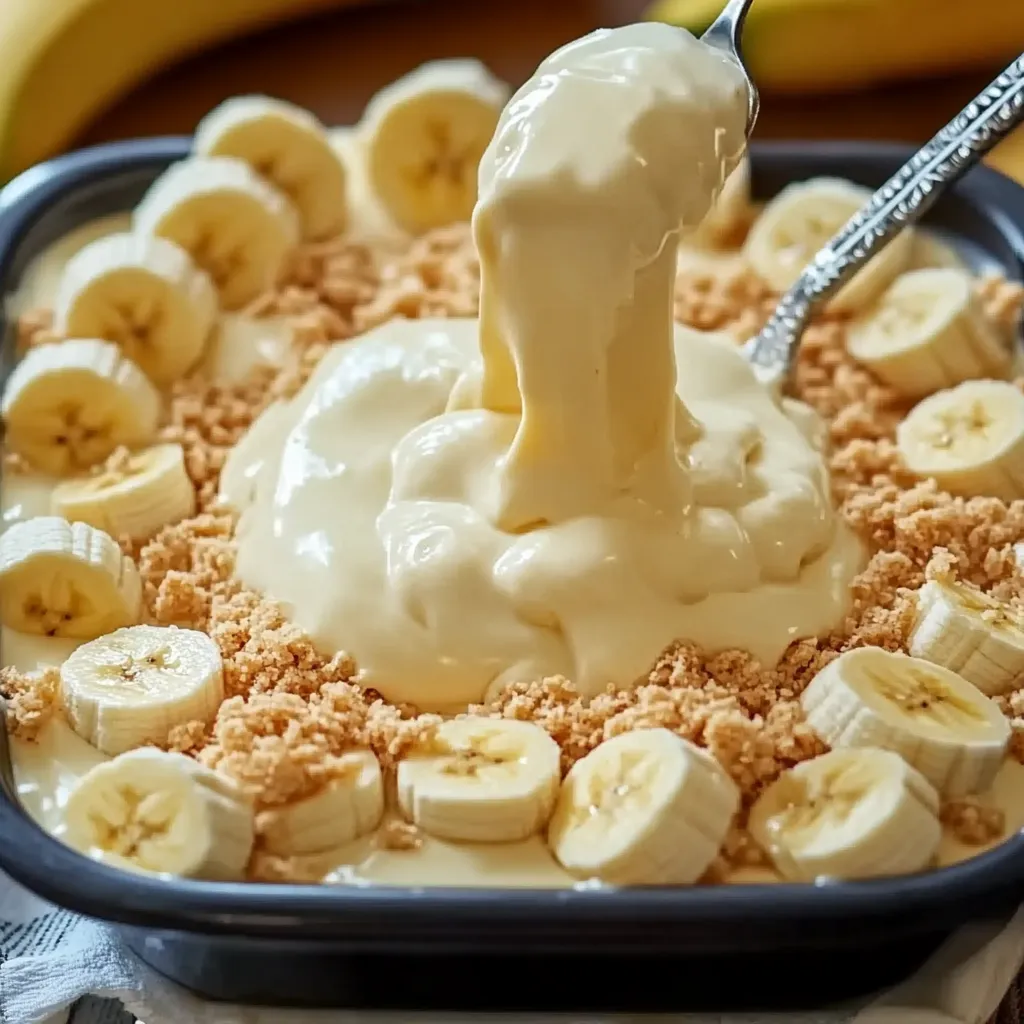
- Add a layer of sliced bananas over the wafers.
- Follow with a layer of the prepared pudding mixture, spreading it evenly.
Tips to Prevent Browning:
- Use barely ripe bananas to avoid mushiness.
- Lightly coat banana slices with lemon juice to slow the browning process.
Repeat these layers until all ingredients are used, ending with a final layer of pudding on top.
For more tips on choosing ripe bananas for desserts, check out How to Choose Ripe Bananas.
Chilling for Best Results
Refrigeration is crucial for allowing the flavors to blend and set.
- Minimum Time: Chill the pudding for at least 1 hour before serving.
- Recommended Time: For the best texture and flavor, refrigerate overnight.
Pro Tip: Cover the pudding with plastic wrap, ensuring it touches the surface to prevent a skin from forming.
Serving Suggestions
Before serving, give your banana pudding a final touch:
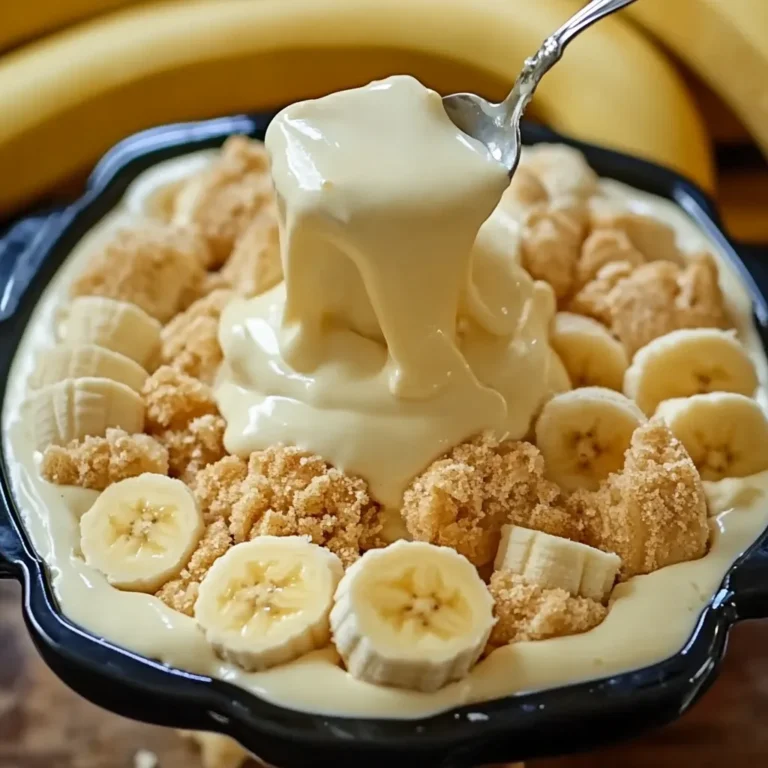
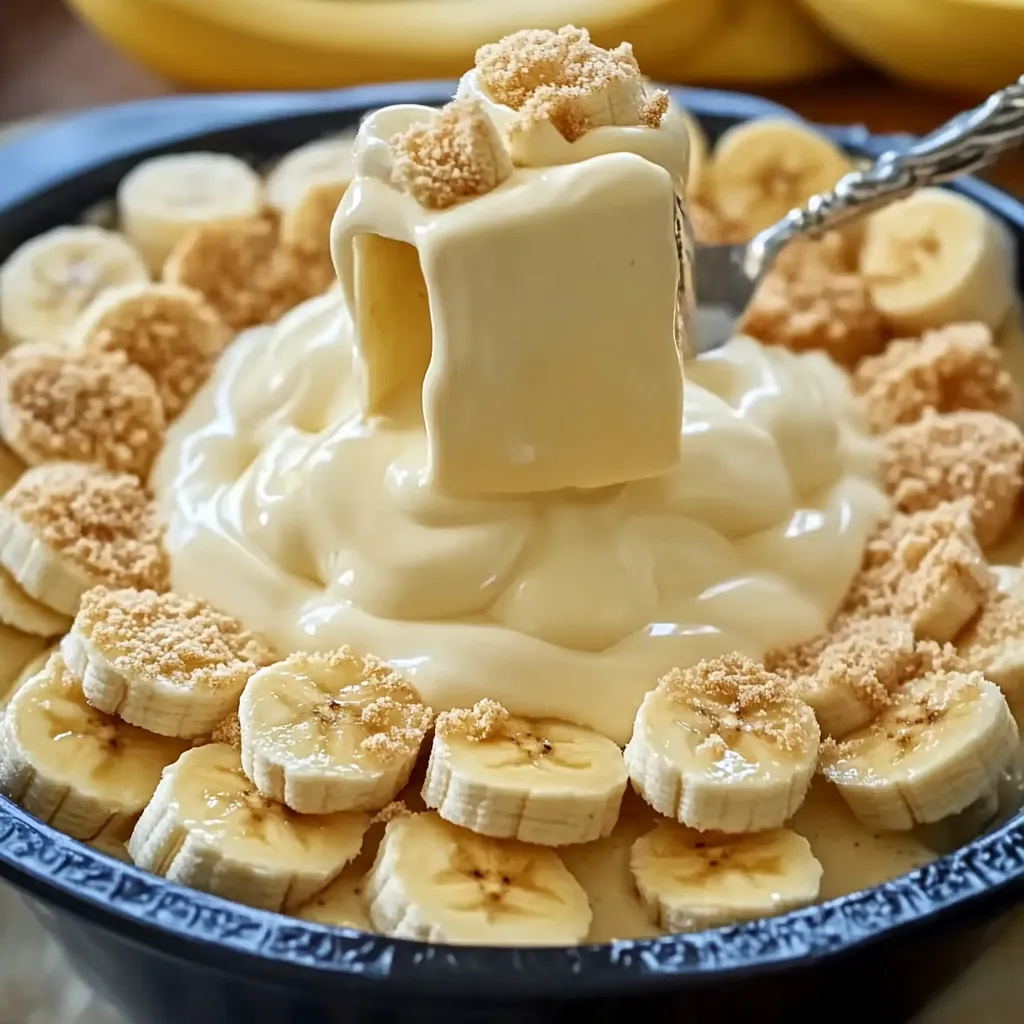
- Sprinkle crushed vanilla wafers on top for added crunch and visual appeal.
- Serve in individual bowls or directly from the serving dish for a rustic, family-style presentation.
By following these detailed steps, you’ll create a banana pudding that is creamy, flavorful, and utterly irresistible. Its well-layered structure and harmonious blend of textures will have everyone asking for seconds!
Tips, Tricks, and Variations
Mastering the best banana pudding ever involves a few clever techniques and adjustments to ensure your dessert is both delicious and visually appealing. These tips, tricks, and variations will help you customize your pudding for any occasion.
Tips for Perfect Banana Pudding
Choosing the Right Bananas
- Select barely ripe bananas with yellow skins and minimal brown spots.
- Overripe bananas may become mushy and overly sweet, while underripe ones can be too firm and lack flavor.
For more guidance on choosing the perfect bananas, visit How to Choose Ripe Bananas.
Maintaining Texture of Wafers Over Time
- To keep your wafers from becoming too soft, assemble the pudding no more than 24 hours before serving.
- If you prefer a crunchier texture, add a fresh layer of wafers on top just before serving.
Pro Tip: Storing the pudding in the fridge for at least an hour allows the wafers to absorb just enough moisture to soften slightly without losing all their structure.
Recipe Variations
Adding Cream Cheese for Richness
- For a more indulgent pudding, mix 8 ounces of softened cream cheese into the pudding base.
- Beat the cream cheese with the sweetened condensed milk until smooth before adding the pudding mix.
Pro Tip: This variation adds a slightly tangy flavor and creamy texture to the dish.
Using Fresh Whipped Cream vs. Store-Bought Topping
- Substitute the whipped topping with freshly whipped cream for a more natural flavor.
- To make: Whip 2 cups of heavy cream with 3–4 tablespoons of sugar until stiff peaks form.
- If using store-bought topping, ensure it is completely thawed to avoid clumping.
Learn more about using whipped cream effectively in desserts at Vanilla Pudding Recipes Tips.
Storage Tips
How Long It Can Be Stored
- Store banana pudding in the refrigerator, tightly covered, for up to 2 days.
- The bananas may begin to brown after the first day, so it’s best enjoyed fresh.
Why Freezing Is Not Recommended
- Banana pudding does not freeze well because the pudding mixture and bananas can separate or become watery when thawed.
- Instead, prepare the dessert fresh and refrigerate until serving.
With these expert tips and creative variations, you can elevate your banana pudding to new heights while ensuring it stays fresh and delicious. Tailor it to your preferences, and enjoy a dessert that’s as customizable as it is crowd-pleasing!
Frequently Asked Questions (FAQs)
Here are answers to some common questions about making the best banana pudding ever. These tips will help you troubleshoot and customize the recipe to perfection.
What is the best type of bananas to use for banana pudding?
- The ideal bananas are barely ripe, with a vibrant yellow color and minimal brown spots.
- Avoid overripe bananas as they can become too mushy and overly sweet in the pudding.
If you’re unsure about selecting the perfect bananas, check out How to Choose Ripe Bananas for detailed guidance.
Can I make banana pudding ahead of time?
- Yes! Banana pudding can be made up to 24 hours in advance to allow the flavors to blend beautifully.
- Ensure it is tightly covered and refrigerated to maintain freshness.
Pro Tip: Assemble the dessert no more than a day ahead to preserve the texture of the wafers and the freshness of the bananas.
What can I use instead of vanilla wafers?
- Substitute vanilla wafers with:
- Shortbread cookies for a buttery flavor.
- Chessman cookies for a decorative touch.
- Graham crackers for a slightly different texture.
For more inspiration on layering with alternative cookies, visit Layered Desserts Inspiration.
How do I prevent bananas from browning in the pudding?
- Coat sliced bananas with lemon juice or pineapple juice to slow the oxidation process.
- Alternatively, assemble the dessert just before serving to ensure the bananas stay fresh and vibrant.
Can I freeze banana pudding?
- No, freezing is not recommended because the pudding mixture and bananas may separate or become watery when thawed.
- For best results, make the dessert fresh and enjoy it within 2 days.
These FAQs provide essential insights to ensure your banana pudding turns out perfectly every time. With these tips, you’ll avoid common pitfalls and serve a dessert that’s both delicious and visually stunning!
Conclusion
Banana pudding is a timeless dessert that brings together creamy textures, sweet bananas, and the satisfying crunch of vanilla wafers. This recipe truly stands out as the best banana pudding ever because it combines simple ingredients with a method that guarantees a dessert rich in flavor, light in texture, and perfect for any occasion.
With easy-to-follow steps and versatile substitutions, this recipe is designed to suit every skill level and taste preference. From the careful layering of pudding and bananas to the light, fluffy whipped topping, each element is thoughtfully prepared to ensure maximum satisfaction. If you’re curious about creative ways to layer desserts, check out Layered Desserts Inspiration for more ideas.
Whether you’re making this for a family gathering or a holiday treat, it’s guaranteed to impress. The combination of sweetened condensed milk, instant pudding mix, and ripe bananas creates a harmony of flavors that’s both nostalgic and indulgent.
We’d love to hear about your experience with this recipe! Try it at home, experiment with the variations, and share your feedback. Your take on this banana pudding could inspire others to create their own perfect dessert masterpiece.
PrintThe Best Banana Pudding Ever
A creamy, no-bake banana pudding made with layers of vanilla wafers, fresh bananas, and a rich pudding mixture. Perfect for gatherings and holidays.
- Total Time: 1 hour 15 minutes (chilling time included)
- Yield: Serves 20
- Category: Dessert
- Method: No-bake
- Cuisine: American
- Diet: Vegetarian
Ingredients
– 2 cups cold milk
– 1 (5-ounce) package instant vanilla pudding mix
– 1 (14-ounce) can sweetened condensed milk
– 1 tablespoon vanilla extract
– 1 (12-ounce) container whipped topping (thawed)
– 1 (16-ounce) package vanilla wafers
– 14 small bananas, sliced
Instructions
1. Whisk milk and pudding mix for 2 minutes until thickened.
2. Stir in sweetened condensed milk and vanilla extract until smooth.
3. Fold in whipped topping gently.
4. Layer vanilla wafers, banana slices, and pudding mixture in a large bowl.
5. Repeat layers, ending with pudding.
6. Chill for at least 1 hour before serving. Garnish with crushed wafers if desired.
Notes
– Use ripe but firm bananas to prevent mushiness.
– Coat banana slices in lemon juice to slow browning.
– For a richer pudding, add cream cheese to the mixture.
– Serve within 2 days for the best texture and flavor.
Nutrition
- Calories: 230 kcal
- Sugar: 25 g
- Sodium: 150 mg
- Fat: 8 g
- Saturated Fat: 5g
- Carbohydrates: 38 g
- Fiber: 1 g
- Protein: 3 g
- Cholesterol: 20 mg

