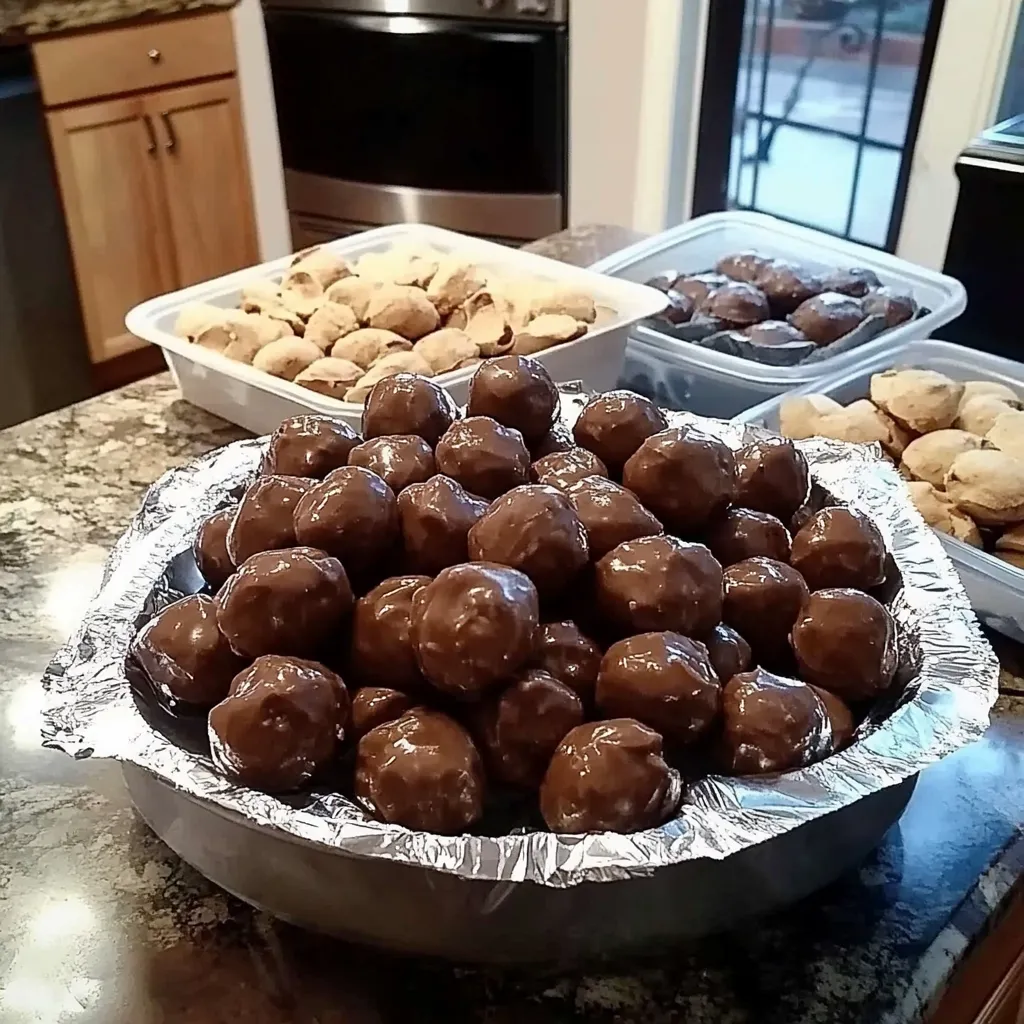
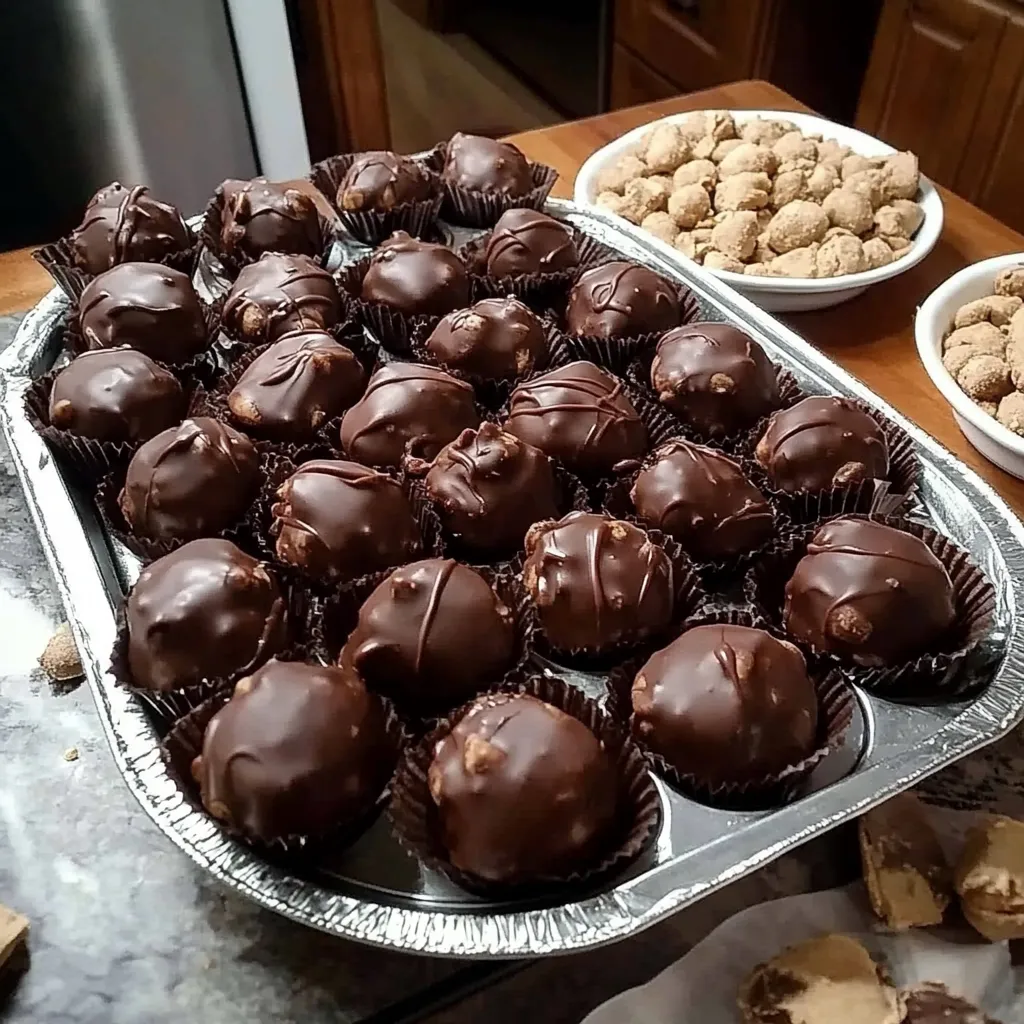
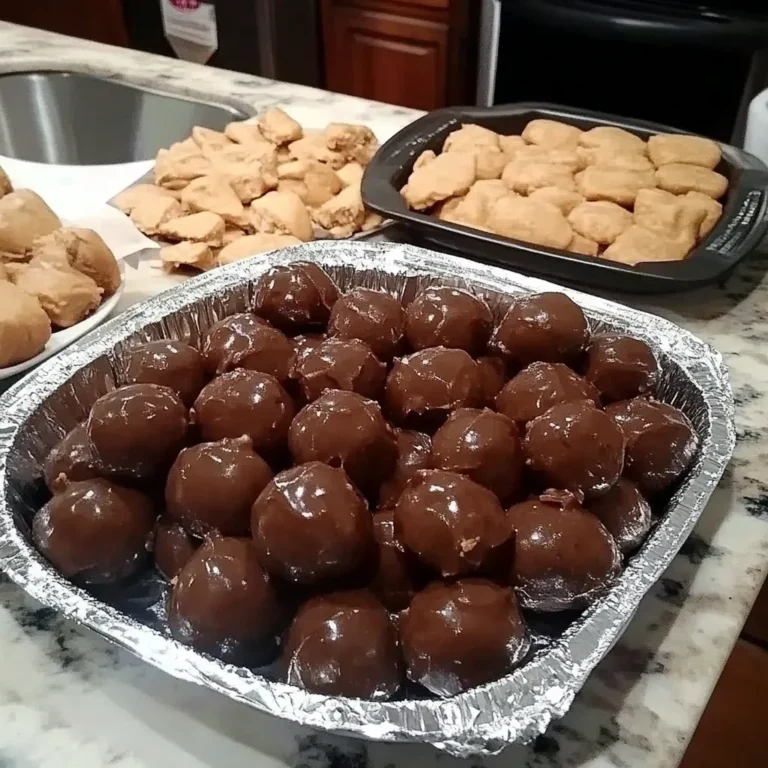
Peanut butter balls are an easy, no-bake dessert loved for their rich flavor, creamy texture, and quick preparation. Combining peanut butter and chocolate, these treats are versatile enough to suit any occasion, from holiday gatherings to everyday snacks. In this guide, you’ll find everything you need to know about making peanut butter balls, including ingredients, step-by-step instructions, expert tips, and variations to customize them for different tastes and dietary preferences.
Ingredients and Equipment
Making peanut butter balls requires just a few primary ingredients and basic kitchen tools. Here’s a breakdown of what you’ll need, along with some optional add-ins to make them even more delicious and unique.
Primary Ingredients
- Powdered Sugar – Essential for structure and sweetness.
- Peanut Butter – Smooth or crunchy, based on your texture preference.
- Butter – Adds richness; use melted butter for easier mixing.
- Vanilla Extract – Adds a warm, sweet note to enhance flavor.
- Dipping Chocolate – You can use dark, milk, or white chocolate for the coating.
Optional Add-ins and Variations
If you want to make your peanut butter balls unique, consider adding one or more of these:
- Crushed Nuts for a crunchy texture.
- Shredded Coconut for a tropical flavor.
- Chocolate Chips for an extra chocolatey taste.
For those looking for healthier options, you can swap the regular peanut butter with lower-sugar or natural peanut butter, which often has fewer additives. If you’re in need of more healthy snack ideas, check out this resource for more inspiration.
Necessary Equipment
- Mixing Bowls – For combining ingredients.
- Baking Sheet – To arrange and freeze the balls.
- Freezer-Safe Tray – Keeps them cool for chocolate dipping.
- Utensils – For stirring and dipping.

Step-by-Step Instructions for Peanut Butter Balls
Step 1: Preparing the Mixture
- Combine Butter and Vanilla
- In a mixing bowl, pour in the melted butter and vanilla extract, stirring until the flavors blend together smoothly.
- Add the Peanut Butter
- Add the peanut butter and stir thoroughly until you have a smooth, creamy mixture. This combination of butter and peanut butter forms the base of the dough, creating a rich texture that’s easy to work with.
For best results, if you’re using natural peanut butter, be aware that oil separation can affect consistency. For a smooth finish, make sure your peanut butter is well-mixed before adding it to the bowl. If you’re unsure about achieving the right consistency for dipping chocolate, check out these melting chocolate tips.
Step 2: Adding Powdered Sugar
- Gradually Add Powdered Sugar
- Sift the powdered sugar into the peanut butter mixture, adding it gradually. This step helps avoid clumps and ensures a smooth dough consistency.
- Mix Until Thickened
- Continue mixing until the dough reaches a thick, moldable consistency. You want the dough to hold its shape without being too sticky or crumbly.
The gradual addition of powdered sugar is crucial in creating a dough that’s easy to handle and roll. If the mixture is too sticky, you can refrigerate it briefly before moving on.
Step 3: Rolling the Mixture into Balls
Now that your dough is ready, it’s time to form the peanut butter balls. This stage is essential for creating uniform, bite-sized treats that are easy to coat in chocolate.
- Scoop and Roll
- Use a small scoop or spoon to portion the dough evenly. This ensures each ball is the same size, allowing them to freeze and dip uniformly.
- Roll each portion between your palms to form a smooth, round ball. Aim for a diameter of about 1 inch for the perfect bite-sized piece.
- Place on a Baking Sheet
- Arrange each rolled ball on a baking sheet lined with parchment paper. Ensure they don’t touch to prevent sticking, which makes it easier to dip them individually later.
Step 4: Freezing for Firmness
Freezing the peanut butter balls is essential before you dip them in chocolate, as it helps them retain their shape and prevents melting during the coating process.
- Freeze for 30 Minutes
- Place the baking sheet with the peanut butter balls in the freezer for at least 30 minutes. This helps the balls become firm enough to withstand dipping without breaking or losing shape.
- Handling Post-Freeze
- Once frozen, the balls are easier to manage and dip into melted chocolate. You can even make the peanut butter balls in advance and store them in the freezer until you’re ready to dip.
Freezing is a key step that adds stability, making the dipping process much easier and ensuring each peanut butter ball has a professional look.
Step 5: Dipping in Chocolate
The final step in making peanut butter balls is coating them in chocolate, which adds a rich, smooth layer and takes these treats to the next level.
- Melting the Chocolate
- Melt your choice of chocolate in a double boiler or microwave in short intervals, stirring frequently to prevent burning. Aim for a smooth, pourable consistency.
- Dipping Technique
- Using a fork or dipping tool, carefully dip each frozen peanut butter ball into the melted chocolate, ensuring it’s fully coated. Let any excess chocolate drip off before placing the ball back onto the baking sheet.
- Chocolate Variations and Presentation
- For added visual appeal, consider drizzling with a different type of chocolate or sprinkling with sea salt, crushed nuts, or festive sprinkles.
- Setting the Coating
- Allow the chocolate to set at room temperature or speed up the process by placing the baking sheet in the fridge for 10–15 minutes.
With these steps, your peanut butter balls will have a smooth, glossy chocolate shell, ready to enjoy or share!

Tips, Variations, and Storage
Expert Tips for Perfect Peanut Butter Balls
For a smooth, glossy finish and easy handling, these expert tips are essential.
- Temperature Control for Chocolate Coating
- When melting chocolate, keep the temperature low and steady to avoid thickening. Add a small amount of coconut oil if the chocolate begins to thicken for a silky coating.
- Avoiding Sticky Dough
- Sticky dough can be tricky to work with, so gradually add powdered sugar for a manageable consistency. Refrigerate the mixture briefly if it’s too sticky to handle.
- Preventing Melting Issues
- To avoid melting, keep peanut butter balls chilled until ready to dip, and work in small batches. Store finished peanut butter balls in the fridge or freezer to maintain their shape and freshness.
Recipe Variations
Customizing peanut butter balls is a fun way to cater to different tastes or dietary needs. Here are some popular variations:
- Healthy Options
- Substitute natural sweeteners like honey or maple syrup for powdered sugar.
- Use almond butter instead of peanut butter for a different flavor.
- Add a scoop of protein powder to make these treats high in protein, ideal for a post-workout snack.
- Decorative Toppings
- Add festive sprinkles or a sprinkle of sea salt for a sweet and salty twist.
- Roll or top with crushed nuts for extra crunch.
Storage and Shelf Life
Proper storage keeps your peanut butter balls fresh and delicious.
- Refrigeration
- Store peanut butter balls in an airtight container in the fridge for up to two weeks. This maintains their texture and flavor.
- Freezing for Longer Storage
- Freeze peanut butter balls in a freezer-safe container for up to three months, using parchment paper between layers to prevent sticking. Thaw for a few minutes at room temperature before serving.
With these tips, your peanut butter balls will stay fresh, flavorful, and ready whenever you need a sweet treat!
Frequently Asked Questions (FAQs)
“Can I Use Natural Peanut Butter?”
- Pros: Natural peanut butter is minimally processed and contains no added sugars or oils, making it a healthier choice.
- Cons: The consistency of natural peanut butter is often thinner and oilier, which can make the dough harder to work with. To counter this, add a bit more powdered sugar or chill the dough before rolling.
“What’s the Best Chocolate for Dipping?”
- Dark Chocolate: Offers a rich, less sweet flavor that complements peanut butter well.
- Milk Chocolate: Adds a sweeter, creamier coating that’s popular with kids and fans of classic chocolate flavors.
- White Chocolate: Provides a sweet contrast but is more challenging to work with. A little coconut oil can help maintain its texture.
“How Do I Prevent Peanut Butter Balls from Falling Apart?”
- Ensure the dough is thick and moldable by gradually adding powdered sugar. If it’s too sticky, refrigerate before rolling. For a smoother consistency, add melted butter or peanut butter to the dough if it’s too dry.
“How Long Do Peanut Butter Balls Need to Freeze?”
- Freezing for at least 30 minutes ensures firmness and stability, making it easier to dip without breaking or melting.
“Can I Make These Vegan?”
- Yes! Substitute vegan butter or coconut oil for regular butter and use dairy-free chocolate for dipping. You can also use natural sweeteners like maple syrup in place of powdered sugar for a vegan-friendly version.
Conclusion
Peanut butter balls are a wonderful blend of versatility, simplicity, and rich flavor, perfect for any occasion. Their no-bake nature and quick prep time mean you can enjoy a delicious treat without much hassle. From healthy variations to festive toppings, peanut butter balls cater to every taste and dietary need. With a smooth chocolate coating and a creamy peanut butter center, they’re bound to become a go-to recipe in your kitchen.
PrintPeanut Butter Balls
Delicious, no-bake peanut butter balls coated in chocolate. Perfect for a quick snack or party treat with customizable toppings.
- Prep Time: 20 minutes
- Cook Time: 0 minutes (no-bake)
- Total Time: 50 minutes (includes freezing time)
- Yield: Approximately 24 balls
- Category: Dessert, Snack
- Method: No-bake
- Cuisine: American
- Diet: Vegetarian
Ingredients
– 2 cups powdered sugar
– 1 cup peanut butter
– 6 tbsp butter, melted
– 1 tsp vanilla extract
– Dipping chocolate of choice
Instructions
1. Mix melted butter and vanilla; add peanut butter, stir until smooth.
2. Gradually add powdered sugar until thick dough forms.
3. Roll into balls and place on baking sheet; freeze 30 mins.
4. Melt chocolate; dip each ball to coat. Place on sheet to set.
Notes
– Use a double boiler or microwave for chocolate.
– Optional toppings: crushed nuts, sprinkles, sea salt.
– Store in the fridge for up to 2 weeks or freeze up to 3 months.
Nutrition
- Calories: 110
- Sugar: 8g
- Fat: 7g
- Carbohydrates: 10g
- Fiber: 0.5g
- Protein: 2g


