Introduction
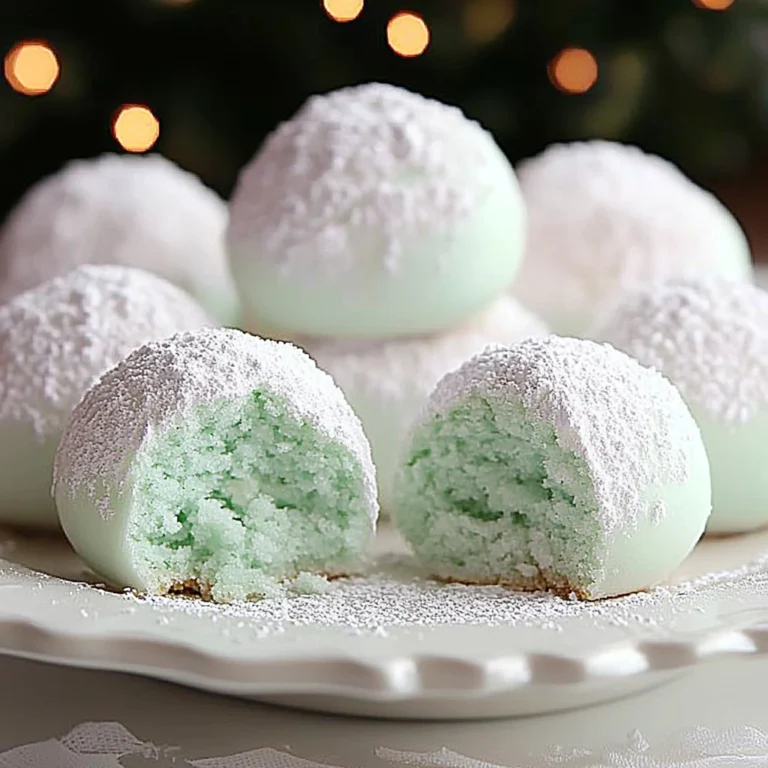
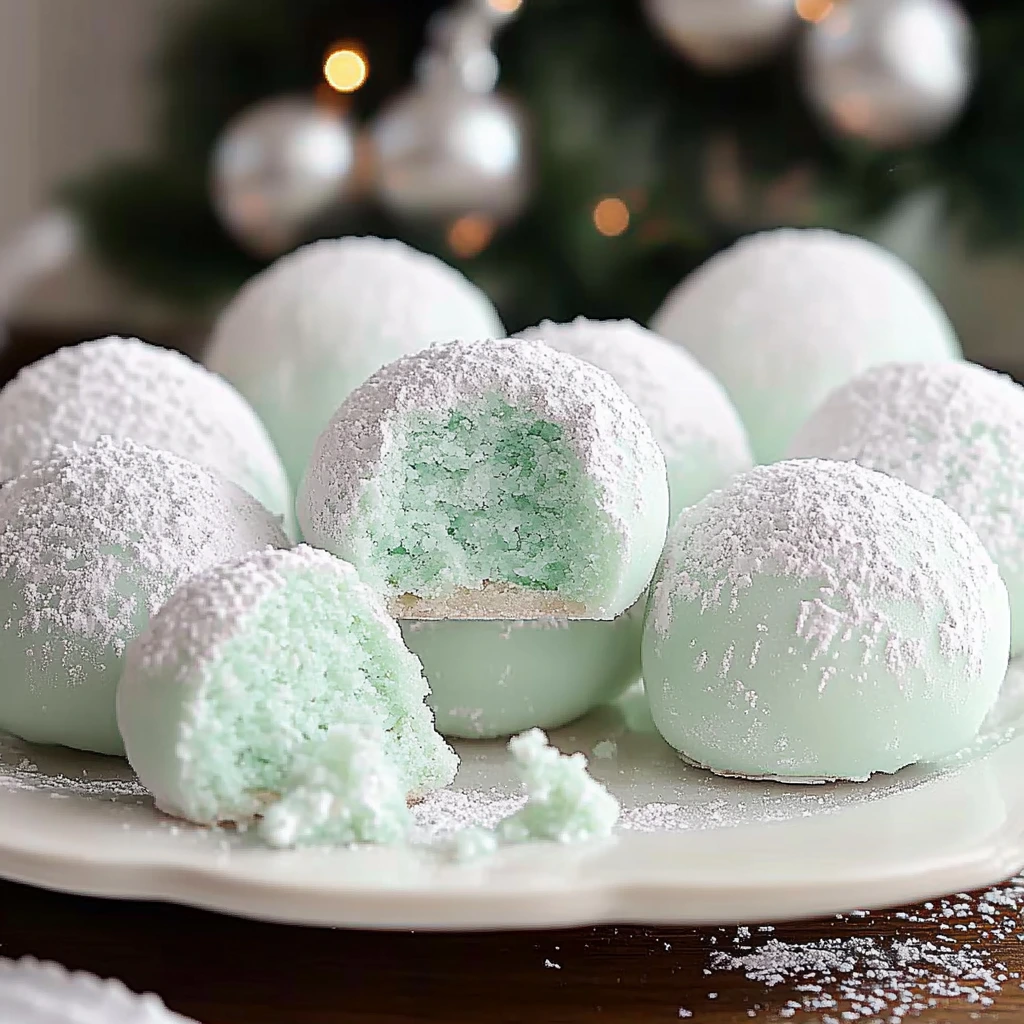
The holiday season brings a parade of delightful treats, and among them, Minty Snowball Cookies shine as a favorite. These cookies, with their signature powdered sugar coating, evoke the charm of freshly fallen snow, making them a perfect addition to any festive gathering. Their delicate melt-in-your-mouth texture and refreshing minty flavor capture the spirit of winter in every bite.
Why are these cookies so popular? It’s their irresistible combination of simplicity and indulgence. The buttery base is perfectly balanced with a hint of peppermint, appealing to both classic cookie lovers and fans of mint-infused confections. Plus, their snowy aesthetic adds a touch of elegance to holiday platters, making them a standout choice for seasonal baking.
What truly sets Minty Snowball Cookies apart is their versatility. Whether you’re preparing them as a holiday gift or including them in a cookie exchange, these treats are sure to impress. For a deeper dive into the history and variations of snowball cookies, check out this insightful article from The Spruce Eats.
The combination of mint flavor and powdered sugar coating also offers an updated twist to traditional snowball cookies, which are typically made without any flavorings beyond vanilla or nuts. Learn more about how to bake the perfect holiday cookies with tips from King Arthur Baking. These tips can help ensure your Minty Snowball Cookies come out flawless every time.
Start your holiday season with these cookies, and you’ll have a recipe that’s as much fun to bake as it is to share!
History and Origin of Snowball Cookies
Snowball cookies, cherished around the world, have a fascinating history that adds to their appeal. Known by various names like Mexican wedding cookies, Russian tea cakes, or butterballs, these treats have been a part of festive traditions for centuries. Their simple ingredients—butter, sugar, flour, and nuts—reflect their origins as a rustic yet elegant dessert, ideal for celebrations across cultures.
The exact origin of snowball cookies is debated, but they are most famously linked to Mexican weddings and Russian tea rituals. Their rich, buttery flavor and powdered sugar coating make them a universal symbol of indulgence and festivity. Over time, bakers have adapted these cookies to suit modern tastes, introducing variations like mint-flavored snowballs. The addition of peppermint extract and a subtle tint of green transforms this classic cookie into a refreshing, winter-themed treat.
Curious about the evolution of snowball cookies? Discover their traditional roots in this detailed article from The Spruce Eats.
The minty variation has become especially popular in recent years, thanks to its seasonal charm and ability to stand out on holiday cookie platters. For tips on baking flawless versions of these festive cookies, explore King Arthur Baking’s expert advice. This modern twist brings new life to a beloved classic while keeping its rich heritage intact.
Ingredients Breakdown
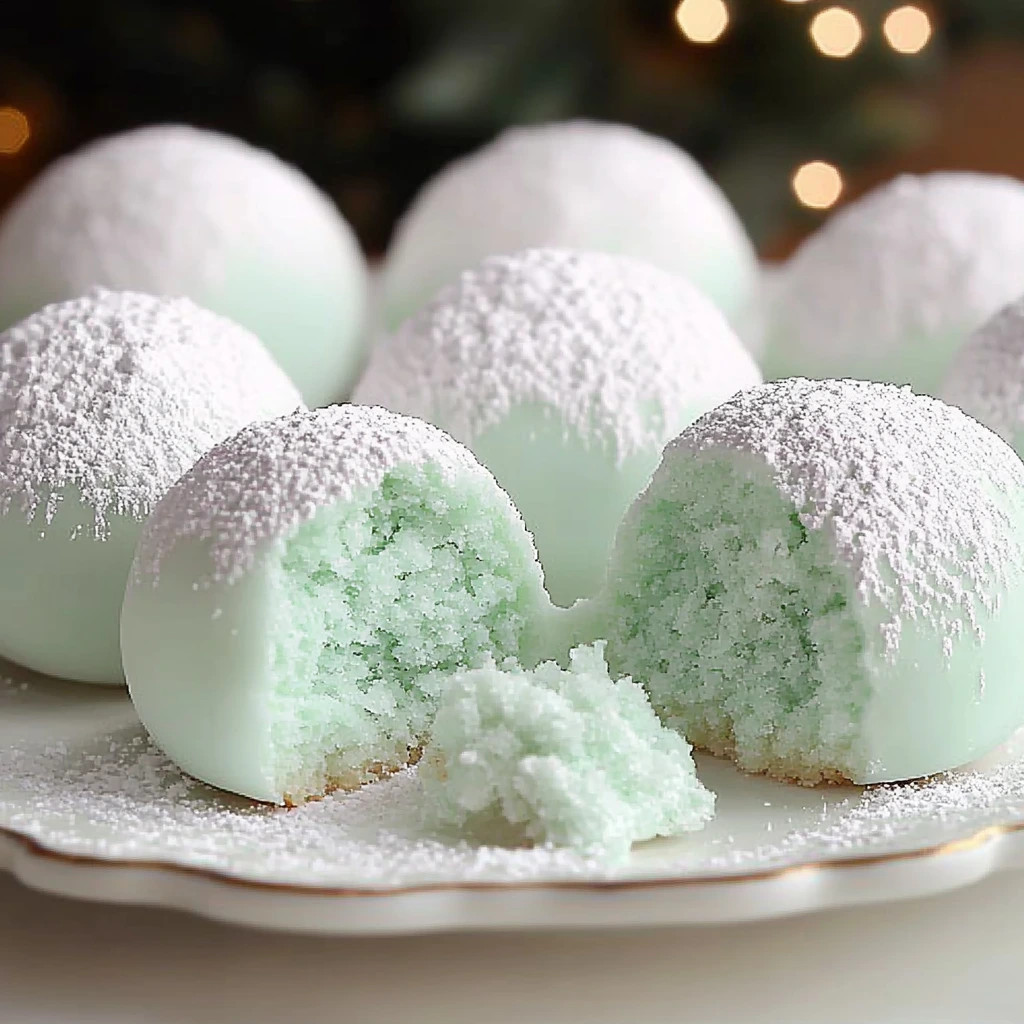
Understanding the role of each ingredient in Minty Snowball Cookies is key to achieving their signature flavor and texture. Here’s a detailed breakdown:
- Unsalted Butter: The backbone of this recipe, butter provides richness and ensures the cookies have a soft, tender crumb. Using unsalted butter allows you to control the saltiness, making it an ideal choice for baking.
- Powdered Sugar: Unlike granulated sugar, powdered sugar dissolves quickly, giving the cookies their delicate texture. It also adds just the right amount of sweetness without being overwhelming.
- Peppermint Extract: This ingredient imparts the refreshing minty flavor that sets these cookies apart. Be sure to use high-quality extract for a pure and vibrant mint taste.
- Green Food Coloring (Optional): A few drops of green food coloring give the cookies a subtle, festive hue. This step is optional but adds visual appeal, perfect for holiday platters.
- All-Purpose Flour: Acting as the structural base, all-purpose flour gives the cookies their shape and holds the ingredients together. Properly measured flour is essential to avoid overly dense cookies.
- Salt: A pinch of salt balances the sweetness and enhances the overall flavor profile, making each bite more satisfying.
- Additional Powdered Sugar (for coating): The signature powdered sugar coating creates the classic snowball appearance. Coating the cookies twice—once warm and again when cooled—gives them a thick, snowy finish.
For more baking tips and tricks to ensure perfect results, check out King Arthur Baking’s guide. These insights help elevate your cookies from good to exceptional.
Using these simple yet purposeful ingredients, Minty Snowball Cookies become a delightful treat that’s both festive and flavorful!
Step-by-Step Preparation Guide
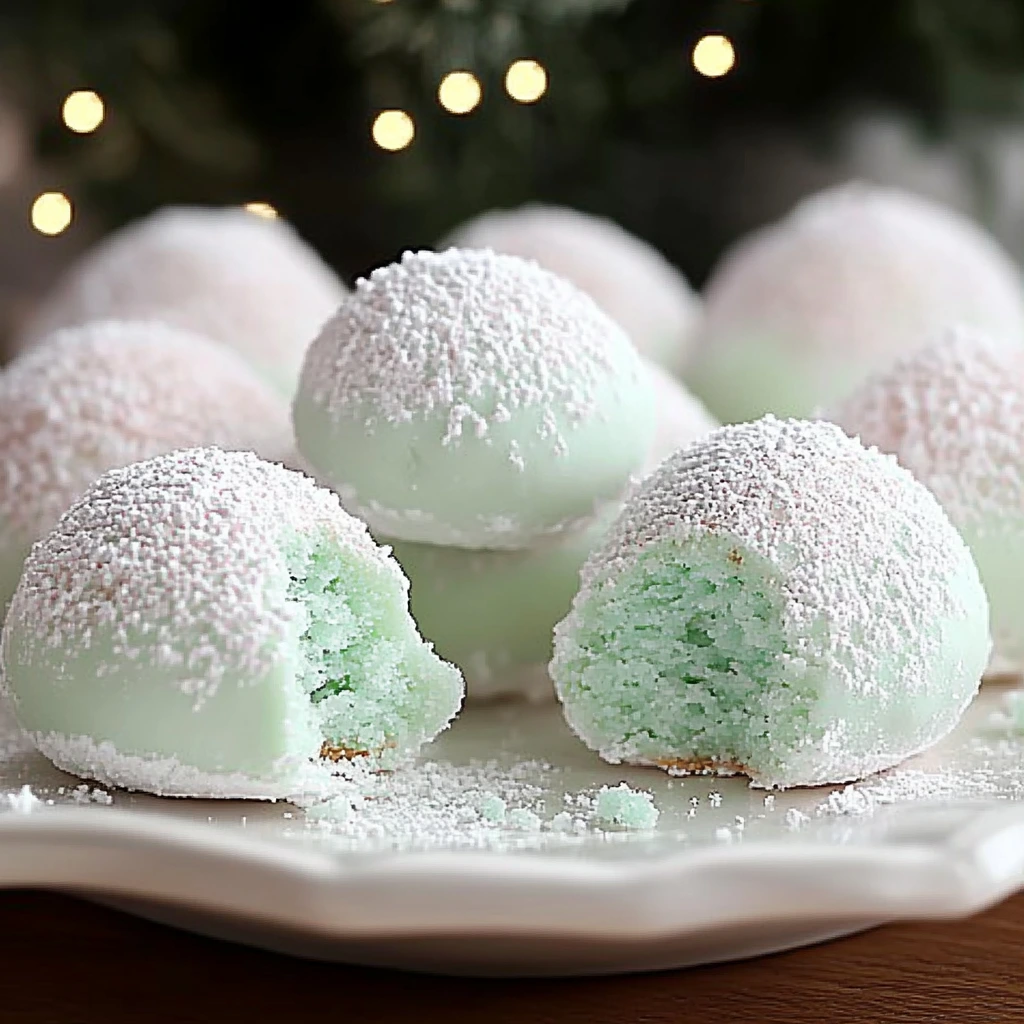
Making Minty Snowball Cookies is a straightforward process that yields delightful results. Follow these steps to create the perfect festive treat.
Preparing the Dough
- Cream the Butter and Sugar: Start by creaming unsalted butter and powdered sugar in a large mixing bowl. Mix until the texture is light and fluffy, as this step helps incorporate air, making the cookies tender.
- Add Flavoring and Color: Mix in peppermint extract to infuse the dough with its signature mint flavor. If you’re aiming for a festive look, add a few drops of green food coloring and blend until evenly distributed.
- Incorporate Dry Ingredients: Gradually add all-purpose flour and a pinch of salt. Stir gently until the mixture forms a soft, cohesive dough. Avoid overmixing to prevent tough cookies.
Chilling the Dough
Refrigerate the dough for at least 30 minutes. Chilling firms up the dough, making it easier to handle and ensuring the cookies maintain their shape during baking. Discover more tips on why chilling dough is crucial in this expert baking guide.
Shaping and Baking
- Form the Cookies: Roll the chilled dough into 1-inch balls and place them on a parchment-lined baking sheet, spacing them about 1 inch apart.
- Bake: Preheat your oven to 350°F (175°C) and bake the cookies for 10–12 minutes. Look for lightly golden bottoms while keeping the tops pale. This ensures a soft, tender bite.
Coating in Powdered Sugar
- First Coat: While the cookies are still warm, roll them in powdered sugar. The warmth helps the sugar adhere, creating a frosty appearance.
- Second Coat: Allow the cookies to cool completely, then roll them in powdered sugar again for a thicker, snowy layer.
These steps ensure that your Minty Snowball Cookies are perfectly shaped, beautifully coated, and irresistibly delicious!
Decoration and Presentation Ideas
When it comes to Minty Snowball Cookies, the way they’re presented can elevate their charm and make them even more festive. Here are some creative ideas to make your cookies stand out.
Achieving a Frosty Look
- Add an extra dusting of powdered sugar right before serving to give your cookies an even “snowier” appearance. This final touch enhances their visual appeal and reinforces the holiday theme.
- For a more uniform coating, use a fine-mesh sieve to sprinkle powdered sugar evenly over the cookies.
Subtle Minty Hue
- If you opt to use green food coloring, stick to just a few drops to create a delicate, pale mint color. Overdoing the coloring may overpower the cookies’ natural charm.
- To keep the look cohesive, arrange cookies with varying shades of green on a white platter to mimic a wintery, frosted landscape.
Creative Presentation Ideas
- Holiday Gatherings: Arrange the cookies on a silver or white platter for an elegant, frosty look. Adding sprigs of fresh mint or crushed candy canes around the platter can enhance the festive vibe.
- Gifting: Place the cookies in clear cellophane bags tied with mint-green ribbons for a charming holiday gift. For an extra special touch, include a handwritten tag with the recipe.
These small decorative choices make your Minty Snowball Cookies not only delicious but also a delightful treat to display or share. For more inspiration on holiday cookie presentation, check out these holiday cookie tips.
Variations and Additions
One of the joys of making Minty Snowball Cookies is their versatility. With a few simple adjustments, you can customize the recipe to suit different tastes or occasions. Here are some creative variations to try:
Mint-Chocolate Combination
- Add mini chocolate chips to the dough for a delightful twist. The rich chocolate pairs perfectly with the refreshing peppermint flavor, creating a treat reminiscent of mint-chocolate candies.
- Alternatively, dip half of each cookie in melted chocolate after baking and cooling for an elegant finish.
Crushed Candy Canes
- Incorporate crushed candy canes into the dough or sprinkle them on top of the powdered sugar coating. This addition provides a festive crunch and enhances the cookies’ minty flavor.
- For a decorative touch, roll the cookies in a mix of powdered sugar and candy cane pieces after their final coating.
Flavor Substitutions
- Replace the peppermint extract with almond extract for a nutty, aromatic flavor.
- Use vanilla extract for a classic profile that complements the buttery richness of the cookies.
Adjusting Cookie Sizes
- Roll smaller balls of dough to create bite-sized snowballs, perfect for holiday platters or as a snackable treat.
- For larger indulgences, increase the size of the cookies but adjust baking time to ensure even cooking.
These variations make it easy to personalize your cookies while staying true to their festive essence. Looking for more inspiration? Check out this holiday baking guide for additional ideas to elevate your creations. With these tweaks, your Minty Snowball Cookies will delight every palate!
Baking Tips for Perfect Minty Snowball Cookies
Creating the perfect Minty Snowball Cookies requires attention to detail and a few simple techniques. Follow these tips to ensure your cookies turn out flawless every time.
Measure Ingredients Accurately
- Accurate measurement of ingredients is essential for baking success. Use measuring cups and spoons for dry ingredients like flour and powdered sugar. For butter, a kitchen scale can help achieve the precise amount needed for the recipe.
- Avoid packing flour too tightly into the cup, as this can result in dry, dense cookies. Instead, lightly spoon the flour into the cup and level it off.
Butter Consistency Matters
- Ensure the butter is softened but not melted. Softened butter creams easily with powdered sugar, creating the light, airy texture that gives the cookies their delicate structure.
- If the butter is too soft or melted, the dough may spread excessively during baking.
Avoid Overmixing
- When combining dry ingredients with the creamed mixture, mix just until the dough comes together. Overmixing can lead to tough cookies, which detracts from their signature melt-in-your-mouth texture.
Monitor Baking Time
- Keep a close eye on the cookies while they bake. The ideal baking time is 10–12 minutes at 350°F (175°C). Look for lightly golden bottoms while ensuring the tops remain pale.
- Overbaking can make the cookies dry and crumbly, so set a timer and check them early.
By following these tips, your Minty Snowball Cookies will have the perfect balance of flavor and texture. For additional baking advice, visit this comprehensive holiday cookie guide. Happy baking!
Storage and Shelf Life
Proper storage ensures your Minty Snowball Cookies remain fresh and delicious for days or even weeks. Follow these best practices to maximize their shelf life.
Airtight Container Storage
- Once the cookies have cooled completely, store them in an airtight container. This prevents exposure to air, which can cause them to dry out or lose their soft texture.
- To keep the powdered sugar coating intact, layer the cookies with parchment or wax paper.
Shelf Life at Room Temperature
- At room temperature, Minty Snowball Cookies stay fresh for up to 1 week if stored properly. Keep them in a cool, dry place away from direct sunlight or heat to maintain their flavor and texture.
Freezing Tips
- For the Dough: Wrap the dough tightly in plastic wrap and store it in a freezer bag. Dough can be frozen for up to 3 months. Thaw it in the refrigerator before rolling and baking.
- For Baked Cookies: Place fully cooled cookies in a freezer-safe container, layering them with parchment paper. They can be frozen for up to 2 months. When ready to serve, let the cookies thaw at room temperature and refresh them with a light dusting of powdered sugar.
Storing your cookies the right way ensures they’re always ready to enjoy. For more tips on maintaining baked goods’ freshness, visit this helpful storage guide. These techniques are perfect for keeping your holiday treats at their best!
Serving Suggestions
Minty Snowball Cookies are as versatile in presentation as they are in flavor. Here are some creative ways to serve and share these delightful treats during the holiday season.
Pairing with Beverages
- These cookies pair beautifully with hot cocoa, enhancing the minty notes for a cozy winter experience.
- Serve them alongside a pot of peppermint tea or spiced chai for a complementary flavor combination. Their light texture is perfect for enjoying with warm drinks.
Adding to Holiday Cookie Platters
- Minty Snowball Cookies are a must-have addition to any holiday cookie platter. Their snowy appearance adds visual appeal, making them a standout among other festive treats.
- Combine them with classic sugar cookies or gingerbread men for a platter that caters to diverse tastes and showcases a variety of textures and colors.
Gifting Ideas
- For a thoughtful holiday gift, package these cookies in clear cellophane bags tied with festive ribbons. Mint-green or red ribbons create a seasonal touch.
- Include a printed recipe card or handwritten note to make the gift personal and special. For more gifting inspiration, explore this cookie presentation guide.
These suggestions ensure your Minty Snowball Cookies are enjoyed to the fullest, whether shared at gatherings, given as gifts, or savored with a warm beverage. Happy holidays!
Health and Dietary Considerations
Minty Snowball Cookies are a festive treat, but it’s important to consider portion sizes and dietary modifications to suit different needs. Here’s how to enjoy them mindfully or adapt them for specific diets.
Calorie Content and Portion Control
- Each cookie typically contains 80–100 calories, depending on size and ingredients. To enjoy without overindulging, stick to 1–2 cookies per serving as part of a balanced diet.
- Use a small cookie scoop for consistent portions, which also helps with baking uniformity.
Gluten-Free Adaptation
- For a gluten-free version, substitute all-purpose flour with a 1:1 gluten-free baking flour. Ensure the flour blend includes xanthan gum for proper texture and structure.
- Double-check that other ingredients, like powdered sugar and peppermint extract, are certified gluten-free.
Vegan Adaptation
- Replace unsalted butter with a plant-based alternative like vegan butter. Opt for a brand with a neutral flavor for best results.
- Swap out powdered sugar for a vegan-certified version to ensure it aligns with dietary preferences.
Nut-Free Recipe
- Minty Snowball Cookies are naturally nut-free, making them a safe option for those with nut allergies. This makes them a great addition to holiday cookie platters for diverse audiences.
For more tips on adapting recipes for dietary needs, visit this comprehensive guide to ingredient swaps. These small adjustments ensure everyone can enjoy this holiday favorite!
Frequently Asked Questions (FAQs)
Here are answers to common questions about making Minty Snowball Cookies to ensure your baking experience is smooth and successful.
Can I use margarine instead of butter?
Yes, you can substitute margarine for butter, but the texture may differ slightly. Butter provides a richer flavor and firmer structure, so for the best results, stick to unsalted butter.
Is it necessary to chill the dough?
Absolutely! Chilling the dough for at least 30 minutes is crucial. It firms up the dough, making it easier to handle and preventing the cookies from spreading too much during baking. For more on why chilling dough matters, check out this baking tip guide.
Can I freeze the dough for later use?
Yes, Minty Snowball Cookie dough freezes well. Wrap it tightly in plastic wrap, place it in a freezer bag, and store it for up to 3 months. Thaw the dough in the refrigerator before rolling and baking.
How can I prevent the cookies from spreading too much?
Ensure your butter is properly softened—not melted—and avoid overmixing the dough. Additionally, chilling the dough is key to maintaining the cookies’ shape.
What can I use if I don’t have peppermint extract?
If you’re out of peppermint extract, substitute it with vanilla extract for a mild flavor or almond extract for a nutty twist. These alternatives won’t provide the minty flavor but will still result in delicious cookies.
These tips ensure you can adapt and perfect your cookies no matter the challenge!
Conclusion
Minty Snowball Cookies are the perfect festive treat, combining a delicate texture, refreshing mint flavor, and snowy powdered sugar coating. Their timeless charm and versatility make them a standout addition to holiday celebrations, whether as part of a cookie platter or a thoughtful gift.
Give this recipe a try and enjoy the joy of baking these deliciously simple cookies. Share them with loved ones to spread holiday cheer and warmth. Have your own creative twists or variations? We’d love to hear about them! Drop your ideas in the comments and inspire others with your baking creativity.
Minty Snowball Cookies
Ingredients
For the Cookies:
- 1 cup unsalted butter, softened
- 1/2 cup powdered sugar
- 1 teaspoon peppermint extract
- A few drops of green food coloring (optional)
- 2 1/4 cups all-purpose flour
- 1/4 teaspoon salt
For Decoration:
- 1 cup powdered sugar (for coating)
Instructions
Step 1: Prepare the Dough
- In a large mixing bowl, cream together the softened butter and powdered sugar until the mixture is light and fluffy.
- Mix in the peppermint extract and green food coloring (if using) until evenly blended.
- Gradually add the all-purpose flour and salt to the bowl, stirring until a soft dough forms.
Step 2: Chill the Dough
- Wrap the dough in plastic wrap and refrigerate for at least 30 minutes to firm up.
Step 3: Shape and Bake
- Preheat your oven to 350°F (175°C) and line a baking sheet with parchment paper.
- Roll the chilled dough into 1-inch balls and arrange them on the prepared baking sheet, spacing them about 1 inch apart.
- Bake in the preheated oven for 10–12 minutes, or until the bottoms are lightly golden. Allow the cookies to cool slightly on the baking sheet.
Step 4: Coat in Powdered Sugar
- While the cookies are still warm, roll them in powdered sugar to create a snowball effect.
- Let the cookies cool completely, then roll them again in powdered sugar for a thicker coating.
Notes
Decoration Tips:
- Frosty Look: Add a final dusting of powdered sugar before serving for extra “snowy” charm.
- Subtle Tint: Use a small amount of green food coloring for a light minty hue that matches the flavor.
- Winter Presentation: Arrange the cookies on a white or silver platter to highlight their frosty aesthetic.
- Gift Idea: Package the cookies in a clear bag tied with a mint-green ribbon for a festive holiday treat.

