
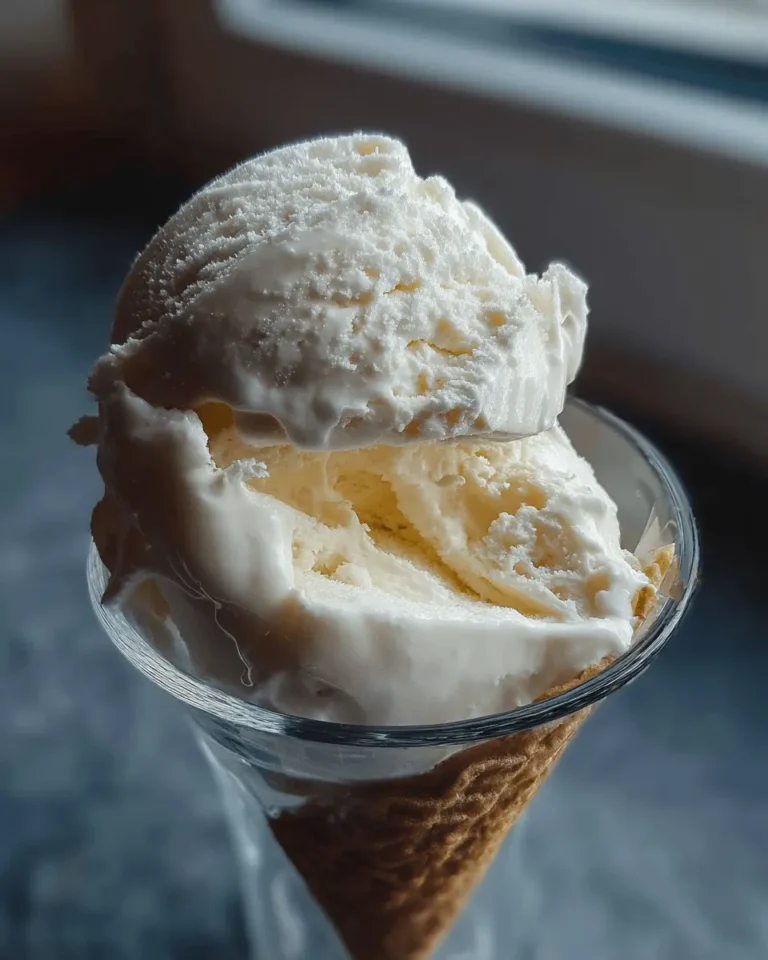
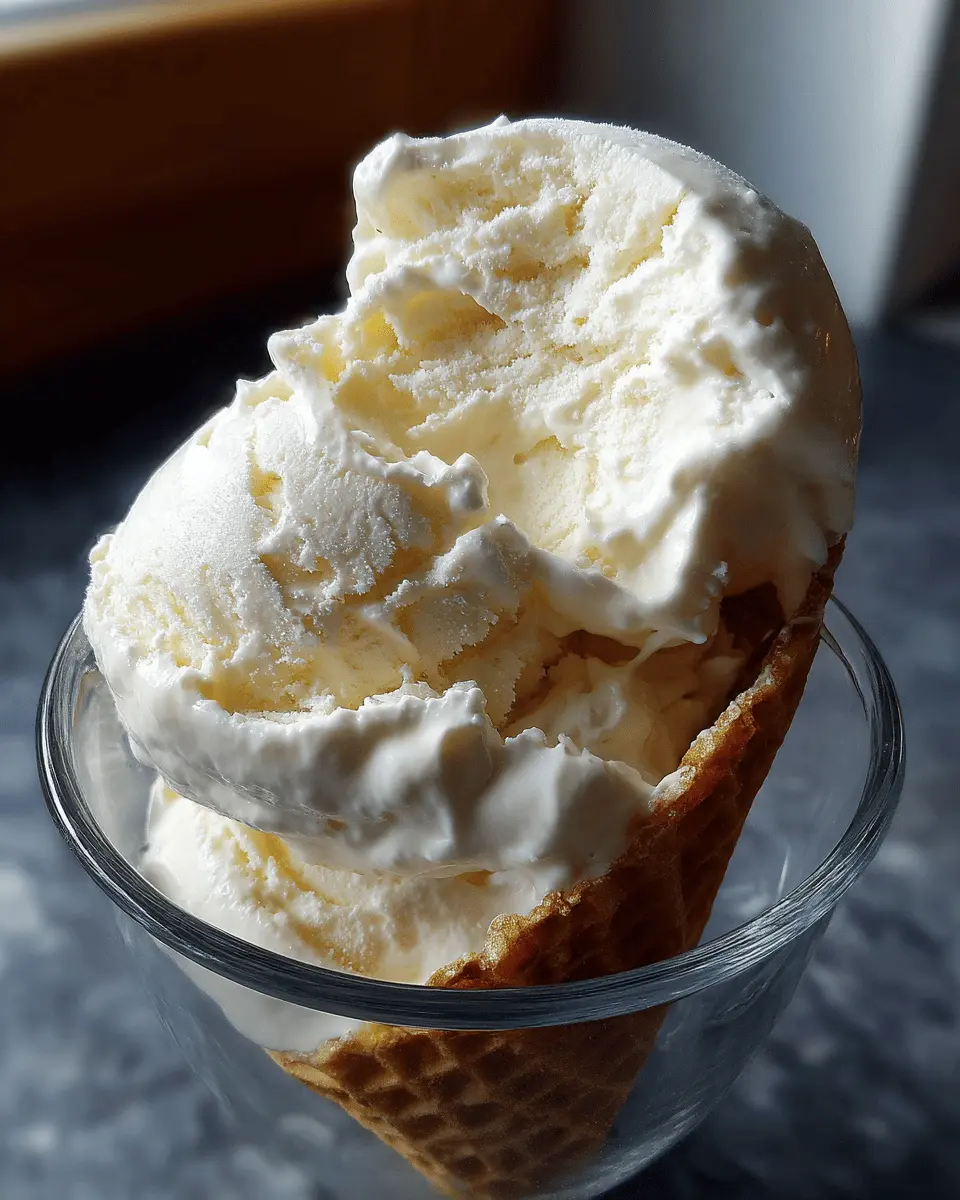
Introduction to Homemade Vanilla Ice Cream
Making your own homemade vanilla ice cream is not just about satisfying a sweet tooth; it’s an experience that combines creativity, enjoyment, and the cherished taste of nostalgia. Have you ever wondered why artisanal ice cream shops have a cult-like following? It’s likely because they harness the power of freshness and quality ingredients. When you whip up your own batch at home, you’re in control of every aspect—from the creamy texture to the blunt sweetness of real vanilla.
Why Make Homemade Vanilla Ice Cream?
-
Quality Ingredients: By choosing to make your own ice cream, you eliminate preservatives and artificial flavors. When you opt for this DIY method, you can use high-quality ingredients, such as fresh dairy and natural vanilla extract, that elevate the final product to another level. Did you know that many store-bought ice creams can contain over 20 ingredients? With your homemade vanilla ice cream recipe, you might just use four or five simple elements—milk, cream, sugar, egg yolk, and vanilla—allowing the pure flavors to shine.
-
Customization: Making your own ice cream allows you to get creative. Want to add a swirl of fudge or mix in some fresh fruit? The choices are endless. Experimenting with flavors can be an exciting journey where you can discover just the right blend that suits your palate.
-
Wonderful Experiences: Ice cream often evokes memories of summer days, family gatherings, and joyous celebrations. Crafting your own homemade vanilla ice cream can rekindle those moments. Picture this: you, your friends, and your partner gathered around the kitchen, each taking turns in the ice cream-making process. The laughter, the splashes, and even the mess create lasting memories far beyond just a scoop or two.
-
Healthier Alternatives: Concerned about what’s in your food? With homemade vanilla ice cream, you can offer a healthier option, especially if you choose low-fat alternatives or sweeteners that suit your dietary needs. This is especially crucial when considering custom diets, where you control each ingredient that goes into your treat.
So, are you ready to embark on this creamy adventure? Let’s dive into the ultimate homemade vanilla ice cream recipe that’s sure to satisfy your cravings and impress your friends!
Ingredients for Homemade Vanilla Ice Cream
Essential ingredients for a classic recipe
Creating your own homemade vanilla ice cream is simpler than you might think! To achieve that creamy, delicious texture, you’ll need:
- Heavy cream: This is crucial for a rich base.
- Whole milk: Balances the creaminess and adds lightness.
- Granulated sugar: Sweetness is key! It also helps with the texture.
- Vanilla extract: Go for pure vanilla for the best flavor.
- Egg yolks: These add a custardy richness that sets your ice cream apart.
Curious to learn more about ice cream science? Check out this resource on ice cream fundamentals.
Optional ingredients for enhancements
Ready to customize your homemade vanilla ice cream recipe? Consider adding:
- Salt: Just a pinch enhances flavors, balancing sweetness.
- Mix-ins: Think chocolate chips, fruit, or even crushed cookies.
- Almond extract: A hint of this adds an unexpected twist.
Feel free to experiment! That’s half the fun of making ice cream at home. With these simple ingredients, your next ice cream night will be a hit!
Step-by-Step Preparation of Homemade Vanilla Ice Cream
Making your own homemade vanilla ice cream is a delightful journey that starts in your kitchen and ends with a delicious scoop in your bowl. Whether you’re treating yourself or impressing friends, homemade ice cream beats store-bought every time—trust me! Let’s dive into the step-by-step process that will have your taste buds dancing.
Whisk the base
The first step in creating your creamy homemade vanilla ice cream recipe is preparing the base, which is essential for achieving that silky texture we all love.
-
Gather your ingredients: You’ll need heavy cream, whole milk, granulated sugar, and pure vanilla extract. For a richer flavor, consider using vanilla beans instead of extracts.
-
Combine liquids: In a medium bowl, pour 2 cups of heavy cream and 1 cup of whole milk.
-
Add sugar: Whisk in 3/4 cup of granulated sugar until it dissolves completely. This is crucial because it not only sweetens your ice cream but also helps in creating a smoother texture.
-
Vanilla infusion: Add 1 tablespoon of pure vanilla extract (or the seeds from one vanilla bean). Give it another whisk to combine everything nicely. This step is where the magic begins.
Combine ingredients thoroughly
Now that your base is ready, it’s time to ensure all ingredients are mixed harmoniously.
-
Mixing bowl: Pour the mixture into a larger mixing bowl or a pitcher, which makes it easier to pour later.
-
Taste-test: If you’re feeling adventurous, dip a spoon in for a quick taste. Adjust sweetness by adding a little more sugar if necessary. Remember, the flavor will mellow once frozen, so don’t be too shy on the sweetness.
-
Chill it out: Cover your bowl with plastic wrap and place it in the refrigerator for at least one hour. Chilling helps to incorporate flavors and improves the final texture.
Freeze the mixture
This is where the fun begins!
-
Pour: Once your base is well-chilled, pour it into an ice cream maker if you have one; if not, you can still create homemade deliciousness!
-
Ice cream maker: If using an ice cream maker, follow the manufacturer’s instructions. Generally, it involves churning the mixture for about 20-30 minutes until thickened and fluffy.
-
No machine? No problem: You can also pour your mixture into a shallow dish and place it in the freezer. Just remember that churn-freezing requires periodic stirring.
Stir and break up ice crystals
While your ice cream is freezing, it’s time to keep those ice crystals in check.
-
Stir regularly: If you’re manually freezing, take your dish out every 30 minutes and give it a good stir with a fork. This breaks up larger ice crystals, leading to a creamier texture.
-
Continue until firm: Repeat this process for about 2-3 hours, or until the ice cream is fully set.
Final freeze and serve
It’s almost time for that taste-testing moment we’ve all been waiting for!
-
Set it final: Transfer your ice cream to an airtight container. If you want scoops to be perfectly round, place parchment paper over the surface before sealing. This minimizes the formation of ice on top.
-
Freeze for a few more hours: Allow it to harden in the freezer for another 2-4 hours. You can make this ahead of time—homemade ice cream keeps well for weeks!
-
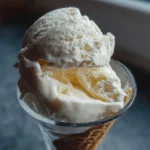
Serve and enjoy: Scoop your ice cream into bowls or cones and admire your handiwork. Add toppings like sprinkles, fruits, or even crumbled Turkey Bacon for a unique twist.
Alternative: Using an ice cream maker
Using an ice cream maker simplifies the process and usually yields a creamier final product. Just follow the steps above, but instead of stirring by hand, let the machine work its magic! For more information on ice cream makers, check out resources like Serious Eats or America’s Test Kitchen.
Now that you know how to make homemade vanilla ice cream, you can experiment with flavors and mix-ins. Enjoy the process, and don’t forget to share with your friends—nobody can resist ice cream!
Variations on Homemade Vanilla Ice Cream
When it comes to the classic Homemade Vanilla Ice Cream recipe, there’s an exciting world of variations to explore. Whether your tastes lean towards the indulgent or the healthy, there’s something here for everyone.
Chocolate Chip Vanilla Ice Cream
If you love the classic combination of chocolate and vanilla, try adding chocolate chips to your base. This Chocolate Chip Vanilla Ice Cream can take your frozen treat to a whole new level. Simply fold in semi-sweet or dark chocolate chips after the ice cream mixture has chilled. For an added twist, you could even use chocolate chunks or fudge swirls to give it more texture and flavor.
Vanilla Bean Ice Cream
For a gourmet touch, switch up your classic recipe by making Vanilla Bean Ice Cream. Instead of using vanilla extract, scrape the seeds from fresh vanilla beans into your ice cream base. This not only infuses a robust flavor but also gives your ice cream those lovely little black specks that look oh-so-elegant. It elevates the simple Homemade Vanilla Ice Cream recipe to an impressive dessert worthy of any dinner party.
Dairy-Free Vanilla Ice Cream Options
For those who are lactose intolerant or prefer a dairy-free lifestyle, you can easily adapt the base of your Homemade Vanilla Ice Cream recipe. Consider using coconut milk, almond milk, or cashew milk as your base. These alternatives not only provide a creamy texture but also add unique flavors that can complement the vanilla beautifully. Check out sites like Minimalist Baker for more delicious dairy-free ice cream recipes.
Explore these variations and you might just find your new favorite! You’ll not only impress your friends with your ice cream-making skills but also create personalized flavors that are perfect for any occasion.
Cooking Tips and Notes for Homemade Vanilla Ice Cream
Common pitfalls and how to avoid them
When making your Homemade Vanilla Ice Cream recipe, there are a few common pitfalls you can easily sidestep. One frequent mistake is not chilling the mixture enough before churning. Make sure your base is well-chilled—ideally, overnight in the refrigerator. This will lead to better incorporation of air, giving your ice cream a smoother texture. Additionally, avoid overchurning. If you notice the ice cream becoming grainy, you’ve likely gone too far.
How to achieve the perfect texture
Achieving that creamy, dreamy texture in your homemade ice cream is all about balance. Ensure you’re using high-quality ingredients, particularly the vanilla extract. Did you know that fresh vanilla beans can elevate your flavor exponentially? Plus, remember to let your ice cream sit at room temperature for about 5 minutes before serving. This little trick helps soften the texture, making it easier to scoop.
For even better tips, check out this article on ice cream texture basics from Serious Eats. Happy churning!
Serving Suggestions for Homemade Vanilla Ice Cream
Creative toppings to try
Elevate your homemade vanilla ice cream recipe with unique toppings that cater to all taste buds. Have you ever thought about adding a touch of something unexpected? Consider:
- Toasted Coconut Flakes: They add a great crunch and a tropical vibe.
- Chocolate-Covered Pretzels: The salty-sweet combo is irresistible!
- Fresh Fruit: Try strawberries, mangoes, or even passion fruit for a refreshing twist.
- Gourmet Sauces: Drizzle with caramel, fudge, or fruit sauces for added decadence.
Mix and match these toppings to create your perfect scoop!
Pairing ice cream with desserts
Why stop at ice cream alone? Pair your homemade vanilla ice cream with other delicious treats for a delightful dessert experience. A generous scoop on top of a warm brownie or pie creates a contrast that’s hard to resist. Alternatively, fill a flaky pastry with ice cream for an unexpected delight.
Looking for ideas? Check out this guide to dessert pairings that showcases the best combinations. Whether served singly or married with desserts, your ice cream will surely impress!
Time Breakdown for Homemade Vanilla Ice Cream
Creating your own homemade vanilla ice cream is a delightful process that’s perfect for a warm day or a cozy gathering. Here’s how the time adds up:
Preparation Time
In just about 20 minutes, you’ll have your ingredients mixed and ready. This initial stage is where you infuse flavor and whisk together cream, milk, sugar, and that lovely vanilla extract.
Chilling Time
Next up, you’ll need to let the mixture chill in the refrigerator for at least 2 hours. This is crucial for achieving that creamy texture. Find a good playlist or catch up on a favorite show during this time!
Total Time
All in all, you’ll be looking at around 2 hours and 20 minutes from start to finish—barely any time to enjoy a culinary masterpiece! So, treat yourself and savor every scoop. Want to dive deeper? Check out this guide on ice cream making for tips on flavor variations and techniques.
Remember, the joy is in the process, and soon, you’ll be indulging in your delicious, homemade treat!
Nutritional Facts for Homemade Vanilla Ice Cream
When you whip up a batch of homemade vanilla ice cream, it’s helpful to know what you’re enjoying. Let’s break down the nutritional facts.
Calories per serving
A single serving of homemade vanilla ice cream typically contains around 200-250 calories. This makes it a sweet indulgence, especially when you consider the wholesome ingredients used.
Fat content
In your creamy creation, you can expect a fat content of approximately 12-15 grams per serving. This includes healthy fats from the cream, which contributes to that rich flavor and smooth texture we all love.
Sugar content
As for sugar, a serving usually has about 15-20 grams. While we want to indulge, keeping an eye on sugar intake is essential. Consider using fresh fruit or natural sweeteners for a twist!
Remember, enjoying homemade vanilla ice cream in moderation can be part of a balanced diet. Need more tips? Check out this article on healthy ice cream alternatives.
FAQs About Homemade Vanilla Ice Cream
Can I make vanilla ice cream without an ice cream maker?
Absolutely! If you don’t have an ice cream maker, you can still whip up delicious homemade vanilla ice cream. One popular method involves using a simple mixing technique. After combining your ingredients, place the mixture in a shallow dish and freeze it. Every 30-45 minutes, stir it vigorously with a fork for the first few hours. This helps break up ice crystals, resulting in a creamier texture. Alternatively, you can try a bag method: fill one bag with ice and salt and another bag with your ice cream mixture. Shake vigorously for about 10-15 minutes, and voilà—ice cream!
How long does homemade ice cream last in the freezer?
Homemade ice cream typically lasts about 2-3 weeks in the freezer if stored properly. To keep it as fresh as possible, use an airtight container and minimize air exposure. It’s common for homemade ice cream to develop a hard crust after a while, but you can simply let it soften at room temperature for a few minutes before serving.
What can I do to make it less sweet?
If you prefer a less sweet treat, there are several adjustments you can make:
- Decrease sugar: Start by reducing the amount of sugar in the recipe by 20-30%. You can always add a bit more later if needed.
- Use vanilla bean: Incorporating a vanilla bean instead of extract can enhance flavor without adding extra sweetness.
- Add a pinch of salt: A bit of salt can help balance out sweetness, enhancing the overall flavor.
Overall, this homemade vanilla ice cream recipe is versatile, and you have room to experiment until you find the perfect balance! Check out sources like American Institute for Cancer Research for more tips on nutrition and cooking adjustments.
Conclusion on Homemade Vanilla Ice Cream
Final thoughts on homemade delights
There’s something truly special about the process of making your own homemade vanilla ice cream. It’s not just about the creamy texture or the rich flavor; it’s about the joy of crafting a delightful treat that can bring people together. Once you master this homemade vanilla ice cream recipe, you’ll discover endless possibilities for customization—think additions like fresh fruit or nuts.
So, whether you’re entertaining friends, treating yourself, or simply enjoying a warm day, this ice cream option is sure to please. For more ice cream inspiration, check out Serious Eats for creative flavors and tips!
PrintHomemade Vanilla Ice Cream recipe: Indulge in Pure Creamy Bliss
Indulge in the rich, creamy goodness of this homemade vanilla ice cream recipe, perfect for any dessert lover.
- Prep Time: 15 minutes
- Total Time: 4 hours 15 minutes
- Yield: 4 servings 1x
- Category: Dessert
- Method: Churned
- Cuisine: American
- Diet: Vegetarian
Ingredients
- 2 cups heavy cream
- 1 cup whole milk
- 3/4 cup granulated sugar
- 1 tablespoon pure vanilla extract
- 1/4 teaspoon salt
Instructions
- In a mixing bowl, whisk together the heavy cream, whole milk, sugar, vanilla extract, and salt until the sugar is dissolved.
- Pour the mixture into an ice cream maker and churn according to the manufacturer’s instructions.
- Transfer the ice cream to a lidded container and freeze for at least 4 hours until firm.
Notes
- For a richer flavor, use high-quality vanilla extract or vanilla bean.
- Make sure the ice cream maker bowl is completely frozen before churning.
Nutrition
- Serving Size: 1/2 cup
- Calories: 300
- Sugar: 28g
- Sodium: 50mg
- Fat: 20g
- Saturated Fat: 12g
- Unsaturated Fat: 7g
- Trans Fat: 0g
- Carbohydrates: 31g
- Fiber: 0g
- Protein: 3g
- Cholesterol: 70mg
Keywords: Homemade Vanilla Ice Cream recipe