Introduction to Homemade Christmas Caramels
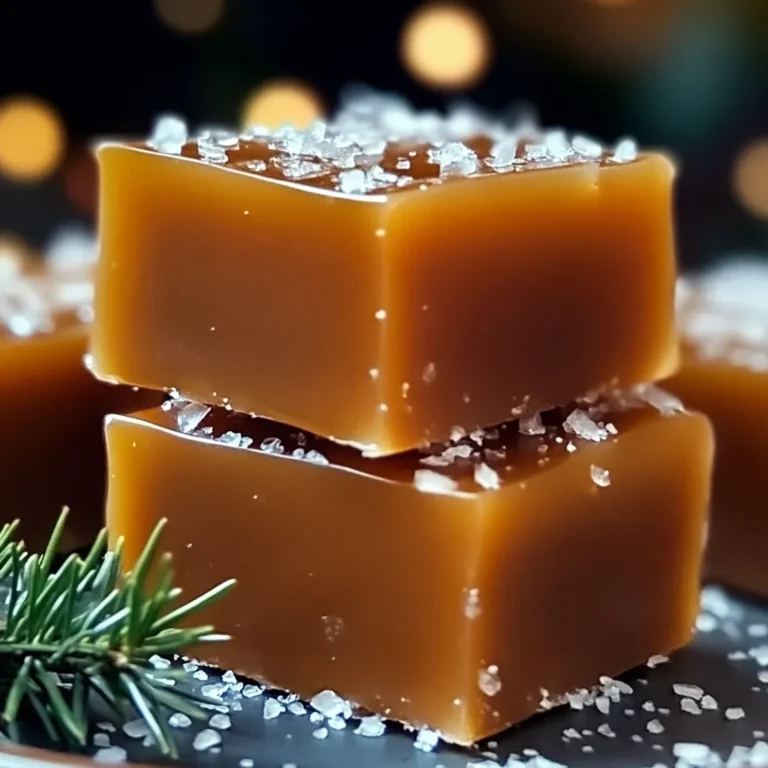
The holiday season is a time for warmth, family gatherings, and sweet indulgences. Among the beloved treats shared during this festive time, homemade caramels stand out as a delicious, heartwarming option. Making caramels at home not only allows for a personal touch but also fills your kitchen with the inviting aroma of buttery, caramelized sugar. This guide will walk you through creating these delightful Christmas caramels, perfect for gifting or enjoying with loved ones.
Homemade caramels are more than just candy—they’re a thoughtful, homemade gesture wrapped in chewy, sweet goodness. Their timeless appeal makes them ideal for everything from dessert platters to personalized holiday gifts. There’s a special joy in giving something handmade, and with a few essential ingredients, you can craft caramels that are both unique and memorable.
Why Make Your Own Caramels?
Opting for homemade Christmas caramels means you have control over every ingredient, ensuring fresher, healthier sweets that can be tailored to your preferences. Here’s why homemade is the best way to go:
- Healthier Ingredients: By making caramels from scratch, you avoid preservatives or artificial additives that are often found in store-bought candies. Using fresh, high-quality unsalted butter, brown sugar, and vanilla extract elevates the taste and texture significantly.
- Customizable Flavors and Textures: Homemade caramels allow for experimentation with different flavors and add-ins. For example, you can sprinkle a touch of sea salt on top for a trendy salted caramel variation, or even add spices like cinnamon or nutmeg for a holiday twist.
For precise results, a candy thermometer can help you achieve the perfect consistency. Check out this guide to using a candy thermometer to ensure your caramels reach the ideal temperature for that chewy texture we all crave.
Homemade caramels are also a versatile treat that can be wrapped up beautifully as gifts, making them a popular choice for Christmas. Parchment paper is essential to line your baking pan to avoid sticking, and it’s worth knowing the difference between parchment and wax paper to get the best results.
Creating these caramels at home is not just about satisfying a sweet craving; it’s about crafting something meaningful and delightful that embodies the spirit of the season.
Ingredients Breakdown and Preparation
Creating the perfect homemade Christmas caramels starts with selecting the right ingredients, each playing a unique role in flavor and texture. Below is a breakdown of each essential ingredient, along with tips and substitution options to personalize your caramels and make them your own.
Essential Ingredients with Substitutes and Tips
- Unsalted Butter: This is key to achieving a rich, creamy flavor in caramels. Unsalted butter allows you to control the salt content. If you only have salted butter, you can reduce or omit any added salt in the recipe. As an alternative, margarine can work, but it may alter the final flavor and texture slightly.
- Packed Brown Sugar: Brown sugar contributes to the signature caramel notes in this recipe. Its molasses content adds depth and color to the caramels. For a lighter flavor, you can substitute it with white sugar, though the taste may be less rich. Additionally, you can adjust the sweetness by experimenting with different types of brown sugar, such as dark or light varieties.
- Light Corn Syrup: This ingredient prevents the sugar from crystallizing, ensuring a smooth, chewy texture. If you prefer a natural alternative, honey can be used, but be aware that it may add a subtle honey flavor. Learn more about the properties of light corn syrup and its role in candy-making in this guide to using a candy thermometer.
- Sweetened Condensed Milk: The thick, creamy consistency of sweetened condensed milk is essential for the luxurious texture of caramels. If you want to reduce the sweetness, you can opt for low-sugar or unsweetened varieties, although this may slightly affect the flavor balance. Avoid substituting with evaporated milk, as it won’t provide the same rich texture.
- Vanilla Extract: Vanilla is a classic flavor enhancer in caramels, adding warmth and depth. For a more intense flavor, consider using a vanilla bean, or try almond extract for a unique twist. This ingredient can be easily customized to add variety to your caramel recipes.
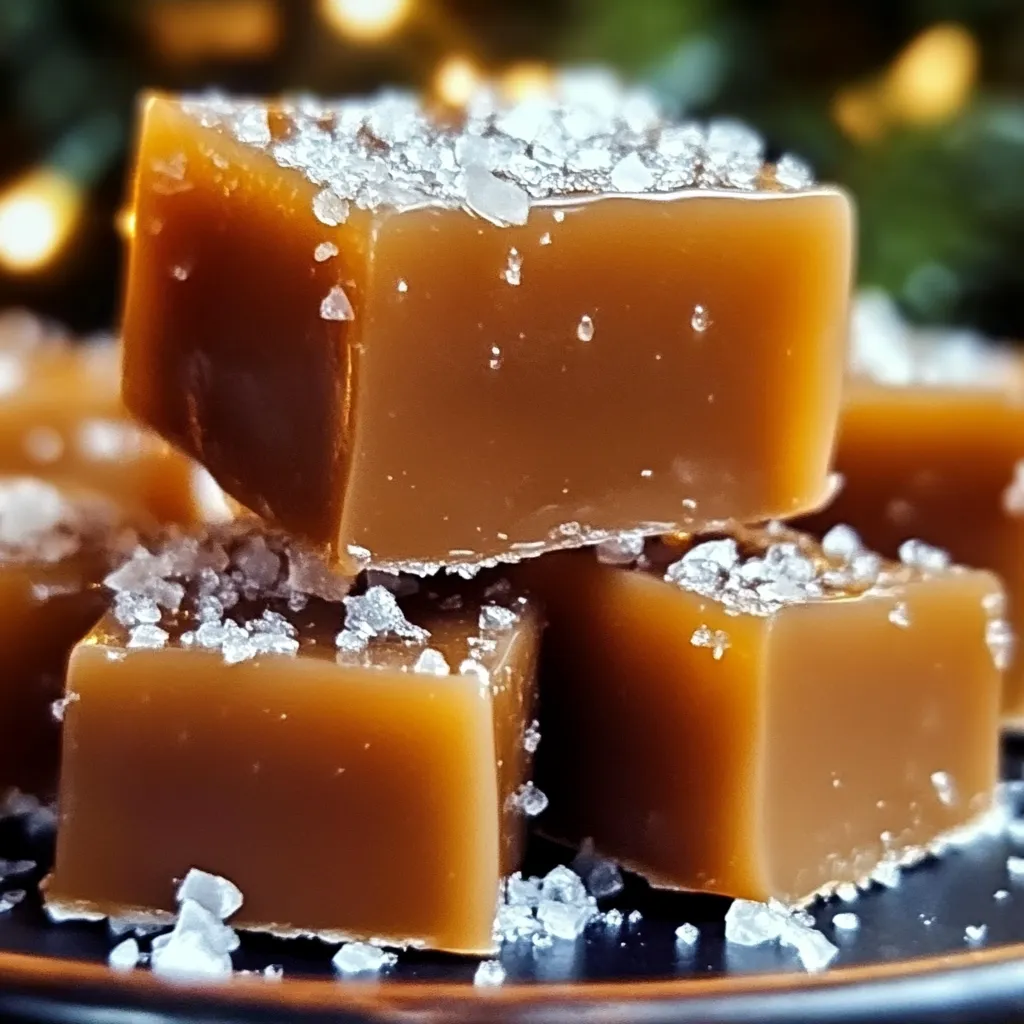
- Sea Salt for Sprinkling (Optional): Sea salt adds a touch of sophistication to the caramels, enhancing their sweetness and providing a balanced contrast. Just a light sprinkle before the caramels set can transform them into salted caramels, a popular holiday variation. You can also explore different types of salt, such as flaky sea salt, for a more textured finish. For tips on when and how to sprinkle salt, this guide on parchment vs. wax paper may come in handy for setup.
Each ingredient in this recipe contributes to a chewy, sweet, and indulgent result. With these tips and substitutions, you can personalize your caramels to suit your taste and dietary preferences.
Step-by-Step Instructions
Creating homemade Christmas caramels is a rewarding process, and by following these steps carefully, you’ll end up with perfectly chewy, sweet treats every time. Each step is designed to help you achieve the best texture and flavor possible.
Step 1: Prepare the Baking Pan
Proper preparation of the baking pan is essential to ensure your caramels don’t stick and are easy to remove once they’ve cooled.
- Line the Pan: Use parchment paper to line an 8×8 inch baking pan, leaving extra paper over the edges. This overhang will allow you to lift the caramel block out once it’s set, making it easier to cut clean squares.
- Grease the Parchment Paper: Lightly grease the parchment paper with butter to prevent the caramel from sticking as it sets. This step will make it easy to remove the caramel without tearing or damaging it.
Choosing the right paper matters! Check out this comparison of parchment vs. wax paper to ensure you’re using the best option.
Step 2: Melt the Butter
Melting the butter is a simple but crucial step, as it creates the base for your caramel mixture. Careful melting helps to maintain a smooth texture in the final product.
- Use Medium Heat: Place the unsalted butter in a large, heavy-bottomed saucepan, and set it over medium heat. The key here is to melt the butter gently without allowing it to brown, as browning can affect the flavor and color of the final caramels.
- Monitor Closely: Keep an eye on the butter as it melts, stirring occasionally. Browning occurs quickly, so take it off the heat as soon as it has fully melted to ensure a smooth, uniform caramel base.
A heavy-bottomed saucepan is best for even heating and helps to avoid hotspots that could cause the butter to burn.
Step 3: Combine Ingredients in the Saucepan
Once the butter has melted smoothly, it’s time to add the other ingredients gradually to achieve a consistent and lump-free caramel mixture. Each ingredient plays a role in the final texture, so careful incorporation is key.
- Add the Brown Sugar: Slowly stir in the packed brown sugar, ensuring it fully dissolves into the melted butter. This step is crucial to creating a smooth texture and avoiding any graininess in the finished caramel.
- Pour in the Corn Syrup and Sweetened Condensed Milk: Gradually add the light corn syrup and sweetened condensed milk to the pan, stirring continuously as you pour. Adding these ingredients slowly helps to avoid lumps and ensures a homogenous mixture.
Using a heavy-bottomed saucepan is recommended, as it distributes heat evenly and prevents scorching on the bottom. For more guidance on using ingredients like corn syrup for smooth textures, consult this candy-making guide.
- Add the Salt and Mix: Finally, sprinkle in the salt and stir well. This helps balance the sweetness and enhances the caramel flavor, creating a perfect, well-rounded treat.
Maintaining a steady stirring motion throughout this step will ensure that all ingredients are fully incorporated, setting you up for a smooth, chewy caramel texture.
Step 4: Bring the Mixture to a Boil
After combining the ingredients, it’s time to bring the caramel mixture to a gentle boil. This step is crucial for achieving the right texture in your caramels and requires attention to detail, including monitoring temperature and consistency.
- Increase the Heat Slowly: Turn up the heat slightly to bring the mixture to a gentle boil. Stir frequently to prevent sticking or burning at the bottom of the pan.
- Reaching the “Firm Ball Stage”: For perfect caramels, you’ll want the mixture to reach 245°F (118°C), also known as the firm ball stage. At this temperature, the caramel will cool to a texture that’s chewy yet holds its shape when bitten. This stage is essential to achieve the ideal consistency and ensures that the caramels won’t be too soft or too hard.
- Using a Candy Thermometer: Attach a candy thermometer to the side of the saucepan to monitor the temperature accurately. Avoid touching the bottom of the pan with the thermometer, as this can give a false reading. Consistency in heat is key here—sudden temperature changes can cause separation or clumping. For detailed guidance, this candy thermometer guide provides helpful tips on how to handle the thermometer effectively.
Troubleshooting Common Issues
- Clumping or Grainy Texture: If the caramel mixture starts clumping, lower the heat and stir continuously. Clumping usually happens when the mixture heats unevenly, so reducing the temperature helps regain control.
- Separation: If you notice the ingredients separating, keep stirring and ensure you maintain a steady heat level. Separation can often be corrected by stirring consistently until the ingredients recombine.
With a steady hand and attention to the candy thermometer, you’ll achieve a smooth, rich caramel texture.
Step 5: Add Vanilla Extract for Flavor
Once your caramel mixture has reached the ideal temperature, it’s time to enhance its aroma and depth of flavor by adding vanilla extract. This step is simple but impactful.
- Remove from Heat and Add Vanilla: Take the saucepan off the heat before adding 1 teaspoon of vanilla extract. This prevents the vanilla from burning and preserves its rich aroma.
- Stir Thoroughly: Mix well to ensure the vanilla flavor is evenly distributed throughout the caramel. Vanilla is a classic choice, but you can substitute it with other extracts for a unique twist, such as almond extract or a dash of cinnamon for a warm holiday touch.
Adding vanilla at this stage enhances the caramel’s flavor without overpowering its natural sweetness.
Step 6: Pour and Set the Caramel Mixture
Now that your caramel is perfectly flavored, it’s time to transfer it to the prepared pan. Proper pouring and setting are key to achieving even, firm caramels that are easy to cut and enjoy.
- Pour Carefully for an Even Layer: Hold the saucepan close to the pan and pour the caramel mixture slowly. Use a heat-resistant spatula to scrape the caramel from the saucepan, ensuring nothing goes to waste. This will help you create a uniform layer, essential for consistent pieces.
- Allow to Cool: Let the caramel cool at room temperature for at least 2 hours. Avoid moving or covering it during this time, as it needs to set undisturbed for the best texture. Room-temperature cooling ensures that the caramel firms up nicely without becoming too hard or sticky.
For additional firmness, some like to refrigerate the caramel once it has set at room temperature. This step can make cutting the caramel into squares easier, giving you beautifully shaped pieces ready to enjoy.
Step 7: Cut the Caramels
Once your caramel has fully set, it’s time to cut it into perfect squares. Using the right technique and tools will help you achieve clean, professional-looking pieces.
- Lift the Caramel Block: Carefully lift the caramel out of the pan using the parchment paper overhang. This makes it easier to handle and ensures a stable surface for cutting.
- Choose Your Tool: A sharp knife or pizza cutter works well for cutting caramels. To prevent sticking, lightly coat the blade with cooking spray or dip it in warm water, wiping it dry between cuts.
- Make Straight, Even Cuts: Cut in one direction first, then rotate to cut into squares. This method creates consistent pieces, ideal for serving or wrapping individually.
Step 8: Optional Sea Salt Topping
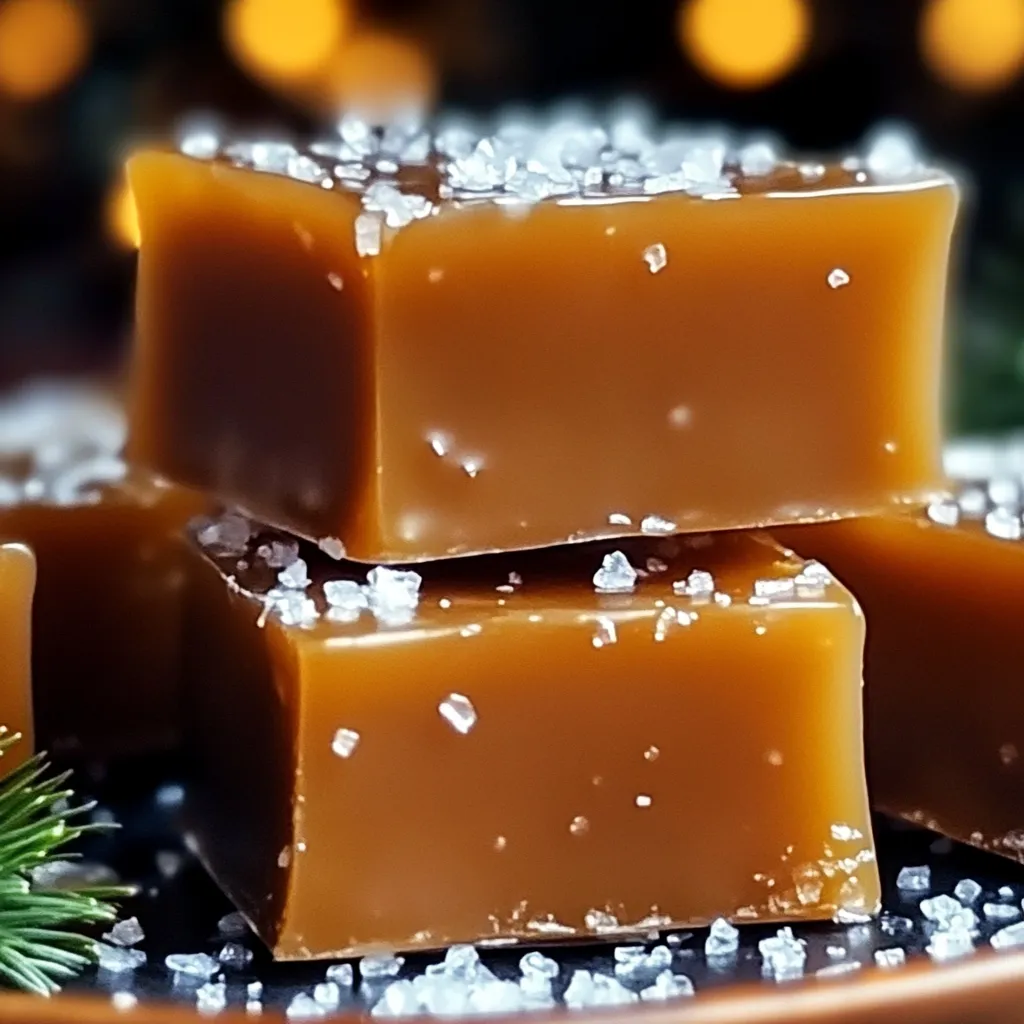
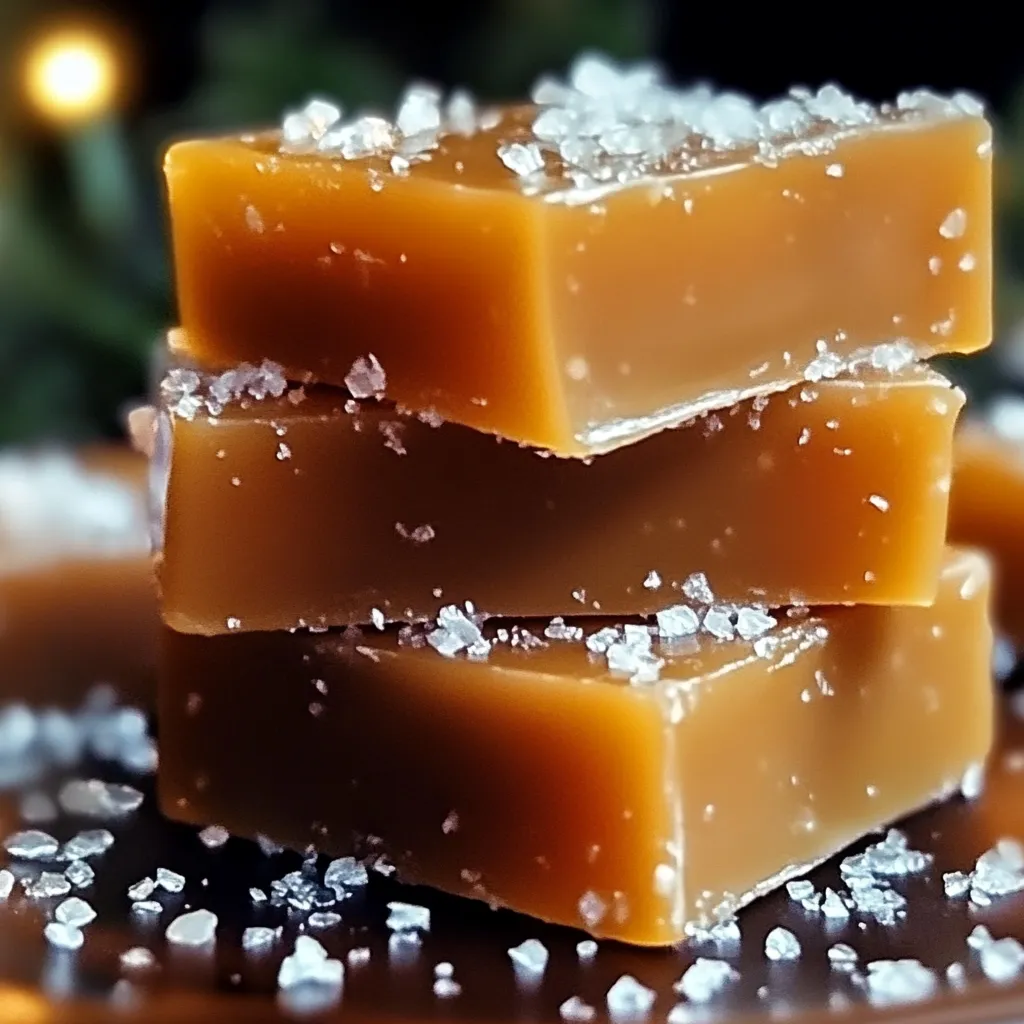
For a sophisticated flavor boost, sprinkle a touch of sea salt onto the caramels just before they’re fully set. The salt enhances the sweetness, creating a balanced, crave-worthy treat.
- Timing is Key: Sprinkle the salt when the caramel is still warm but nearly set. This helps the salt adhere without dissolving.
- Explore Other Toppings: For extra texture and flavor, try adding crushed nuts, like pecans or almonds, or even a dusting of cocoa powder for a unique twist.
Serving and Storage Tips
Homemade Christmas caramels make wonderful gifts and are easy to package beautifully. Proper storage is also key to maintaining their freshness and texture.
Presentation Ideas for Gifting
For gifting, thoughtful presentation adds a personal touch to your homemade caramels. Here are a few ideas:
- Wrap in Wax Paper: Cut small squares of wax paper and wrap each caramel individually, twisting the ends to seal. This not only looks professional but also prevents the caramels from sticking together.
- Use Decorative Boxes or Bags: Arrange the wrapped caramels in small, festive boxes or clear bags. Adding a ribbon or bow can make them look even more festive.
- Add Personalized Tags: Include handwritten tags or labels with the gift, adding a note or holiday greeting. You could even mention the flavor or add a touch of artwork to make it special.
Storage Tips for Freshness
To keep your caramels fresh and delicious, proper storage is essential.
- Store at Room Temperature: Store the caramels in an airtight container at room temperature. This prevents them from becoming too hard, as can happen with refrigeration.
- Avoid Moisture and Heat: Keep the container in a cool, dry place, away from heat sources.
- Shelf Life: When stored properly, homemade caramels can last up to two weeks. If you need to keep them longer, you can refrigerate them, but bring them back to room temperature before serving for the best texture.
Troubleshooting and Pro Tips
Creating homemade Christmas caramels can be a delicate process. Here’s how to avoid common mistakes and achieve the perfect, chewy texture every time.
Common Mistakes and How to Avoid Them
- Overcooking or Undercooking: Caramel needs to reach the firm ball stage (245°F) for the ideal consistency. Overcooking leads to hard, brittle caramel, while undercooking makes it too soft. Use a candy thermometer to monitor the temperature closely.
- Texture Issues: If your caramels are too hard, you may have cooked them at too high a temperature. If too soft, try cooking a bit longer or adding a pinch of cornstarch next time for extra firmness.
Pro Tips for Perfect Caramels
- Maintain Consistency: Stir constantly and use medium heat to prevent the mixture from sticking or burning. A heavy-bottomed pan helps evenly distribute heat, making this process easier.
- Experiment with Salt: For added flavor depth, sprinkle different types of salt, like flaky sea salt, on top just before the caramel sets. Each variety brings a unique touch, enhancing the sweetness and creating a gourmet feel.
With these troubleshooting tips and techniques, you can create flawless caramels that are beautifully chewy and full of flavor.
Frequently Asked Questions (FAQs)
When making homemade Christmas caramels, questions often arise about texture, temperature, and flavor options. Here are answers to some of the most common questions to help you achieve perfect results.
Why Didn’t My Caramel Set?
If your caramel didn’t set, it likely didn’t reach the firm ball stage (245°F), the temperature required for a chewy texture. Use a candy thermometer to monitor this closely, as precise temperature control is essential for caramel to set properly.
Can I Make These Caramels Without a Candy Thermometer?
Yes, though it requires a little practice. To test consistency without a thermometer, drop a small amount of caramel into a bowl of cold water. If it forms a firm ball that flattens slightly but holds its shape, it’s ready.
How Can I Make the Caramels Softer or Harder?
To adjust caramel texture, vary the cooking temperature slightly. For softer caramels, cook just below 245°F, and for harder caramels, go a few degrees higher. Just a few degrees can make a noticeable difference.
Can I Freeze Homemade Caramels?
Yes, you can freeze them for longer storage. Wrap each caramel in wax paper, then place them in an airtight container. Thaw at room temperature before serving to maintain their chewy texture.
What Are Some Flavor Variations I Can Try?
Experiment with adding spices or extracts, like cinnamon, peppermint, or almond extract, for a festive twist. Each flavor brings a unique depth, perfect for customizing your caramels for different occasions.
Conclusion and Final Thoughts
Homemade Christmas caramels are more than just a sweet treat—they’re a labor of love that brings warmth and flavor to the holiday season. By crafting caramels at home, you gain control over each ingredient, ensuring a fresher and more personalized taste than store-bought options. From experimenting with flavors to adjusting textures, making caramels from scratch allows for endless creativity.
Not only are these caramels a delightful indulgence, but they also make perfect holiday gifts, wrapped and personalized for friends and family. So gather your ingredients, follow these steps, and enjoy the process. We encourage you to try this recipe, explore new flavors, and create a holiday tradition that brings joy and sweetness to your celebrations!
PrintHomemade Christmas Caramels
Chewy, buttery caramels with a hint of vanilla and optional sea salt, perfect for holiday gifts or festive treats.
- Prep Time: 10 minutes
- Cook Time: 30 minutes
- Total Time: 2 hours 40 minutes
- Yield: Approximately 64 small squares 1x
- Category: Dessert
- Method: Candy-making
- Cuisine: American
- Diet: Vegetarian
Ingredients
1 cup unsalted butter
2 1/4 cups packed brown sugar
1 cup light corn syrup
1 (14 oz) can sweetened condensed milk
1 teaspoon vanilla extract
1/4 teaspoon salt
Optional: Sea salt for sprinkling on top
Instructions
Step 1: Prepare the Baking Pan
Line an 8×8 inch baking pan with parchment paper, leaving some overhang on each side to help lift the caramel out later.
Lightly grease the parchment paper with butter to prevent sticking.
Step 2: Melt the Butter
In a large, heavy-bottomed saucepan, melt the butter over medium heat. Make sure it just melts and doesn’t start browning.
Step 3: Combine Ingredients
Add the packed brown sugar, light corn syrup, sweetened condensed milk, and salt to the melted butter. Stir until everything is well combined.
Step 4: Bring to a Boil
Increase the heat slightly and bring the mixture to a gentle boil.
Reduce the heat to medium-low, attach a candy thermometer to the pan, and cook, stirring frequently, until the temperature reaches 245°F (118°C). This temperature, known as the firm ball stage, ensures the perfect chewiness for the caramels!
Step 5: Add Vanilla
Remove the pan from heat and stir in the vanilla extract to add a rich aroma.
Step 6: Pour and Set
Carefully pour the hot caramel mixture into the prepared pan. Use a spatula to spread it evenly. Allow the caramel to cool at room temperature for at least 2 hours, or until fully set.
Step 7: Cut the Caramels
Once the caramel is fully set, lift the parchment paper out of the pan. Use a sharp knife to cut the caramel into small squares.
Step 8: Optional Sea Salt Topping
For a touch of sophistication, sprinkle the caramels with sea salt just before they set completely. The salt enhances the sweetness of the caramel beautifully!
Notes
– Use a candy thermometer for accuracy.
– Store at room temperature for up to 2 weeks or freeze for longer storage.
– Adding sea salt on top adds a delicious contrast to the sweetness.
Nutrition
- Calories: ~50 kcal
- Sugar: 6 g
- Fat: 2.5 g
- Saturated Fat: 1.5 g
- Carbohydrates: 7 g
- Protein: 0.3 g

