Introduction and Recipe Overview
Introduction to Amish White Bread
Amish White Bread is a timeless classic cherished for its simplicity, soft texture, and rich history. Originating from the Amish communities, this bread embodies their tradition of homemade cooking and slow, intentional preparation. Its reputation extends beyond its cultural roots, becoming a household favorite among home bakers who seek comfort in a slice of freshly baked bread.
The beauty of this recipe lies in its accessibility. With just a handful of pantry staples, you can create a loaf that is both versatile and delicious. Whether you’re new to bread baking or a seasoned pro, this recipe delivers consistent results. The soft, slightly sweet loaf is perfect for sandwiches, toast, or simply enjoying with a pat of butter.
For those just beginning, understanding the basics of bread-making—like how to proof yeast effectively—ensures a perfect loaf every time. This critical first step helps the bread rise properly, resulting in the light, fluffy texture Amish White Bread is known for.
Key Features of Amish White Bread
What makes Amish White Bread so beloved? Here are its standout qualities:
- Soft, fluffy texture: Achieved through careful kneading and proper rising techniques.
- Slightly sweet taste: A touch of sugar enhances the flavor without overwhelming it.
- Versatility: Whether for sandwiches, toast, or side dishes, this bread adapts to various uses effortlessly.
The success of this bread also hinges on choosing the right flour. Curious about which flour to use? Discover the differences between bread flour and all-purpose flour to select the one that best suits your desired texture.
By focusing on these features and techniques, anyone can achieve bakery-quality results at home. Get ready to embrace the warmth and aroma of freshly baked Amish White Bread.
Step-by-Step Guide to Making Amish White Bread
Essential Ingredients and Their Roles
To create Amish White Bread, you’ll need a few simple ingredients, each playing a crucial role in achieving the bread’s soft, fluffy texture and slightly sweet taste. Here’s a breakdown of the ingredients:
Ingredients:
- 2 cups warm water (110°F to 115°F): The ideal temperature to activate the yeast, ensuring proper rise.
- 2/3 cup white sugar: Adds sweetness and aids in feeding the yeast for an airy texture.
- 1 1/2 tablespoons active dry yeast: Essential for leavening the bread, giving it a light, fluffy structure.
- 1 1/2 teaspoons salt: Balances flavor and strengthens the gluten structure.
- 1/4 cup vegetable oil (or melted butter): Provides moisture and richness to the bread.
- 5 1/2 to 6 cups bread flour (or all-purpose flour): Creates the structure; bread flour adds a slightly chewier texture.
Ingredient Importance:
- Using warm water between 110°F to 115°F is critical for yeast activation. Learn more about how to proof yeast effectively to avoid common pitfalls.
- Bread flour is recommended for a chewier crumb, but all-purpose flour works well for a softer loaf. Explore the differences between bread flour and all-purpose flour to make the best choice for your loaf.
Substitutions and Variations:
- Swap vegetable oil with melted butter for a richer flavor.
- Add herbs or spices (e.g., garlic or rosemary) for savory variations.
- Use honey instead of sugar for a milder sweetness.
Preparing the Dough
Activating the Yeast: Proper Temperature and Proofing Tips
- In a large bowl, dissolve the sugar in warm water (110°F to 115°F).
- Sprinkle yeast over the surface and let it sit for 5–10 minutes. The mixture should become foamy, indicating active yeast. If no foam forms, the yeast may be expired or the water temperature incorrect.
Mixing the Dough: Achieving the Right Consistency
- Stir in the salt and oil, followed by 3 cups of flour.
- Mix until smooth, then gradually add the remaining flour, one cup at a time. The dough should come together, pulling away from the sides of the bowl. It should feel slightly sticky but manageable.
- Use a spoon or hands to incorporate the flour fully for even consistency.
Common Beginner Mistakes to Avoid
- Water temperature too hot or cold: Too hot kills the yeast, while too cold prevents activation.
- Adding too much flour: This can result in dense, dry bread. Only add enough to make the dough manageable.
- Skipping yeast proofing: Ensure the yeast is active before proceeding, or the bread won’t rise.
By carefully following these steps, you’ll lay the foundation for perfect Amish White Bread. These techniques not only ensure success but also help you build confidence in bread-making!
Preparing the Dough
Activating the Yeast: Proper Temperature and Proofing Tips
- Begin by dissolving 2/3 cup of white sugar in 2 cups of warm water (between 110°F to 115°F). The sugar serves as food for the yeast, helping it activate effectively.
- Sprinkle 1 1/2 tablespoons of active dry yeast over the water. Allow it to sit for 5–10 minutes. You’ll know it’s ready when a frothy, bubbly layer forms on top. If no bubbles appear, your yeast may be expired, or the water temperature may be incorrect.
- Ensuring the yeast is active at this stage is critical for a successful rise. For more tips, check this guide to proofing yeast.
Mixing the Dough: Achieving the Right Consistency
- Stir in 1 1/2 teaspoons of salt and 1/4 cup of vegetable oil (or melted butter for a richer flavor) into the yeast mixture.
- Gradually add 5 1/2 to 6 cups of flour, starting with about 3 cups. Mix thoroughly after each addition until the dough begins to pull away from the bowl. The texture should be slightly sticky but easy to handle.
- Bread flour is recommended for a chewier loaf, but all-purpose flour works if needed. Learn the differences between bread flour and all-purpose flour to decide which suits your preference.
Common Beginner Mistakes to Avoid
- Water temperature issues: Too hot (kills the yeast) or too cold (prevents activation) can ruin the bread.
- Over-flouring the dough: Adding too much flour creates dense, dry bread. Add just enough to make the dough manageable.
- Skipping yeast proofing: Always confirm yeast is active before proceeding to save time and effort.
The Art of Kneading
Step-by-Step Kneading Technique
- Transfer the dough to a floured surface.
- Use the heel of your hand to push the dough away from you.
- Fold the dough back toward you and turn it 90 degrees.
- Repeat this push-and-fold motion for 7–10 minutes.
Signs of Properly Kneaded Dough
- The dough will become smooth, elastic, and slightly tacky to the touch.
- When stretched, it forms a thin “windowpane” without tearing, indicating developed gluten.
Adjusting for Sticky or Dry Dough
- If the dough is too sticky: Lightly dust the surface and hands with flour, but avoid adding too much.
- If the dough is too dry: Sprinkle a small amount of warm water and knead it in gradually.
Mastering the kneading process ensures your bread has the perfect texture, creating the fluffy, airy crumb Amish White Bread is known for.
The Rising Process: Tips for Success
Importance of the First Rise and Environment Conditions
The first rise is critical to developing the dough’s flavor and texture. After kneading, place the dough in a lightly oiled bowl, turning it to coat evenly. This prevents sticking as the dough expands. Cover the bowl with a damp cloth or plastic wrap to lock in moisture and ensure a consistent rise.
The ideal environment for rising is warm and draft-free, with a temperature between 75°F and 85°F. If your kitchen is cold, place the bowl in a slightly warmed (but turned-off) oven or near a heat source.
Troubleshooting Dough That Doesn’t Rise
If the dough doesn’t rise:
- Check the yeast’s freshness; expired yeast won’t activate.
- Ensure the dough is in a warm environment. Cold temperatures slow or halt yeast activity.
- Avoid adding too much flour, as dense dough struggles to rise properly.
For more on troubleshooting yeast-related issues, refer to this guide on yeast activation.
Covering and Protecting the Dough During Resting
- Use a damp cloth or loosely cover the bowl with plastic wrap. This prevents the surface from drying out, which can hinder proper rising.
- Avoid over-proofing. Dough should roughly double in size, which typically takes about 1 hour.
Shaping and Final Rise
Proper Loaf Shaping Techniques
- Punch down the dough gently to release air bubbles after the first rise.
- Divide the dough into two equal portions and shape each into a smooth log.
- Tuck the edges under to create tension on the surface for an even rise.
Ideal Pan Types and Sizes
Use lightly greased 9×5-inch loaf pans for traditional loaf shapes. Glass or metal pans work well, but adjust baking time slightly for darker pans as they absorb more heat.
Ensuring Even Rises and Preventing Deflation
- Place shaped dough in pans and allow it to rise again until about 1 inch above the pan rim. This second rise typically takes 30–40 minutes.
- Handle the dough gently to avoid knocking out too much air, which can cause deflation during baking.
Following these tips ensures a beautifully risen Amish White Bread, ready for baking with a soft, airy crumb and golden crust.
Baking and Finishing Touches
Baking Times and Temperature Guidelines
- Preheat your oven to 350°F (175°C) to ensure even heat distribution. Proper preheating prevents uneven baking and ensures the bread rises well in the oven.
- Place the prepared loaf pans on the center rack to allow for proper airflow.
- Bake for 25–30 minutes, checking for doneness at the 25-minute mark. The bread should be golden brown and sound hollow when tapped on the bottom.
To ensure perfect results, familiarize yourself with bread baking temperature tips to master your oven’s quirks and improve your bread-making skills.
Tips for Achieving a Golden Crust
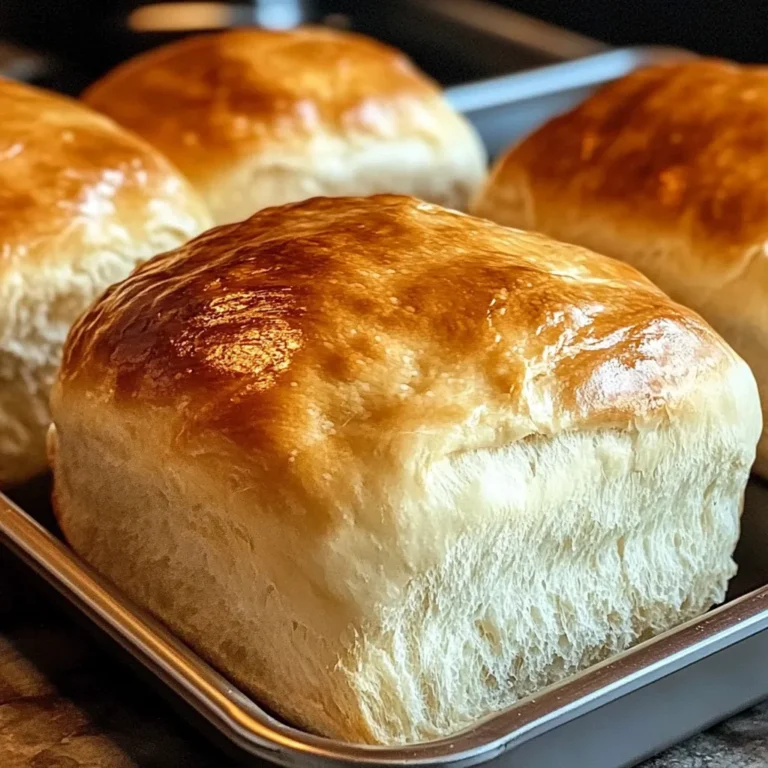
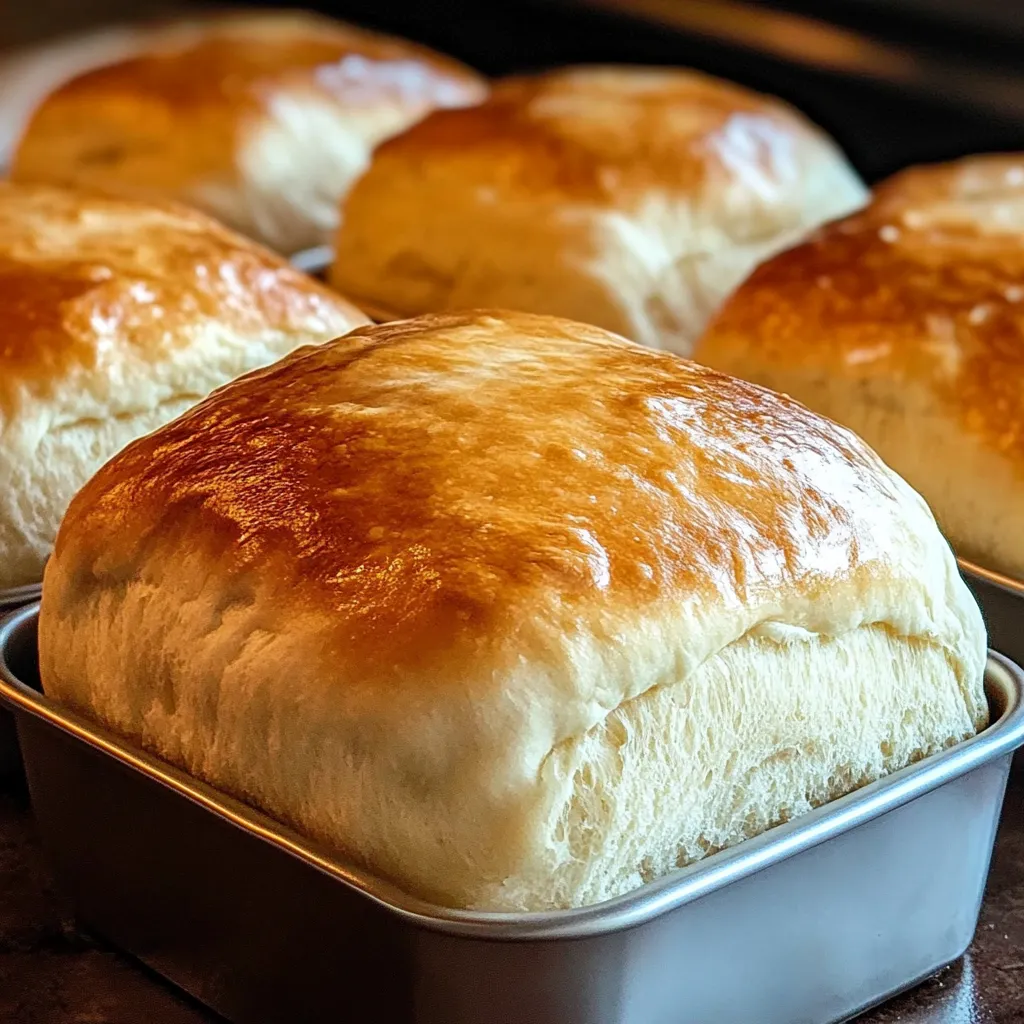
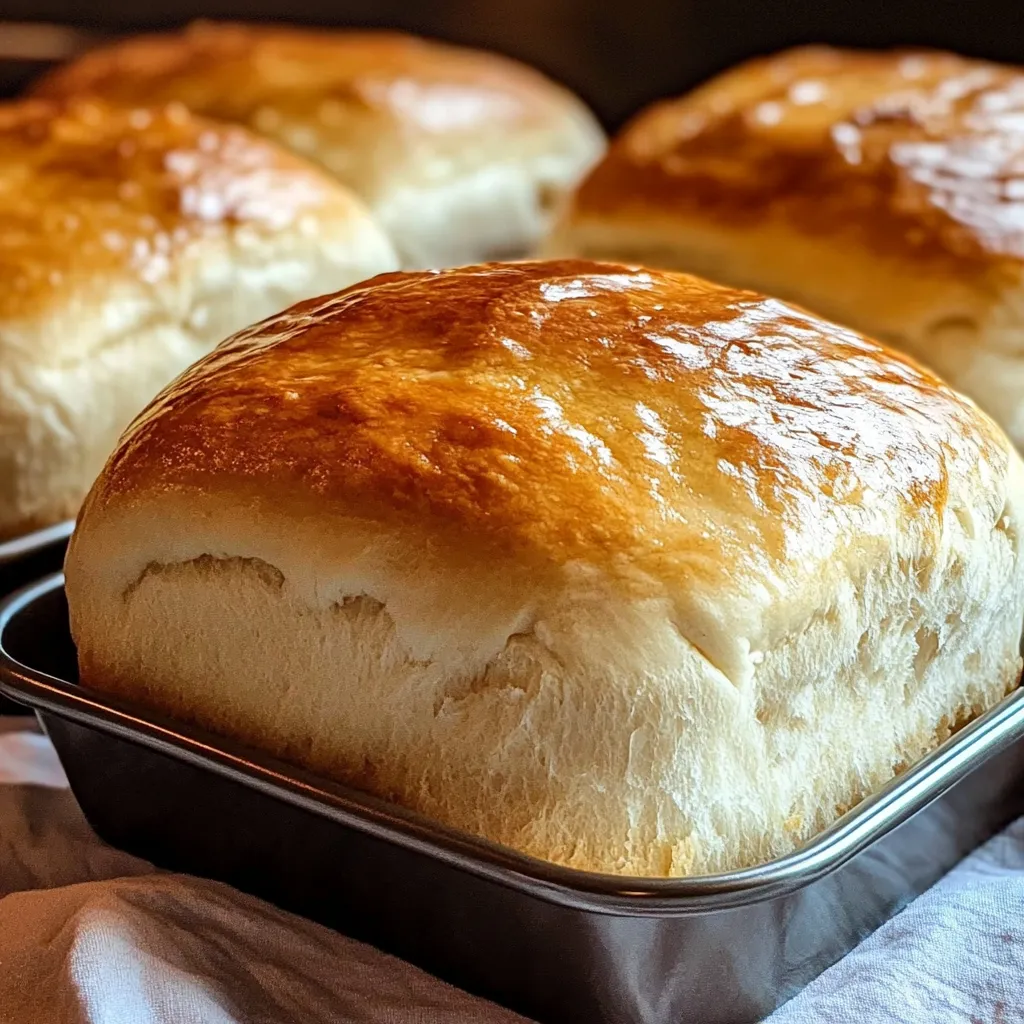
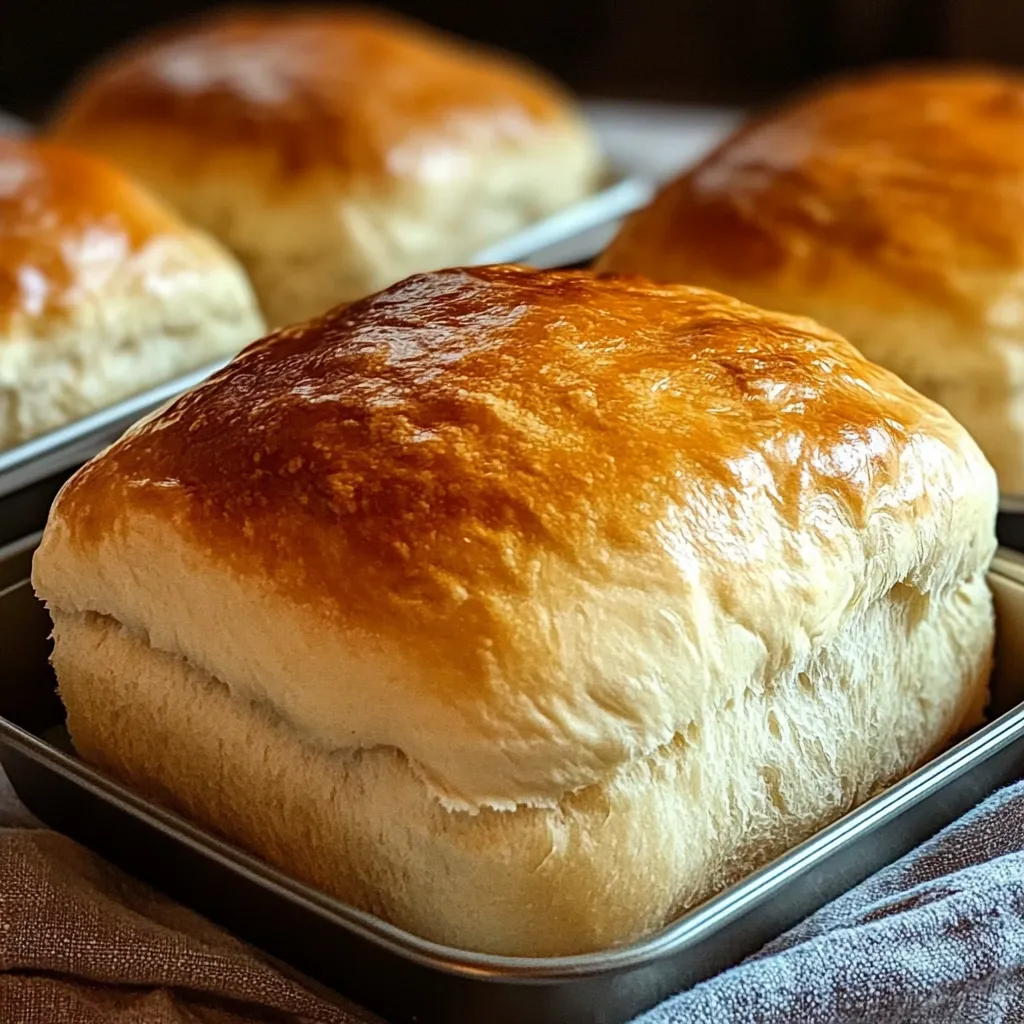
- For a glossy, golden crust, brush the tops of the loaves with an egg wash before baking. This creates a slight sheen and enhances the color.
- Avoid over-baking by using a kitchen thermometer to check for an internal temperature of 190°F–200°F.
Using Melted Butter for Softer Crusts
- Immediately after removing the loaves from the oven, brush the tops with melted butter. This softens the crust while adding a rich, buttery flavor.
- For added flavor, consider using herbed or garlic butter for a savory twist.
Cooling and Slicing
Importance of Proper Cooling
- Allow the loaves to cool in the pans for 10 minutes before transferring them to a wire rack. This prevents soggy bottoms and helps the bread set.
- Let the bread cool completely before slicing to maintain its structure and avoid tearing.
Techniques for Clean, Even Slices
- Use a serrated bread knife to achieve clean cuts without crushing the loaf.
- For even slices, gently saw back and forth, applying minimal pressure.
These finishing steps ensure your Amish White Bread is both visually appealing and easy to serve, perfect for any meal or snack.
FAQs: Common Questions About Amish White Bread
Why Does My Bread Turn Out Dense?
Dense bread is often a result of:
- Under-kneading: Proper kneading develops gluten, which gives bread its light structure. Refer to dough kneading techniques for tips.
- Inactive yeast: Ensure your yeast is fresh and properly proofed.
- Too much flour: Adding excessive flour can make the dough heavy and difficult to rise.
Can I Make Amish White Bread with Whole Wheat Flour?
Yes, you can substitute some of the bread flour with whole wheat flour to make a healthier version. However:
- Use 50% whole wheat and 50% bread flour to maintain the bread’s soft texture.
- Add a tablespoon of vital wheat gluten if replacing a significant portion of bread flour with whole wheat to enhance elasticity and rise.
What’s the Best Way to Store Homemade Bread?
Amish White Bread is best stored in a breadbox or wrapped in plastic wrap at room temperature. Avoid refrigeration, as it can dry out the bread quickly. For longer storage:
- Wrap the loaf tightly and freeze for up to 3 months. Thaw at room temperature before use.
Can This Bread Recipe Be Used for Rolls or Other Shapes?
Yes, this recipe is versatile! You can shape the dough into:
- Dinner rolls: Divide dough into smaller portions and bake for 15–20 minutes.
- Braided loaves or buns: Adjust baking time accordingly for smaller shapes.
How Long Does Amish White Bread Stay Fresh?
Stored properly, this bread remains fresh for 2–3 days at room temperature. Freezing extends its shelf life significantly, making it a convenient option for meal prep.
By understanding these FAQs, you can troubleshoot common issues, adapt the recipe to suit your needs, and enjoy Amish White Bread at its best every time.
Variations and Serving Suggestions
Creative Variations to Try
One of the joys of baking Amish White Bread is its versatility. You can modify the recipe to create exciting flavors and textures tailored to your preferences. Here are some creative variations:
Cinnamon Swirl Amish Bread
- Roll out the dough after the first rise.
- Spread with a mixture of butter, cinnamon, and sugar.
- Roll tightly and seal the edges before placing in the loaf pan. This creates a beautiful swirl and adds a touch of sweetness perfect for breakfast or snacks.
Herb-Infused Loaves
- Add fresh herbs like rosemary, thyme, or dill to the dough during the mixing stage.
- Pair with savory dishes for a flavorful side. For more inspiration on infusing flavors, check out these bread baking tips.
Using Milk Instead of Water
- Replace warm water with warm milk for a richer, creamier texture.
- This variation produces a softer crumb and slightly enhances the bread’s sweetness, making it ideal for sweeter recipes like French toast.
Pairing Ideas and Usage Tips
Perfect Spreads and Accompaniments
- For a sweet treat, pair with fruit jams, honey, or Nutella.
- Savory spreads like garlic butter, hummus, or cream cheese complement the bread’s slightly sweet flavor.
Using for Sandwiches or as a Breakfast Staple
- Its soft texture makes it perfect for sandwiches, whether classic PB&J or hearty deli-style creations.
- Toast slices and serve with eggs, bacon, or avocado for a quick and satisfying breakfast.
Experimenting with these variations and serving ideas ensures that Amish White Bread remains a versatile staple in your kitchen, ready for any occasion!
PrintHomemade Amish White Bread
A soft, fluffy homemade bread with a slightly sweet flavor, perfect for sandwiches, toast, or as a comforting side.
- Prep Time: 15 minutes
- Cook Time: 25–30 minutes
- Total Time: ~2 hours
- Yield: 2 loaves
- Category: Bread
- Method: Baking
- Cuisine: Amish, American
- Diet: Vegetarian
Ingredients
– 2 cups warm water (110°F to 115°F)
– 2/3 cup white sugar
– 1 1/2 tbsp active dry yeast
– 1 1/2 tsp salt
– 1/4 cup vegetable oil (or melted butter)
– 5 1/2 to 6 cups bread flour
Instructions
1. Dissolve sugar in warm water, add yeast, and let proof (5-10 minutes).
2. Add salt, oil, and half the flour; mix until smooth.
3. Gradually add remaining flour; knead for 7–10 minutes.
4. Place in an oiled bowl, cover, and let rise until doubled (1 hour).
5. Punch down dough, shape into loaves, and place in greased pans.
6. Let rise again until 1 inch above the pan (30–40 minutes).
7. Bake at 350°F (175°C) for 25–30 minutes.
8. Brush with butter and cool before slicing.
Notes
– Ensure water temperature is 110°F–115°F to activate yeast.
– Use bread flour for a chewier texture.
– Brush with melted butter after baking for a softer crust.
Nutrition
- Calories: 120
- Sodium: 190mg
- Fat: 2g
- Saturated Fat: 0.5g
- Carbohydrates: 22g
- Cholesterol: 0mg


