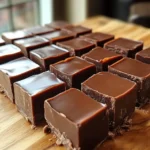
Introduction to 3-Minute Fudge
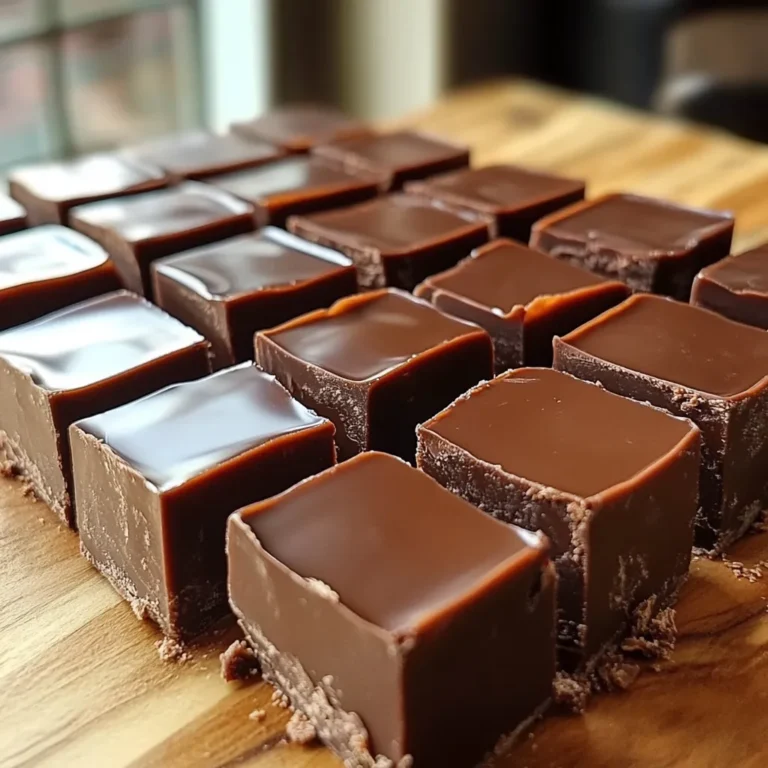
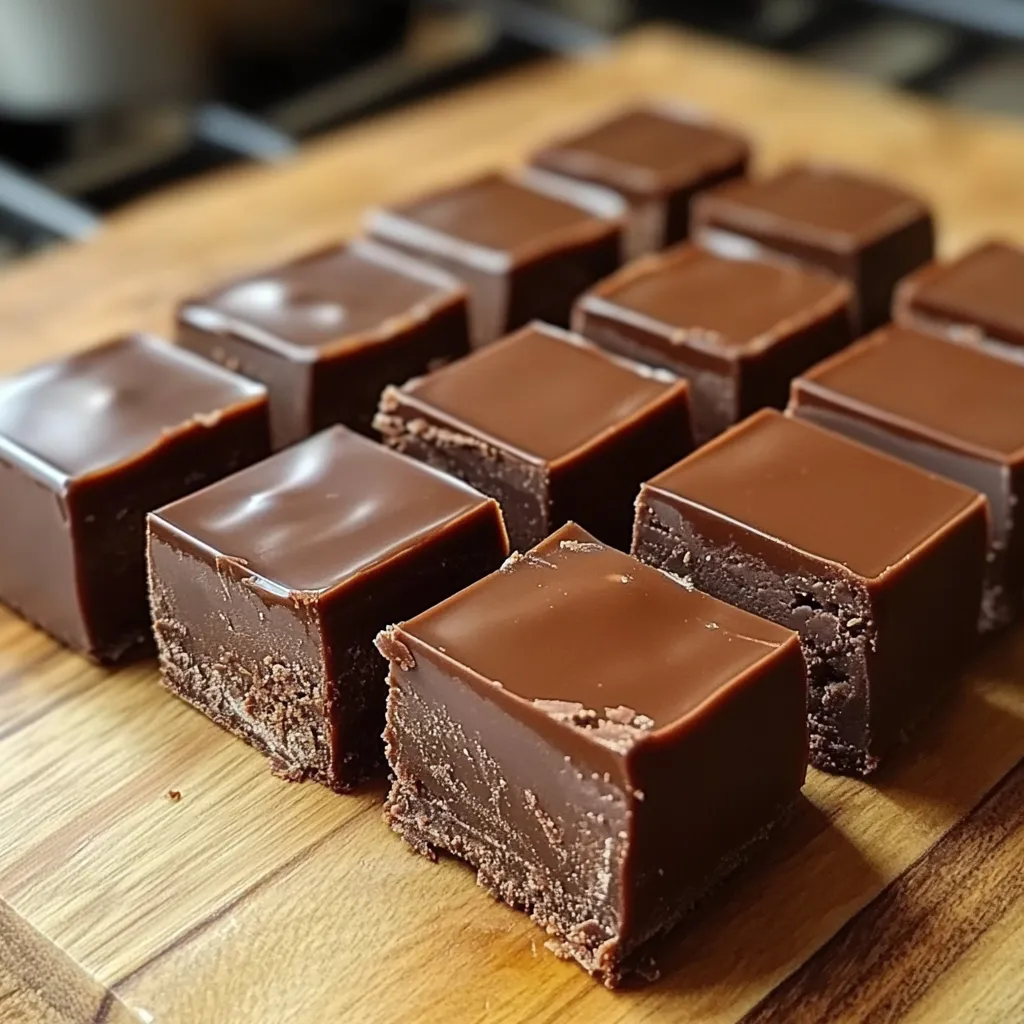
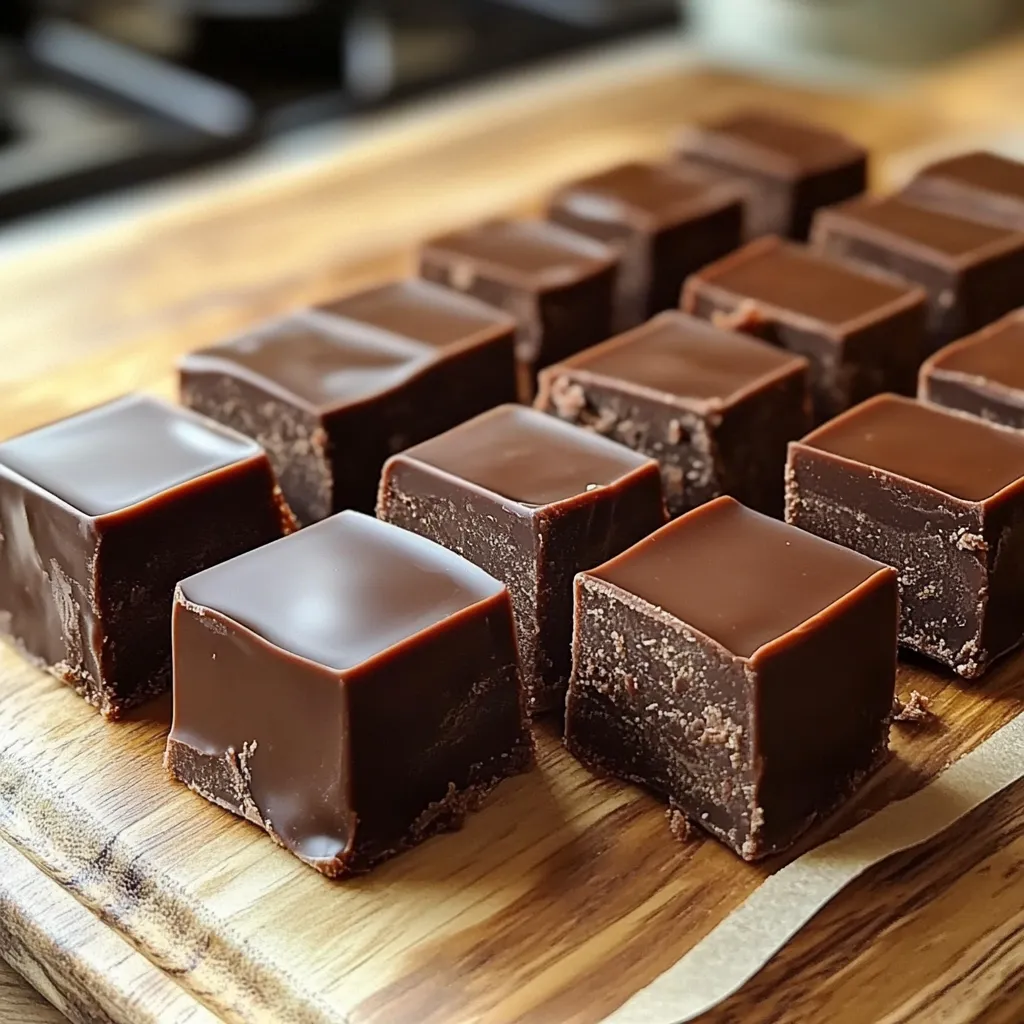
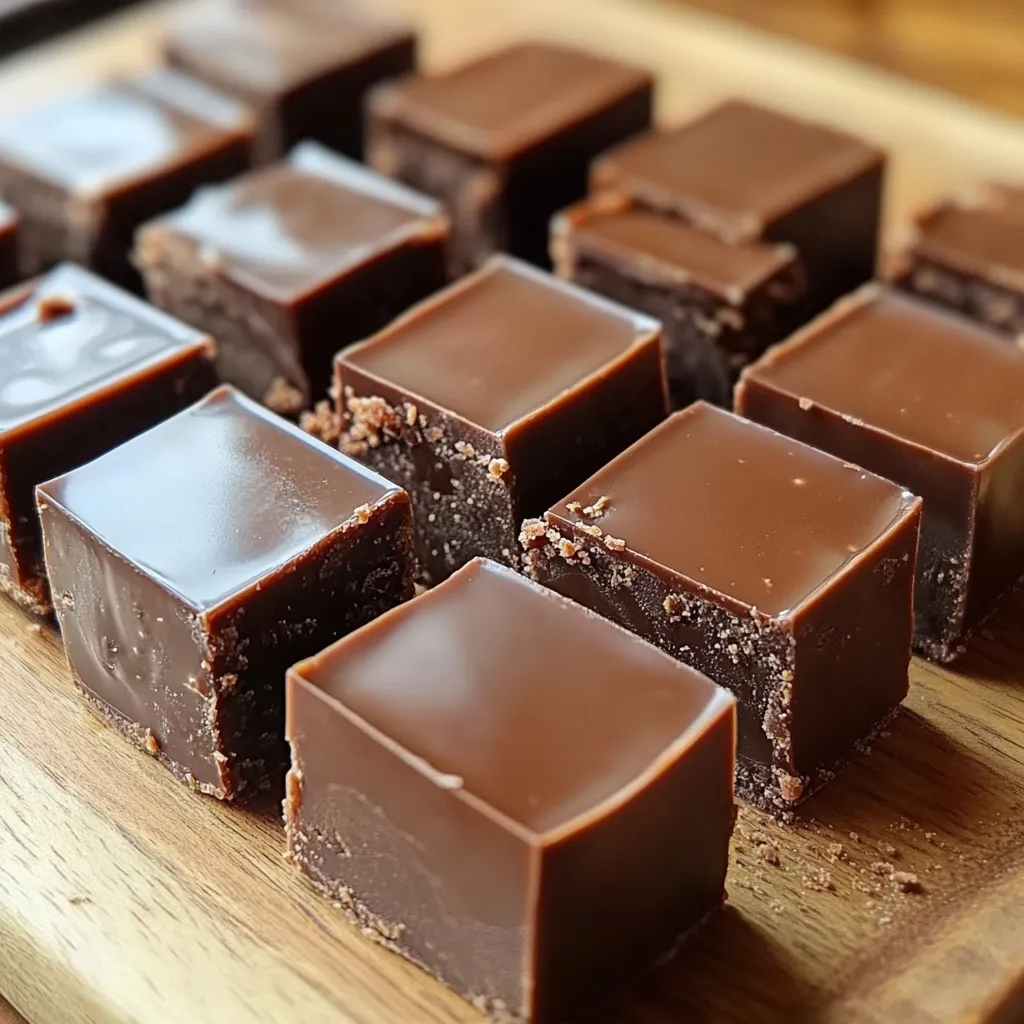
3-Minute Fudge is the ultimate quick and easy dessert recipe, perfect for busy days or last-minute treats. With just 3 simple ingredients—sweetened condensed milk, chocolate chips, and vanilla extract—you can create a rich, creamy fudge in minutes. This no-fuss recipe is ideal for holidays, parties, or a sweet indulgence anytime.
Unlike traditional fudge, which requires careful boiling and monitoring, 3-Minute Fudge simplifies the process without sacrificing flavor or texture. Whether you’re a beginner in the kitchen or a seasoned baker, this recipe guarantees success every time.
For busy people juggling work, family, or holiday preparations, a 3-Minute Fudge recipe is the perfect solution. In just minutes, you can create a delicious homemade treat without the need for special equipment or lengthy cooking times. Whether for a last-minute dessert, holiday gifts, or a sweet indulgence, this no-fuss fudge offers an ideal blend of flavor and convenience.
If you’re curious about achieving the perfect melted chocolate consistency, learn how to properly melt chocolate here. This ensures your fudge turns out smooth and creamy every time.
Why 3-Minute Fudge is a Game-Changer
- Fast Preparation: Unlike traditional fudge recipes, which can take hours, 3-Minute Fudge requires minimal effort and time.
- Budget-Friendly: Made with simple, affordable ingredients like sweetened condensed milk and chocolate chips.
- Versatile for Any Occasion: Ideal for holidays, parties, or as a quick homemade gift.
- Beginner-Friendly: Requires no candy thermometer or advanced baking skills.
To keep your fudge fresh and delicious, proper storage is key. Check out these essential tips for storing homemade fudge to ensure it maintains its texture and flavor for weeks.
Whether you’re a seasoned cook or a kitchen newbie, 3-Minute Fudge is proof that a decadent dessert doesn’t have to be time-consuming or complicated.
Why 3-Minute Fudge is Perfect for Any Occasion
When it comes to quick desserts, 3-Minute Fudge stands out as a go-to recipe for any event. Whether you’re short on time or need a last-minute treat, this simple yet decadent dessert checks all the boxes.
Fast Preparation for Last-Minute Treats
In today’s fast-paced world, recipes that save time are a game-changer. With only 3 minutes of preparation and a handful of ingredients, this fudge can be whipped up without breaking a sweat. Perfect for surprise guests, holiday rushes, or impromptu celebrations, it’s the ultimate stress-free dessert.
For an added touch, you can experiment with various fudge variations, like nuts, marshmallows, or peanut butter swirls. Check out creative fudge recipe ideas to take your basic fudge to the next level.
Versatility for Any Occasion
- Holidays: Serve fudge as a festive treat or add it to gift boxes.
- Parties: Its bite-sized form makes it an excellent addition to dessert platters.
- Snacks: A quick, satisfying sweet treat for kids and adults alike.
Budget-Friendly with Minimal Ingredients
All you need are three core ingredients – sweetened condensed milk, chocolate chips, and vanilla extract. These items are not only affordable but also easy to find in any kitchen. For budget-conscious cooks, 3-Minute Fudge offers a luxurious flavor without a hefty price tag.
If you’re new to storing homemade fudge, learn how to keep fudge fresh to enjoy it for weeks.
With its speed, versatility, and affordability, 3-Minute Fudge is truly the perfect treat for any occasion, making it a must-have recipe for busy individuals and families.
Ingredients Needed for 3-Minute Fudge
Making 3-Minute Fudge requires only a few simple ingredients, making it one of the easiest desserts to prepare. Whether you’re a baking novice or an experienced cook, these ingredients and tools will ensure your fudge turns out perfectly smooth and delicious every time.
Core Ingredients
- 1 can sweetened condensed milk (14 ounces)
- This ingredient is key for giving the fudge its creamy texture and natural sweetness.
- 2 cups semi-sweet chocolate chips (1 12-ounce bag)
- Use high-quality chocolate chips for the best flavor. Semi-sweet chocolate strikes the perfect balance between richness and sweetness.
- 1 teaspoon vanilla extract
- Enhances the flavor, adding a warm, aromatic finish to the fudge.
For more creative variations, such as adding nuts or other flavors, you can explore fudge recipe ideas that allow you to customize the basic recipe.
Essential Tools
To prepare 3-Minute Fudge, you only need a few kitchen tools:
- Square pan (8×8 inches or 9×9 inches) – The pan size ensures even spreading and smooth setting of the fudge.
- Parchment paper – Lining the pan makes it easier to remove the fudge once it sets.
- Microwave-safe bowl (2-quart capacity) – Ideal for melting the chocolate chips and condensed milk evenly.
If you’re unsure how to achieve the perfect melted chocolate consistency, check out this guide on melting chocolate for tips on avoiding clumps and overheating.
With these simple ingredients and basic tools, you’ll be ready to make a batch of creamy, decadent fudge in no time!
Step-by-Step Directions for 3-Minute Fudge
Creating 3-Minute Fudge is incredibly simple and quick, perfect for anyone looking for a no-fuss dessert. Follow these step-by-step directions to achieve a smooth, creamy fudge in just a few minutes.
Step 1: Butter and Line the Square Pan
- Start by buttering an 8×8-inch or 9×9-inch square pan.
- Line the pan with parchment paper, leaving some overhang on the edges for easy removal later. This ensures the fudge sets evenly and doesn’t stick.
Step 2: Combine Chocolate Chips and Sweetened Condensed Milk
- In a microwave-safe bowl (at least 2-quart capacity), combine:
- 2 cups of semi-sweet chocolate chips
- 1 can (14 ounces) sweetened condensed milk
- Stir lightly to coat the chocolate chips with the condensed milk.
For a perfect melted chocolate mixture, make sure to use high-quality chocolate chips for better consistency and flavor. Learn more about melting techniques here.
Step 3: Microwave in Short Bursts to Melt Chocolate
- Microwave the bowl on high for 1 minute.
- Let the bowl sit for 30 seconds to allow the residual heat to soften the chocolate.
- Stir the mixture thoroughly. If the chocolate isn’t fully melted, microwave in additional 15-30 second bursts, stirring after each one.
- Avoid overheating to prevent the chocolate from seizing.
Step 4: Stir in Vanilla Extract
- Once the chocolate is fully melted and smooth, stir in:
- 1 teaspoon vanilla extract
- The vanilla extract enhances the overall flavor of the fudge, balancing the sweetness with a subtle depth.
If you’re experimenting with variations like adding nuts or toppings, now’s the perfect time to fold them in. Check out these creative fudge ideas to add fun twists to your basic recipe.
Step 5: Pour Mixture into the Prepared Pan and Let It Cool
- Pour the fudge mixture into the buttered and lined pan.
- Use a spatula to spread it evenly, smoothing the top for a clean finish.
- Let the fudge cool completely at room temperature. To speed up the process, place the pan in the refrigerator for about 1 hour.
Step 6: Cut into Squares and Store
- Once the fudge is fully set, lift it out of the pan using the parchment paper overhang.
- Use a sharp knife to cut the fudge into 1-inch squares.
- Store the fudge in an airtight container. It stays fresh at room temperature for up to 2 weeks.
With these simple steps, you’ll have perfectly smooth, rich 3-Minute Fudge ready to enjoy or share. It’s the ultimate quick dessert that doesn’t compromise on flavor or texture!
Tips for the Best 3-Minute Fudge
To ensure your 3-Minute Fudge turns out smooth, rich, and delicious every time, follow these expert tips. These small adjustments can elevate your basic fudge recipe into a decadent treat perfect for any occasion.
1. Choose High-Quality Chocolate for Richer Flavor
The key to a luxuriously creamy fudge lies in the quality of your chocolate. Use high-quality semi-sweet chocolate chips or chocolate bars for a richer, smoother taste. Avoid low-grade chocolate, as it can produce a waxy or gritty texture.
If you’re unsure about the best ways to melt chocolate evenly, this helpful guide on melting chocolate provides tips to achieve a smooth consistency without clumps or burning.
2. Adjust Consistency with Different Types of Chocolate
- For a sweeter and creamier fudge, substitute semi-sweet chocolate with milk chocolate chips.
- If you prefer a more intense, bittersweet flavor, use dark chocolate chips.
- For a unique twist, try white chocolate chips for a completely different taste and look.
Mixing different chocolates allows you to customize the fudge’s consistency and flavor profile to your liking.
3. Enhance Flavor with Add-Ins
Take your 3-Minute Fudge to the next level by adding flavorful mix-ins and toppings:
- Nuts: Chopped walnuts, pecans, or almonds add a satisfying crunch.
- Marshmallows: Fold mini marshmallows into the mixture for a Rocky Road-inspired fudge.
- Sea Salt: Sprinkle flaky sea salt on top for a sweet-and-salty combination.
For more creative ideas on enhancing your fudge, check out these fudge recipe variations.
By using high-quality ingredients, experimenting with different types of chocolate, and incorporating tasty add-ins, you can easily create a batch of fudge that looks and tastes like it came straight from a professional kitchen!
Delicious Variations of 3-Minute Fudge
The beauty of 3-Minute Fudge lies in its versatility. By making a few simple tweaks, you can transform the classic recipe into a variety of exciting flavors. Whether you prefer crunchy nuts, creamy peanut butter, or festive touches, these variations are sure to please every palate.
1. Classic Fudge with Nuts
For a timeless twist, fold in your favorite nuts:
- Chopped walnuts or pecans add a satisfying crunch and complement the rich chocolate flavor.
- Stir the nuts into the fudge mixture just before pouring it into the pan.
- Top with additional chopped nuts for a beautiful presentation.
This variation is perfect for the holidays or as a gift for nut lovers.
2. Peanut Butter Fudge
Add a creamy, nutty swirl for the ultimate comfort treat:
- Once the fudge mixture is smooth, drop spoonfuls of creamy peanut butter over the top.
- Use a knife or toothpick to gently swirl the peanut butter into the fudge.
- For extra flavor, sprinkle crushed peanuts on top.
Peanut butter fudge combines chocolatey richness with a delightful nutty twist, making it irresistible for dessert lovers.
3. Mint Chocolate Fudge
This refreshing version is perfect for holiday parties or as a unique dessert:
- Replace vanilla extract with 1 teaspoon of mint extract.
- Add a few drops of green food coloring to give the fudge a festive minty hue.
- Top with crushed peppermint candies for added texture and flavor.
For more creative fudge variations, explore other festive ideas here.
4. White Chocolate Cranberry Fudge
Create a beautiful and tangy variation using white chocolate:
- Substitute semi-sweet chocolate chips with white chocolate chips.
- Fold in 1/2 cup of dried cranberries for a burst of tartness.
- Sprinkle additional cranberries or white chocolate shavings on top.
This sweet and tangy fudge is a great addition to holiday dessert platters.
5. Rocky Road Fudge
For a fun, kid-friendly treat, add a mix of textures:
- Fold in mini marshmallows and chopped almonds into the fudge mixture.
- Top with a few extra marshmallows and almonds for a Rocky Road-inspired finish.
- Chill and cut into squares for a chewy, crunchy dessert.
Rocky Road Fudge combines smooth chocolate, crunchy nuts, and soft marshmallows, creating a treat that’s as fun to eat as it is to make!
These delicious fudge variations allow you to customize your recipe for any occasion or preference. Whether you’re a fan of classic fudge, refreshing mint, or nutty indulgence, there’s a version of 3-Minute Fudge for everyone. Don’t be afraid to get creative and mix in your favorite flavors!
How to Store and Serve 3-Minute Fudge
Proper storage ensures your 3-Minute Fudge stays fresh, smooth, and delicious for as long as possible. Whether you’re serving it at a party or gifting it to loved ones, these simple tips will help you keep your fudge at its best.
Storage Tips
- Airtight Container at Room Temperature
- Store your fudge in an airtight container to keep it from drying out or absorbing other odors.
- Place parchment paper between layers to prevent the squares from sticking together.
- Keep the container at room temperature in a cool, dry place for up to 2 weeks.
- Refrigeration for Extended Freshness
- If you live in a warmer climate or want your fudge to last longer, store it in the refrigerator.
- Refrigeration extends the freshness of fudge for up to 2 weeks without affecting its texture.
- Allow refrigerated fudge to sit at room temperature for a few minutes before serving for the best flavor.
For more expert tips on keeping fudge fresh and flavorful, check out this guide on storing homemade fudge.
Freezing Your Fudge
- To store fudge for long-term enjoyment, freeze it in an airtight container or freezer-safe bag.
- Wrap the fudge tightly in plastic wrap or aluminum foil to prevent freezer burn.
- Freeze for up to 3 months. Thaw in the refrigerator overnight or at room temperature before serving.
Serving Tips for Holidays and Parties
- Gift Boxes: Package fudge squares in decorative boxes or tins lined with parchment paper for a homemade gift.
- Dessert Platters: Add fudge squares to a dessert board alongside cookies, nuts, and fresh fruit for a beautiful presentation.
- Holiday Events: Sprinkle fudge with festive toppings like crushed candy canes, powdered sugar, or edible glitter for a seasonal touch.
By following these easy storage and serving tips, you can keep your 3-Minute Fudge fresh, tasty, and ready to impress guests or recipients at any time!
FAQs: Common Questions About 3-Minute Fudge
Have questions about making the perfect 3-Minute Fudge? Below are answers to some of the most frequently asked questions to ensure your fudge turns out smooth, creamy, and delicious every time.
1. Can I Use Different Types of Chocolate?
- Yes! You can customize the recipe using different chocolates:
- Milk chocolate: Creates a sweeter and creamier fudge.
- Dark chocolate: Offers a rich, intense flavor.
- White chocolate: Perfect for a unique twist or pairing with add-ins like cranberries.
- Mixing chocolates can create a balanced flavor profile, so don’t hesitate to experiment!
For more ideas on customizing your fudge, explore creative fudge variations here.
2. How Do I Prevent the Fudge from Being Grainy?
- The key to avoiding grainy fudge is:
- Stir the chocolate and condensed milk mixture thoroughly.
- Microwave in short bursts and avoid overheating, which can cause the chocolate to seize.
- Proper stirring ensures a smooth and creamy consistency.
3. Can I Make This Recipe Without a Microwave?
- Yes, you can use a stovetop double boiler:
- Combine the chocolate chips and sweetened condensed milk in a heat-safe bowl.
- Place the bowl over simmering water, stirring constantly until the mixture melts and becomes smooth.
This method is just as effective for achieving the perfect fudge texture.
4. How Long Does 3-Minute Fudge Last?
- When stored properly in an airtight container:
- At room temperature: up to 2 weeks.
- In the refrigerator: Extends freshness for 2 weeks or more.
- For long-term storage, freeze fudge for up to 3 months.
5. Is Sweetened Condensed Milk Necessary?
- Yes, sweetened condensed milk is essential for achieving the creamy, rich texture and sweetness that makes 3-Minute Fudge so delicious. Substituting it with other liquids can compromise the recipe.
By following these tips, you’ll avoid common mistakes and enjoy a batch of perfectly smooth fudge every time. Whether you’re experimenting with different chocolates or learning to store fudge properly, this recipe is foolproof and flexible!
Healthier Alternatives to Traditional Fudge
If you’re looking for a healthier twist on 3-Minute Fudge, there are several ways to make it more nutritious without sacrificing flavor. These substitutions are perfect for those seeking low-sugar, dairy-free, or protein-packed options.
1. Use Sugar-Free Chocolate Chips
- Swap regular chocolate chips for sugar-free chocolate chips to reduce sugar content.
- This is a great option for anyone following a low-sugar or keto-friendly diet.
- Brands offering high-quality sugar-free chocolate ensure the fudge stays smooth and delicious.
2. Replace Condensed Milk with Coconut Milk
- For a dairy-free option, replace sweetened condensed milk with full-fat coconut milk.
- Coconut milk maintains the creaminess of traditional fudge while adding a slight coconut flavor.
- Make sure to add a natural sweetener like honey or maple syrup to balance the flavors.
If you’re curious about more dairy-free dessert ideas, explore tips for creative fudge variations here.
3. Add Protein Powder for a Nutritious Twist
- Boost the nutritional value by mixing 1-2 tablespoons of protein powder into the fudge mixture.
- Use chocolate or vanilla-flavored protein powder to complement the recipe.
- This variation is perfect for fitness enthusiasts who want a guilt-free treat packed with extra protein.
Conclusion
3-Minute Fudge is the ultimate easy dessert recipe—quick, versatile, and customizable for any taste or dietary preference. Whether you stick to the classic version or experiment with healthier alternatives, this fudge is perfect for holidays, parties, or a quick sweet fix.
Don’t hesitate to get creative with add-ins, flavors, and healthier ingredients. Enjoy this foolproof recipe anytime and share the joy of homemade fudge with family and friends!
PrintEasy 3-Minute Fudge Recipe: Quick, Creamy, and Delicious
A quick and easy fudge recipe made with just 3 ingredients. Perfect for a no-fuss dessert.
- Author: Souzan
- Prep Time: 1 minute
- Cook Time: 1 minute
- Total Time: 3 minutes
- Yield: 16 squares
- Category: Dessert
- Method: Microwave
- Cuisine: American
- Diet: Vegetarian
Ingredients
– 1 can sweetened condensed milk (14 ounces)
– 2 cups semi-sweet chocolate chips (12 oz bag)
– 1 teaspoon vanilla extract
Instructions
1. Butter and line an 8×8-inch square pan with parchment paper.
2. Combine chocolate chips and sweetened condensed milk in a microwave-safe bowl.
3. Microwave for 1 minute, let sit for 30 seconds, then stir. If not melted, microwave in 15-30 second bursts.
4. Stir in vanilla extract.
5. Pour mixture into prepared pan, smooth the top, and let it cool at room temperature or in the fridge for 1 hour.
6. Cut into squares and enjoy.
Notes
– Use high-quality chocolate chips for better results.
– Add nuts, sea salt, or marshmallows for variations.
– Store in an airtight container at room temperature or freeze for up to 3 months.
Nutrition
- Calories: 140 kcal
- Sugar: 18g
- Sodium: 30mg
- Fat: 6g
- Saturated Fat: 3.5g
- Carbohydrates: 20g
- Protein: 2g

