Introduction to Pizzelle
A Classic Pizzelle Recipe is more than just a cookie—it’s a cherished Italian tradition that dates back centuries to the Abruzzo region of Italy. These thin, crisp waffle-like cookies are made with simple ingredients like eggs, sugar, and flour, creating a light, delicate texture that has been loved for generations. Traditionally infused with vanilla or anise extract, pizzelle deliver a flavor profile that is both classic and nostalgic, perfect for family gatherings and festive celebrations.
Initially cooked over open flames using ornate iron plates, pizzelle were prized for their intricate patterns and cultural significance. Over time, pizzelle irons have evolved, making it easier than ever for home bakers to replicate this iconic Italian dessert. Today, the Classic Pizzelle Recipe has adapted to modern kitchens while maintaining its authentic charm.
This recipe combines tradition and innovation, offering something for everyone. Whether you’re a fan of the classic anise flavor or prefer the simplicity of vanilla, this Classic Pizzelle Recipe ensures perfectly crisp, golden cookies that are ideal for any occasion. Whether you’re a seasoned baker or just starting out, this recipe guarantees delicious success.
Why Make Pizzelle at Home?
Making pizzelle at home is not just a delightful culinary adventure but also a way to connect with the rich Italian tradition of crafting these intricate cookies. Homemade pizzelle offer unparalleled advantages, from flavor customization to ensuring the highest quality of ingredients.
Advantages of Homemade Pizzelle
- Freshness: Store-bought pizzelle can lack the crispness and flavor of freshly made cookies. Baking them at home ensures every bite is light, crispy, and full of flavor.
- Customization: Whether you prefer the classic anise extract or a twist with vanilla, almond, or lemon zest, homemade pizzelle allow you to experiment with endless variations.
- Control Over Ingredients: Baking at home gives you the power to use high-quality, organic, or even gluten-free and dairy-free options.
Making your own pizzelle at home means you can fully control the quality of ingredients in this Classic Pizzelle Recipe.
Beyond these advantages, baking pizzelle is a rewarding process that fills your kitchen with warm, inviting aromas. Whether for special occasions or everyday treats, making pizzelle at home ensures a personal touch that transforms these cookies into a heartfelt delight.
Recipe Essentials: Ingredients Breakdown
The success of a perfect pizzelle lies in the thoughtful selection and balance of ingredients. Each component in the recipe plays a crucial role, and understanding their importance can elevate your cookies from good to unforgettable.
Key Ingredients and Their Roles
- Flour: Traditional recipes call for all-purpose flour, which provides structure. For dietary preferences, consider using a gluten-free flour blend.
- Eggs: Eggs give pizzelle their rich texture and act as a binder, ensuring the batter holds together perfectly.
- Butter: Melted butter adds a buttery richness to the cookies. For a dairy-free option, margarine or coconut oil works well without compromising flavor.
- Sugar: Granulated sugar creates the right level of sweetness and contributes to the crisp texture of pizzelle.
- Flavor Extracts: Anise extract is the traditional choice, delivering a bold licorice flavor. Vanilla extract, on the other hand, offers a milder, universally appealing taste. For a twist, try almond or lemon extracts.
- Baking Powder: Essential for achieving a light, airy texture in pizzelle.
Customization and Substitutions
- Replace butter with margarine or a plant-based alternative for a dairy-free version.
- Enhance flavor with citrus zest, such as lemon or orange, for a refreshing twist.
- Swap sugar with coconut sugar or honey for a healthier option.
By choosing high-quality ingredients and tailoring them to your preferences, you can create pizzelle that truly reflect your taste.
Equipment Required
To create authentic pizzelle, a pizzelle iron is essential. This specialized tool imprints the iconic lace-like pattern onto the cookies while ensuring they are evenly cooked. Modern pizzelle irons are easy to use and typically feature a non-stick surface, making cleanup simple and efficient.
Alternative Tools for Presentation
- Shaped Molds: Use heart-shaped or snowflake pizzelle irons for festive variations.
- Rolling Cones or Bowls: Shape warm pizzelle into cones or bowls to create edible containers for gelato or custard.
Investing in the right equipment not only simplifies the process but also ensures your pizzelle look as stunning as they taste!
Step-by-Step Guide to Making Pizzelle: Preparation Steps
Making pizzelle is a straightforward process that combines precision and tradition. Preparing your ingredients, setting up your equipment, and mastering the batter are crucial to achieving consistently beautiful and delicious cookies.
1. Preparing Ingredients
Start by gathering all your ingredients to ensure a smooth baking experience. Proper preparation saves time and ensures the best results:
- Eggs: Use room-temperature eggs for a smoother batter.
- Butter: Melt the butter and let it cool slightly to avoid cooking the eggs when mixed.
- Flour and Baking Powder: Sift these dry ingredients to remove lumps and ensure even mixing.
- Flavor Extracts: Choose high-quality extracts like anise or vanilla for an authentic taste. Experiment with options like almond extract or citrus zest for unique twists. Discover more flavor ideas in this expert pizzelle guide.
2. Setting Up the Pizzelle Iron
Properly preparing your pizzelle iron ensures consistent results:
- Preheat the iron according to the manufacturer’s instructions. A hot iron prevents sticking and ensures even cooking.
- Lightly grease the iron if it isn’t non-stick. Use a paper towel to apply a thin layer of oil or baking spray.
3. Tips for Achieving Consistent Batter
- Beat the Eggs and Sugar: Whisk until frothy to incorporate air, creating a light and crispy cookie.
- Gradually Add Dry Ingredients: Blend the flour mixture slowly to avoid lumps and overmixing.
- Check Batter Consistency: The batter should be soft and sticky, similar to thick pancake batter. Adjust with small amounts of flour or milk if needed.
Follow this easy-to-use Classic Pizzelle Recipe to master the art of making light, crisp pizzelle.
The batter consistency is crucial in achieving the signature crispness of this Classic Pizzelle Recipe
For perfect results, use a tablespoon to portion out batter for each cookie. For more tips on batter consistency and baking, explore dairy-free dessert options. Preparation is key to ensuring your pizzelle come out flawless every time!
Step-by-Step Guide to Making Pizzelle: Cooking Pizzelle
Cooking pizzelle is an art that requires precision in batter measurement, timing, and temperature control. By following these steps, you’ll achieve beautifully golden, crisp cookies every time.
1. Ideal Batter Amount per Pizzelle
The amount of batter you use determines the thickness and crispness of your pizzelle:
- Use a rounded teaspoon or tablespoon of batter for each cookie, depending on your pizzelle iron’s size.
- Place the batter in the center of the pizzelle iron to ensure it spreads evenly when pressed.
- Avoid overloading the iron, as excess batter can spill out and create a mess.
2. Timing and Temperature Control
Proper timing and temperature are critical for crispy, evenly cooked pizzelle:
- Preheat your pizzelle iron until it reaches the optimal temperature as indicated by the manufacturer.
- Cook each pizzelle for approximately 30–60 seconds, depending on your iron’s settings. Check for a light golden color to ensure it’s ready.
- Adjust the cooking time slightly for thicker or thinner pizzelle, but avoid leaving them in the iron for too long, as they can overcook and become bitter.
For more guidance on perfecting your pizzelle, check out these expert pizzelle baking tips.
3. Common Mistakes to Avoid
- Overcooking: Leaving pizzelle in the iron for too long can result in a dark, bitter taste.
- Undercooking: Pizzelle that aren’t cooked long enough will be soft and lack the signature crunch.
- Uneven Batter Placement: Batter that isn’t centered may not spread evenly, creating irregular shapes.
- Skipping Grease for Non-Stick Irons: While many modern irons are non-stick, a quick spritz of oil ensures effortless removal.
By mastering these steps, you’ll consistently produce perfect pizzelle. For creative ways to enhance your pizzelle, explore this guide on dairy-free dessert ideas. Happy baking!
Step-by-Step Guide to Making Pizzelle: Finishing Touches
Once your pizzelle are cooked, adding the right finishing touches enhances their flavor and ensures the perfect texture. Cooling and decorating are simple yet vital steps that make your pizzelle truly irresistible.
1. Cooling Pizzelle Properly
Cooling pizzelle is essential to achieve their signature crisp texture:
- Remove each pizzelle from the iron using a fork or spatula to avoid burns.
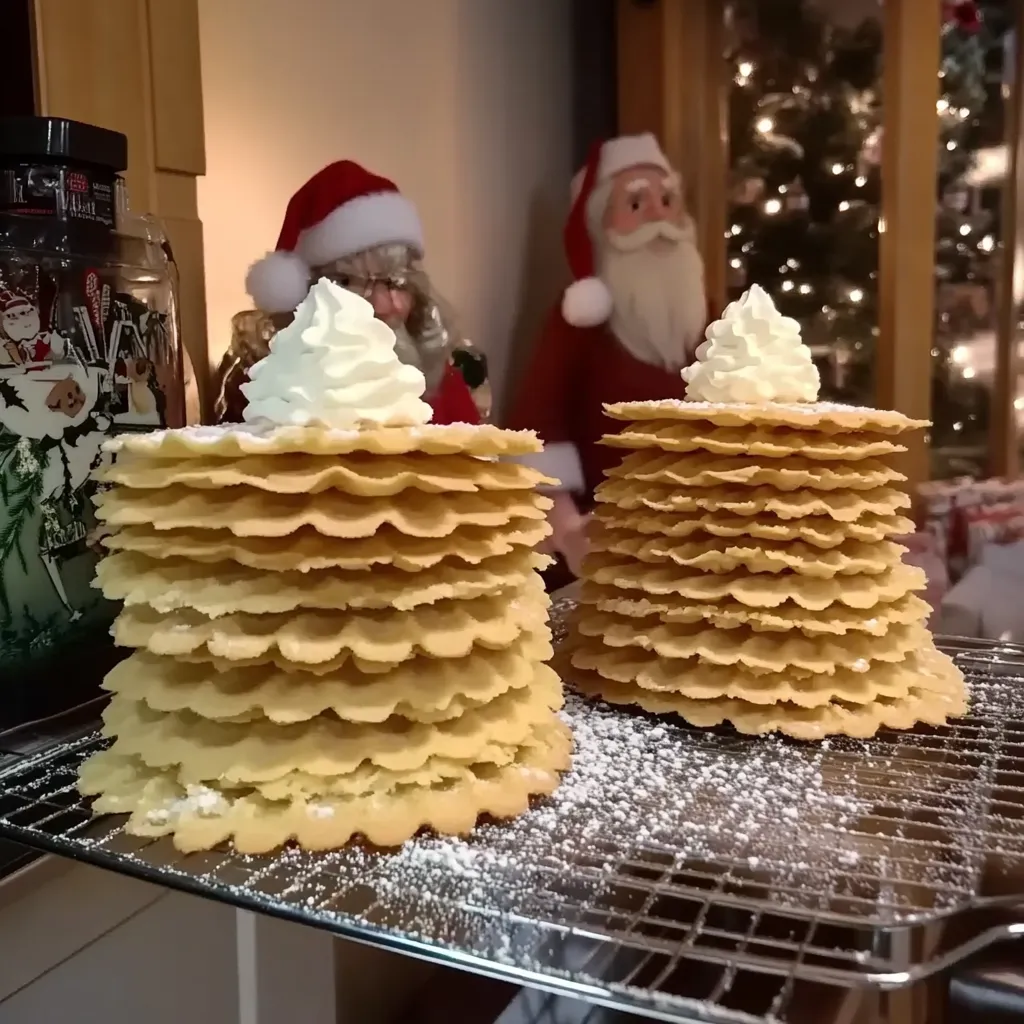
- Place the pizzelle on a flat cooling rack to cool completely. This allows air to circulate and prevents sogginess.
- Ensure pizzelle are not stacked while warm, as steam can soften them.
Proper cooling is particularly important if you plan to store them. Check out more storage tips for crispy cookies in this guide to Italian dessert preparation.
2. Adding Finishing Touches
Once cooled, you can enhance your pizzelle with decorative or flavorful additions:
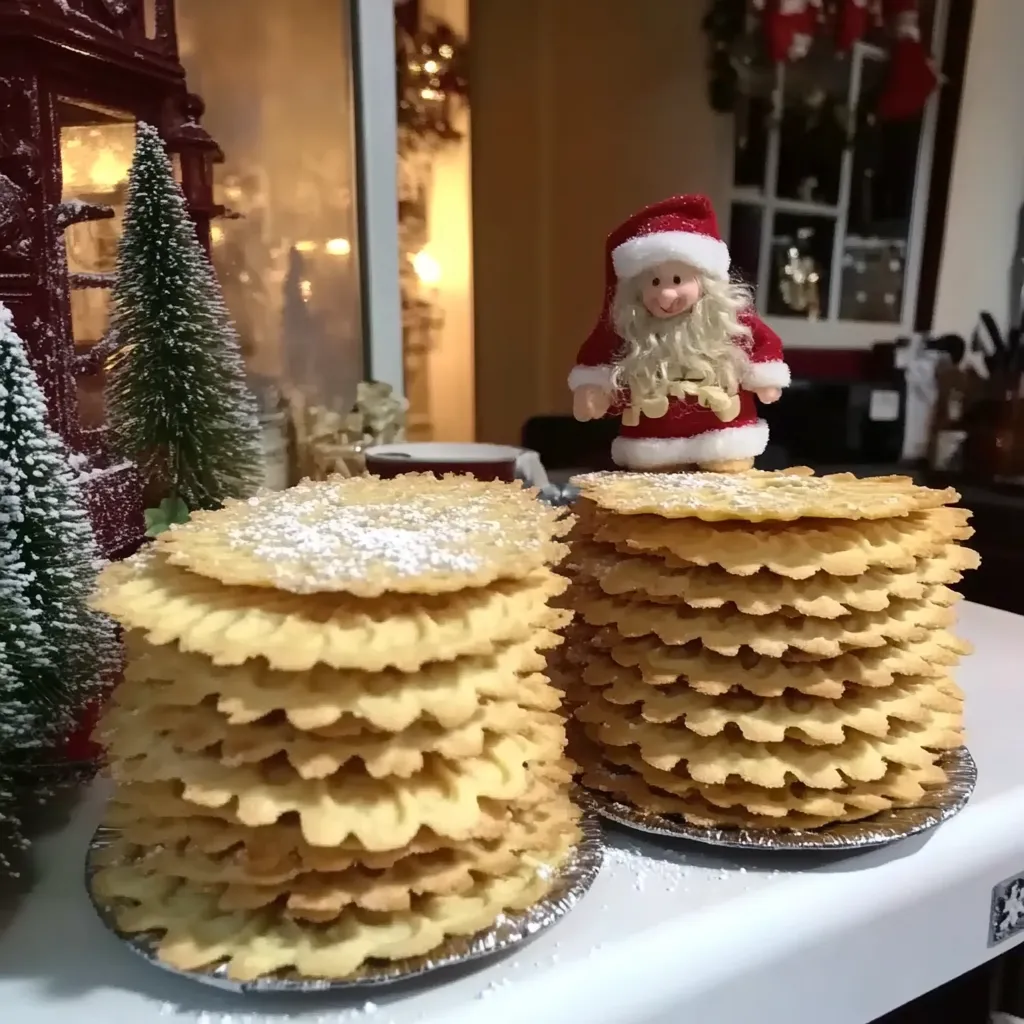
- Dust with Confectioner’s Sugar: A light sprinkle adds a classic and elegant finish.
- Fillings for Variety: Transform pizzelle into decadent treats by adding:
- Nutella or chocolate spread for a rich, indulgent taste.
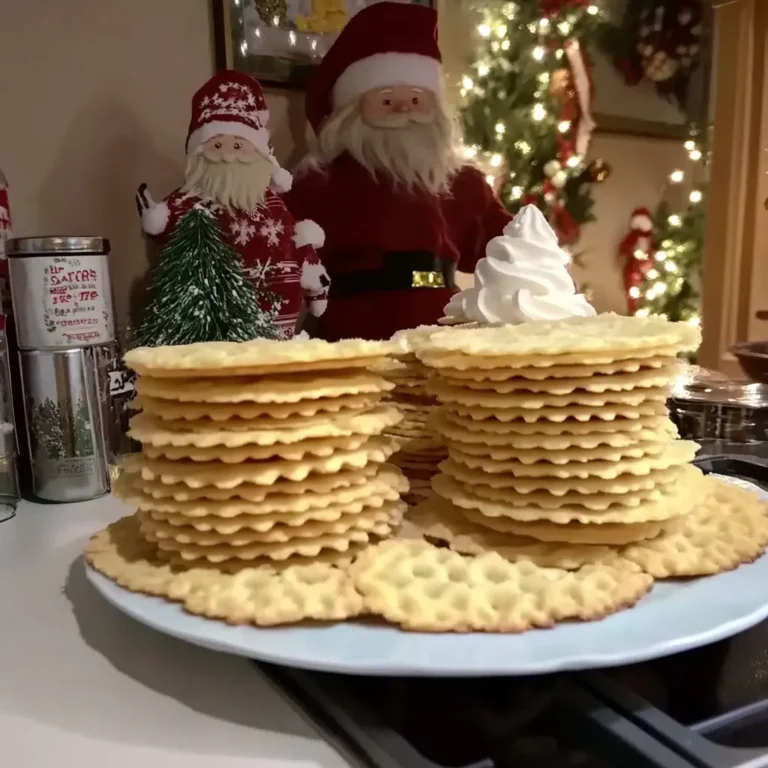
- Whipped cream or mascarpone for a light, creamy texture.
- Fruit jams for a tangy, sweet contrast.
- Shape Them While Warm: Gently roll pizzelle into cones or bowls before cooling, creating edible containers for gelato or custard.
For more inspiration on creative pizzelle serving ideas, explore this guide to dairy-free desserts and toppings.
With these finishing touches, your pizzelle will not only taste delightful but also look stunning for any occasion. Enjoy your homemade masterpiece!
Tips and Tricks for the Perfect Pizzelle: Expert Techniques
Making pizzelle that are perfectly crisp and flavorful requires a few expert techniques. From maintaining texture to managing batter consistency, these tips ensure professional-quality results every time.
1. How to Ensure Pizzelle Stay Crispy
- Cool Completely: Place each pizzelle on a cooling rack immediately after cooking. Let them cool completely to maintain their crisp texture.
- Store Properly: Once cooled, store pizzelle in an airtight container lined with parchment paper. Avoid plastic containers, which can trap moisture and make them soggy. Learn more about proper cookie storage from this pizzelle baking guide.
2. Avoiding Soggy Pizzelle in Humid Climates
- Dry the Cookies Thoroughly: In humid conditions, allow pizzelle to air-dry for a few extra hours before storing.
- Choose the Right Storage Spot: Store pizzelle in a cool, dry area. Avoid damp basements or warm kitchens.
- Serve Fresh: If possible, bake pizzelle closer to serving time to enjoy their fresh crispness.
3. Managing Batter Consistency
- Aim for Thick Yet Spreadable: The batter should be slightly sticky and thick, similar to pancake batter. Adjust by adding small amounts of flour or milk if needed.
- Whisk Thoroughly: Ensure ingredients are fully incorporated for a uniform texture and smooth batter.
- Practice Portion Control: Use a rounded teaspoon or tablespoon for consistent sizes.
By following these expert tips, you’ll achieve crisp, perfectly textured pizzelle that delight every time. For creative ideas to elevate your pizzelle, explore this resource on dairy-free desserts and creative toppings. Enjoy the process and the results!
Creative Variations for Pizzelle
One of the joys of making pizzelle is the endless opportunity for customization. By experimenting with flavors and shapes, you can tailor this traditional cookie to suit any occasion or preference.
1. Adding Cocoa for Chocolate Pizzelle
- Replace 2–3 tablespoons of flour with unsweetened cocoa powder to create rich, chocolate pizzelle.
- Adjust the sugar slightly if you prefer a sweeter taste.
- For a luxurious finish, drizzle melted chocolate over the pizzelle or sandwich them with a chocolate-hazelnut spread. Learn more about creative pizzelle techniques from this expert baking guide.
2. Using Different Extracts
- Almond Extract: Adds a subtle nutty flavor that pairs beautifully with a dusting of confectioner’s sugar.
- Lemon or Orange Extract: Incorporate a teaspoon of citrus zest for a fresh, tangy twist.
- Experiment with other extracts like coconut or even rum for a bold variation.
3. Shaping Pizzelle into Cones or Bowls
- While still warm and pliable, gently roll pizzelle into cones using a cone mold.
- Shape pizzelle into bowls by pressing them into a small bowl or cup. Fill with gelato, custard, or fresh fruit for a stunning dessert.
- These shapes add versatility, making pizzelle perfect for holidays or special occasions.
By adding unique flavors and creative shapes, you can transform classic pizzelle into show-stopping desserts. For more inspiration, explore this guide on dairy-free dessert toppings. Let your creativity shine!
Storing and Serving Pizzelle
Storage Tips
To keep pizzelle fresh and crispy for weeks, proper storage is essential:
- Airtight Containers: Place cooled pizzelle in an airtight container, layering them with parchment paper to prevent sticking. Avoid plastic containers that trap moisture.
- Keep Them Dry: Store in a cool, dry area, away from humidity.
- Freezing for Later Use: Place pizzelle in a freezer-safe bag, ensuring no air is trapped, and freeze for up to 3 months. To serve, thaw at room temperature for about 30 minutes. For more tips, explore this guide on pizzelle storage and preparation.
Serving Suggestions
Make your pizzelle the centerpiece of any meal with these creative serving ideas:
- As Dessert Garnishes: Use pizzelle as a decorative base for gelato, whipped cream, or fresh fruit. They can also be crumbled over parfaits or yogurt.
- Pizzelle Sandwiches: Spread Nutella, mascarpone, or fruit jam between two pizzelle for a delightful treat.
- With Coffee or Tea: Serve alongside espresso, cappuccino, or a calming tea for an authentic Italian experience.
Pair chocolate pizzelle with rich hot cocoa or lemon-flavored pizzelle with herbal tea for a harmonious flavor match. For more creative topping ideas, visit this resource on dairy-free dessert enhancements. These versatile cookies elevate any occasion, from casual coffee breaks to elegant desserts!
Frequently Asked Questions (FAQs)
Do I Need a Pizzelle Iron to Make Pizzelle?
Yes, a pizzelle iron is essential for crafting these traditional cookies. The iron imprints the iconic lace-like patterns and ensures even cooking. While older irons required manual flipping over a stove, modern electric pizzelle irons make the process quick and effortless. For more tips on using pizzelle irons, explore this pizzelle baking guide.
Can I Make Gluten-Free or Dairy-Free Pizzelle?
Absolutely! To make gluten-free pizzelle, substitute all-purpose flour with a reliable gluten-free blend. For dairy-free options, replace butter with plant-based alternatives like margarine or coconut oil. Adjusting these ingredients still ensures delicious results. Discover more about alternative recipes in this resource on dairy-free dessert ideas.
How Do I Store Pizzelle to Keep Them Crispy?
To maintain crispness:
- Store pizzelle in an airtight container lined with parchment paper.
- Keep them in a dry, cool place, avoiding humidity.
- For long-term storage, freeze pizzelle in a sealed bag for up to 3 months, and thaw before serving.
What Is the History of Pizzelle?
Pizzelle originated in the Abruzzo region of Italy and are believed to be one of the oldest cookies in the world. Traditionally made for festivals and holidays, their iconic patterns symbolize family and heritage. Over time, pizzelle have become a beloved treat globally, celebrated for their simplicity and versatility.
How Do I Prevent Batter from Sticking to the Iron?
- Preheat the iron thoroughly before adding batter.
- Lightly grease the iron with oil or baking spray, even if it’s non-stick.
- Avoid overloading batter, as excess can seep out and stick to the edges.
By following these tips, your pizzelle-making experience will be seamless and enjoyable. Happy baking!
Conclusion: Closing Thoughts
Making pizzelle at home is more than just baking; it’s a celebration of tradition and creativity. The process allows you to connect with the rich history of this beloved Italian cookie while adding your own personal touch. From mastering the classic recipe to exploring creative variations like chocolate or citrus flavors, the possibilities are endless.
The joy of crafting these cookies lies in their versatility—whether served with coffee, as a dessert garnish, or shaped into cones and bowls for special treats. For inspiration on customization, explore this guide to dairy-free and gluten-free pizzelle options.
By experimenting with flavors and presentation, you can create pizzelle that delight every palate. Embrace the art of baking, and let these delicious cookies bring warmth and happiness to your home. Happy baking!
PrintClassic Pizzelle Recipe (Modified)
A crisp and light Italian cookie recipe infused with vanilla or anise, perfect for holidays or as an elegant dessert.
- Prep Time: 10 minutes
- Cook Time: 20 minutes
- Total Time: 30 minutes
- Yield: 24 pizzelle
- Category: Dessert
- Method: Baking
- Cuisine: Italian
- Diet: Vegetarian
Ingredients
– 6 eggs
– 3 ½ cups all-purpose flour
– 1 ½ cups sugar
– 2 tbsp vanilla or anise extract
– 1 cup unsalted butter (melted and cooled)
– 4 tsp baking powder
Instructions
1. Beat eggs, gradually adding sugar, and mix until smooth.
2. Stir in melted butter and extract, mixing well.
3. In a separate bowl, sift flour and baking powder.
4. Gradually combine dry ingredients with wet until a smooth, sticky dough forms.
5. Preheat pizzelle iron.
6. Drop a teaspoon of batter onto the iron, close, and cook until lightly golden.
7. Cool on a rack and store in an airtight container. Optionally dust with confectioner’s sugar or fill with cream, Nutella, or jam.
Notes
– Use room temperature eggs for better mixing.
– Cool pizzelle completely before storing to ensure crispness.
– Experiment with different extracts for unique flavors.
Nutrition
- Calories: 60
- Sugar: 6g
- Fat: 4g
- Saturated Fat: 2g
- Carbohydrates: 6g
- Fiber: 0.1g
- Protein: 0.1g


