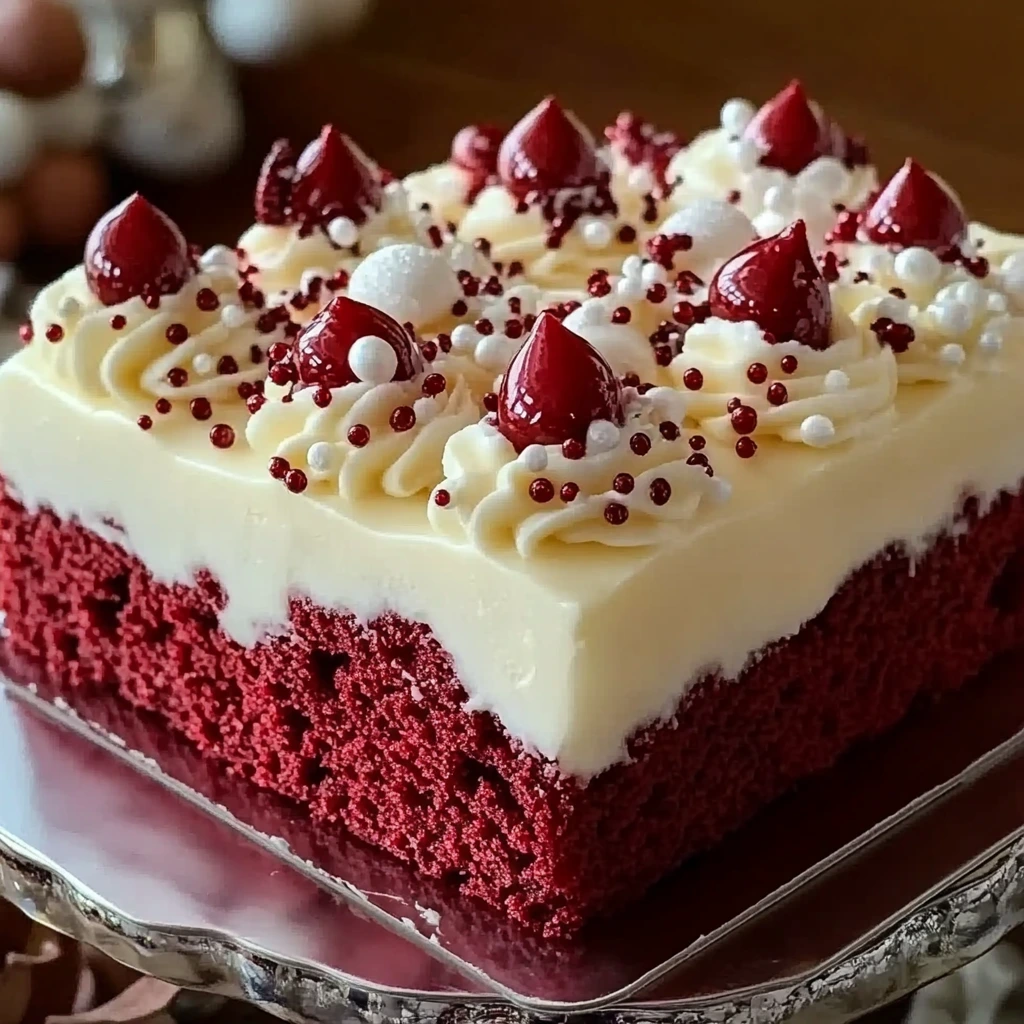
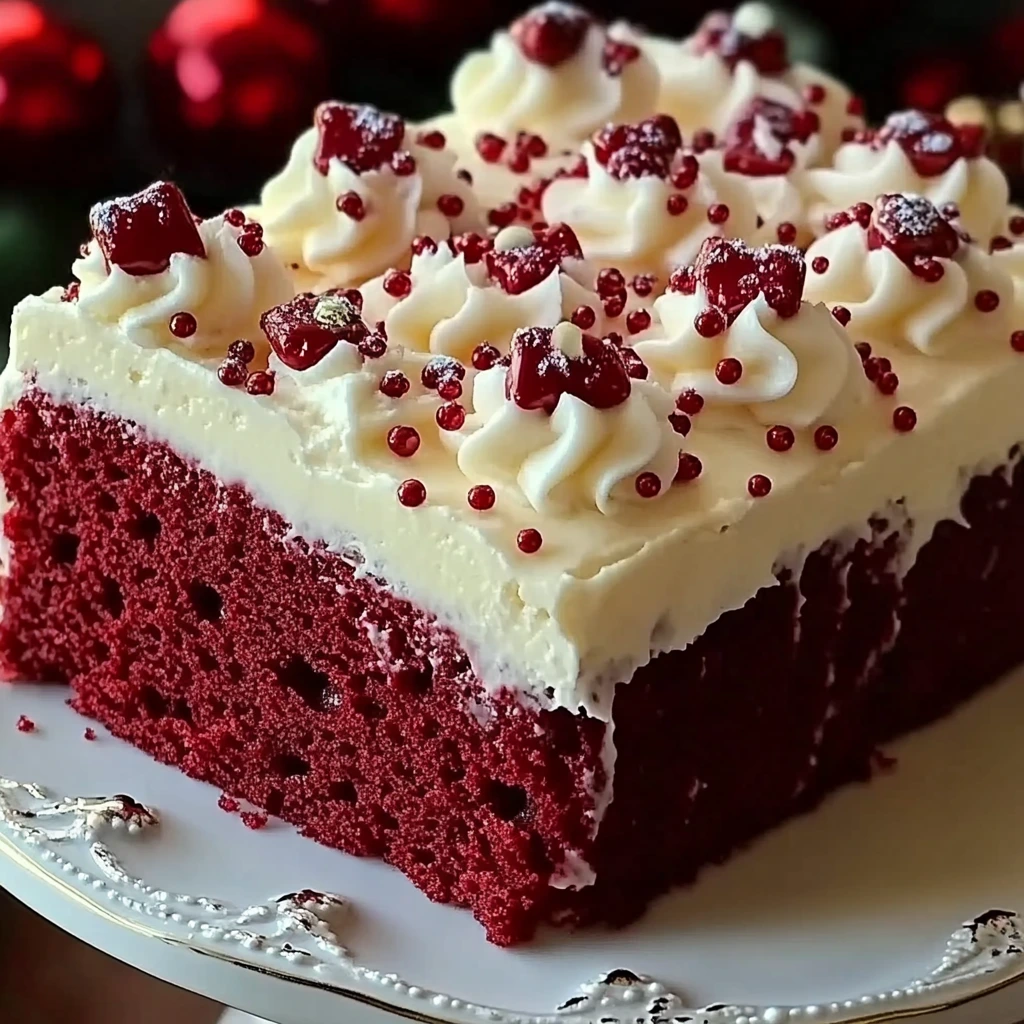
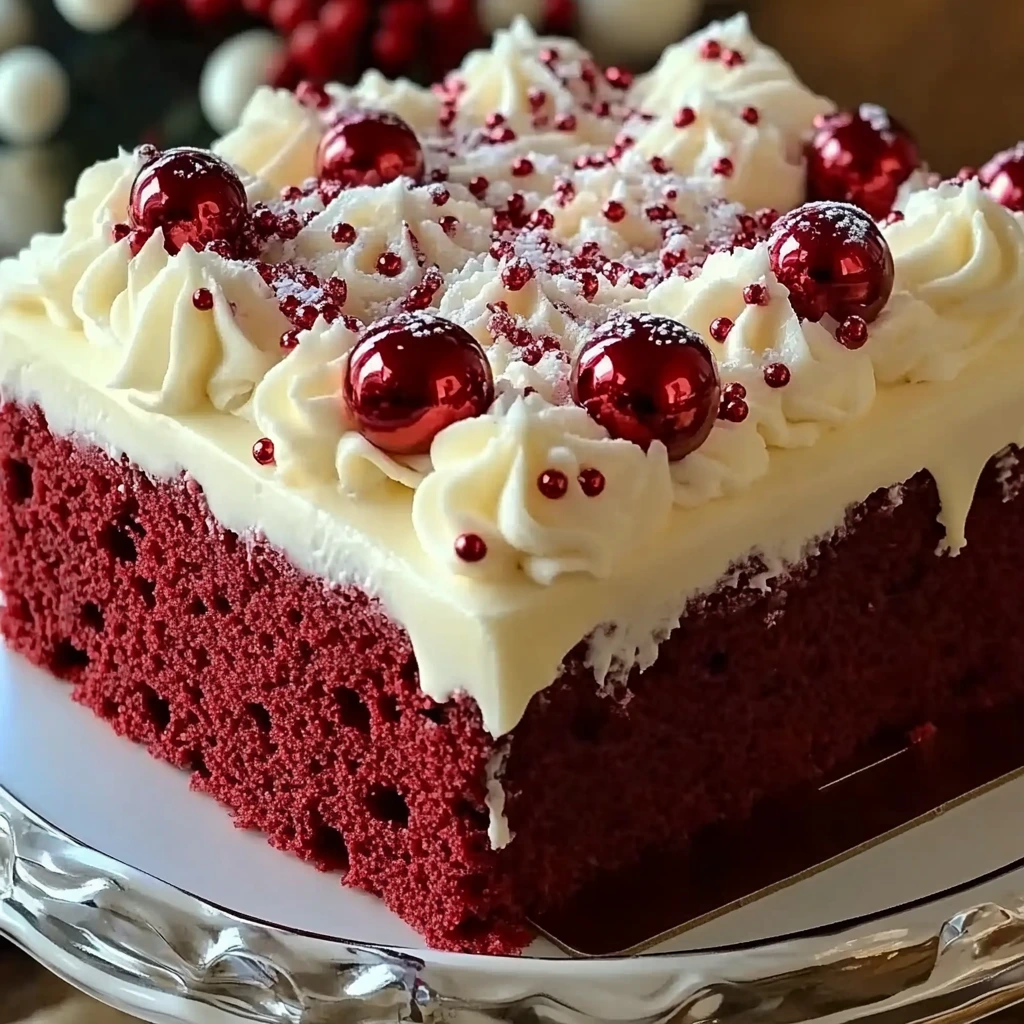
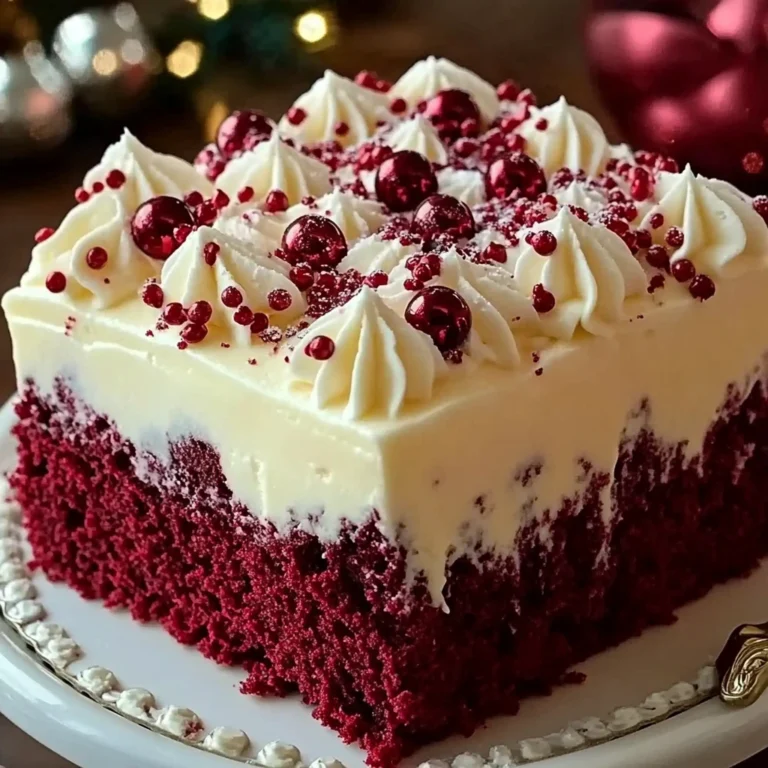
Introduction for Christmas Red Velvet Poke Cake
The holiday season is the perfect time to indulge in desserts that not only taste amazing but also capture the festive spirit. Among these, red velvet cakes hold a special place. Their rich, velvety texture and deep red hue make them an iconic treat, especially during Christmas. Whether you’re hosting a cozy family dinner or a grand holiday party, a red velvet dessert adds elegance and cheer to your table.
One twist to elevate the traditional red velvet cake is by turning it into a poke cake. What’s a poke cake? It’s a dessert where holes are poked into the baked cake, allowing delicious fillings or sauces to seep in, making every bite extra moist and flavorful. The concept is simple yet innovative, and it guarantees a show-stopping dessert that’s easy to make.
What makes the Christmas Red Velvet Poke Cake extra special is its festive toppings. With a creamy cream cheese frosting, sweetened condensed milk, and white chocolate filling, this cake not only tastes indulgent but also looks stunning when topped with holiday-themed decorations. Ready to impress your guests? Learn how to make this perfect Christmas dessert step-by-step. For those who prefer the classic approach, you can explore a traditional red velvet cake recipe for inspiration.
If you’re a fan of customizing your recipes, you’ll also love the flexibility of this poke cake. From whipped cream variations to creative designs, this dessert offers endless possibilities. Check out this helpful guide to homemade whipped cream for an alternative to store-bought toppings. Now, let’s dive into the details of crafting your new holiday favorite!
Ingredients Breakdown
Crafting a delicious and visually stunning Christmas Red Velvet Poke Cake starts with the right ingredients. Each component plays a crucial role in ensuring your cake is moist, flavorful, and beautifully decorated. Here’s what you’ll need:
For the Cake:
- 1 box red velvet cake mix (plus ingredients listed on the box: eggs, oil, water)
- 1 (14 oz) can sweetened condensed milk
- 1 cup white chocolate chips, melted
For the Topping:
- 1 (8 oz) package cream cheese, softened
- 1 (8 oz) tub whipped topping (e.g., Cool Whip), thawed
- 1 teaspoon vanilla extract
- ½ cup powdered sugar
- Festive sprinkles or holiday-themed decorations (optional)
Selecting Quality Ingredients
- Cake Mix: Opt for a high-quality red velvet cake mix with a rich cocoa flavor. If you prefer a homemade option, check out this traditional red velvet cake recipe for a classic, from-scratch approach.
- Sweetened Condensed Milk: Ensure it’s fresh and not expired for the best results. This ingredient adds incredible moisture and sweetness to the cake.
- White Chocolate Chips: Use premium-quality white chocolate for melting. This ensures a smoother consistency and enhances the flavor. For tips, explore this guide to baking with white chocolate.
Possible Substitutions
- If cream cheese isn’t available, mascarpone can be a rich alternative.
- Replace Cool Whip with homemade whipped cream. Check out this step-by-step guide for a fresher, fluffier topping.
- For decorations, try crushed candy canes or edible glitter to add an extra holiday sparkle.
With these thoughtfully selected ingredients, you’re ready to create a poke cake that’s as delightful to look at as it is to eat!

Step-by-Step Preparation Guide
Making a Christmas Red Velvet Poke Cake is a straightforward process that guarantees impressive results. Follow these detailed steps for a moist, flavorful, and festive dessert.
Baking the Cake
- Preheat the oven as directed on the red velvet cake mix box.
- In a large mixing bowl, prepare the red velvet cake mix using the ingredients specified on the box (typically eggs, oil, and water). Mix until smooth.
- Grease a 9×13-inch baking dish and pour the batter evenly into the dish. This size ensures even baking and makes it easier to add the filling later.
- Bake the cake until a toothpick inserted in the center comes out clean. This usually takes about 25-30 minutes but check the package instructions for exact timing.
- Once baked, remove the cake from the oven and let it cool for 10 minutes. Cooling slightly helps prevent tearing when you poke the cake.
Poking the Cake
- Using the handle of a wooden spoon or a similar tool, poke holes across the surface of the cake, spacing them about an inch apart. These holes will allow the filling to seep in, creating a moist, flavorful texture.
Adding Sweetened Condensed Milk and White Chocolate
- Melt 1 cup of white chocolate chips in a microwave-safe bowl, stirring every 20 seconds to prevent burning.
- Combine the melted white chocolate with 1 (14 oz) can of sweetened condensed milk. Stir until the mixture is smooth and creamy.
- Pour the mixture over the cake, ensuring it fills each hole. Use a spatula to spread the filling evenly across the surface. For tips on working with white chocolate, check out this white chocolate baking guide.
- Allow the cake to sit for at least 30 minutes, giving it time to absorb the filling. Let it cool completely before adding the topping.
Preparing the Topping
- In a medium-sized mixing bowl, beat the softened cream cheese until smooth.
- Add ½ cup powdered sugar and 1 teaspoon vanilla extract. Beat again until well combined.
- Gently fold in 1 (8 oz) tub of whipped topping, creating a light and fluffy texture. If you prefer homemade whipped cream, you can find a helpful guide here.
Frosting and Decorating
- Spread the cream cheese mixture evenly over the cooled cake, creating a thick, luscious layer.
- Decorate the cake with festive sprinkles or holiday-themed decorations to match the Christmas spirit. Crushed candy canes or edible glitter also work beautifully for a festive flair.
- Chill the cake in the refrigerator for at least 30 minutes before serving. This helps the flavors meld and ensures a clean cut when slicing.
By following these simple steps, you’ll create a stunning and flavorful poke cake that’s guaranteed to be the highlight of your holiday dessert table.

Variations and Customizations
The beauty of a Christmas Red Velvet Poke Cake lies in its versatility. While the original recipe is a hit, adding your unique twists can make this dessert even more memorable. Here are some creative ideas to customize your cake:
Alternative Toppings
- Swap the whipped topping for homemade whipped cream, which adds a fresh, airy texture. You can make it easily using this guide to homemade whipped cream. Stabilized whipped cream is another great option to ensure your topping holds its shape.
- For a richer flavor, try a chocolate ganache drizzle over the frosting. Melted white chocolate or dark chocolate ganache can elevate the cake’s presentation and flavor.
- Consider using a buttercream frosting infused with peppermint or vanilla for a festive twist.
Mix-Ins for Added Flavor
- Incorporate chopped pecans, walnuts, or almonds into the cake batter or sprinkle them over the topping for a delightful crunch.
- Fold in dried cranberries or mini chocolate chips into the cream cheese topping for bursts of flavor and texture.
- Add layers of sliced strawberries or raspberries between the cake and frosting to complement the red velvet’s rich cocoa flavor.
Decorating Ideas
- Embrace the holiday spirit by decorating with crushed candy canes, edible glitter, or snowflake-shaped sprinkles.
- Use piping tools to create swirls or patterns with extra frosting for a professional look.
- Add a touch of elegance by garnishing with white chocolate curls or small dollops of whipped cream.
These variations and customizations allow you to tailor the poke cake to suit your taste and occasion. Whether you’re aiming for a simple and classic presentation or a show-stopping centerpiece, these ideas ensure your dessert becomes a cherished holiday memory.
Expert Tips for the Perfect Poke Cake
Creating the perfect poke cake involves a few key techniques to ensure it turns out moist, flavorful, and visually appealing. Follow these expert tips for success:
Achieving the Ideal Cake Consistency
- Start with a well-prepared batter. Mix the cake batter as directed on the box or recipe, ensuring no lumps remain. Overmixing can make the cake dense, so mix just until combined.
- Use a 9×13-inch baking dish, as it ensures even cooking and makes it easier to add the filling.
- Check for doneness by inserting a toothpick into the center of the cake. If it comes out clean, the cake is ready.
Letting the Cake Absorb the Filling
- After poking the cake, pour the filling slowly and evenly, ensuring it seeps into every hole. This guarantees a moist texture in every bite.
- Allow the cake to sit for at least 30 minutes after adding the filling to fully absorb the flavors. For extra moisture, refrigerate the cake overnight.
Storing Your Cake
- To keep your poke cake fresh, cover it tightly with plastic wrap or store it in an airtight container.
- Refrigerate the cake to maintain the cream cheese topping’s texture and prevent spoilage. It can last up to 5 days when properly stored.
- If making the cake ahead, avoid decorating with sprinkles until just before serving to prevent colors from bleeding.
Serving Suggestions
A Christmas Red Velvet Poke Cake is not only a decadent dessert but also a centerpiece that can elevate your holiday celebrations. Pair it with complementary beverages and desserts while presenting it in a way that wows your guests.
Pairing Suggestions
- Serve the cake with a hot cup of coffee or cocoa to balance the richness of the cream cheese topping. For adults, a glass of sweet dessert wine or Irish coffee makes an indulgent pairing.
- Complement the flavors with vanilla ice cream or a dollop of homemade whipped cream. Check out this whipped cream recipe for a fresh alternative to store-bought options.
- For a festive touch, pair the cake with a peppermint-flavored latte or holiday-themed mocktails featuring cranberry or pomegranate.
Presentation Ideas
- Slice the cake into even squares and arrange them on a platter lined with holiday-themed parchment paper for a professional look.
- Use mini cake stands or individual plates, garnished with mint leaves and a drizzle of white chocolate for an elegant touch.
- Add a small decorative element like a candy cane, chocolate curls, or edible gold dust to each slice for extra holiday flair.

Frequently Asked Questions (FAQs)
Making a Christmas Red Velvet Poke Cake is straightforward, but you might have some questions about substitutions, storage, and preparation. Here are answers to the most commonly asked questions to help you perfect your holiday dessert.
Can I use a homemade red velvet cake recipe instead of a boxed mix?
- Absolutely! A homemade red velvet cake recipe adds a personal touch. Ensure your recipe yields enough batter to fill a 9×13-inch pan. If you need inspiration, try this traditional red velvet cake recipe for a rich and flavorful base.
What can I substitute for whipped topping?
- You can replace store-bought whipped topping with homemade whipped cream for a fresher taste. Stabilized whipped cream is also a great option as it holds its shape longer. Learn how to make it using this homemade whipped cream recipe.
How should I store leftovers?
- Cover the cake tightly with plastic wrap or transfer it to an airtight container. Refrigerate to keep it fresh for up to 5 days. This ensures the cream cheese topping stays firm and delicious.
Can I make this cake in advance?
- Yes! Preparing the cake a day ahead actually enhances the flavor as the filling further absorbs into the cake. Just wait to add any sprinkles or decorations until shortly before serving to keep them looking vibrant.
Is it possible to freeze this cake?
- Freezing is not recommended due to potential texture changes in the cream cheese and whipped topping. However, the cake base can be frozen before adding the toppings.
Conclusion
The Christmas Red Velvet Poke Cake is a delightful dessert that combines the rich, velvety flavor of red velvet with the moist, creamy texture of a poke cake. Its festive appearance, with vibrant red hues and holiday-themed decorations, makes it an irresistible centerpiece for any Christmas gathering. Whether you’re hosting a cozy family dinner or attending a holiday potluck, this cake is guaranteed to impress.
Not only is this dessert easy to make, but it also offers plenty of opportunities for personalization. From custom toppings to creative decorations, you can tailor this recipe to suit your holiday theme. The addition of a sweetened condensed milk and white chocolate filling ensures every bite is decadently moist and packed with flavor.
This Christmas Red Velvet Poke Cake isn’t just a dessert—it’s a celebration of the holiday spirit. So, roll up your sleeves, bake with love, and let this cake bring joy to your Christmas table!
PrintChristmas Red Velvet Poke Cake
Discover the ultimate recipe for a moist, creamy Christmas Red Velvet Poke Cake! A festive dessert to wow your guests this holiday season.
Ingredients
- For the Cake:
1 box red velvet cake mix (plus ingredients listed on the box, usually eggs, oil, and water)
1 (14 oz) can sweetened condensed milk
1 cup white chocolate chips, melted - For the Topping:
1 (8 oz) package cream cheese, softened
1 (8 oz) tub whipped topping (like Cool Whip), thawed
1 teaspoon vanilla extract
½ cup powdered sugar
Festive sprinkles or holiday-themed decorations (optional)
Instructions
- Bake the Cake
Prepare and bake the red velvet cake according to the directions on the box, using a 9×13-inch baking dish.
Once baked, remove the cake from the oven and allow it to cool for 10 minutes. - Poke the Cake
3. Use the handle of a wooden spoon to poke holes all over the cake, spacing them evenly. - Add Sweetened Condensed Milk and White Chocolate
4. In a small bowl, combine the sweetened condensed milk and melted white chocolate, stirring until smooth.
5. Pour the mixture over the cake, ensuring it fills the holes. Let the cake absorb the mixture for at least 30 minutes and cool completely. - Prepare the Topping
6. In a medium bowl, beat the softened cream cheese until smooth.
7. Add powdered sugar and vanilla extract, then beat again until well combined.
8. Gently fold in the whipped topping until the mixture is light and fluffy. - Frost the Cake
9. Spread the cream cheese mixture evenly over the cooled cake, creating a thick layer of frosting. - Decorate
10. Top with festive holiday sprinkles or decorations. Chill for at least 30 minutes before slicing and serving for best results.


