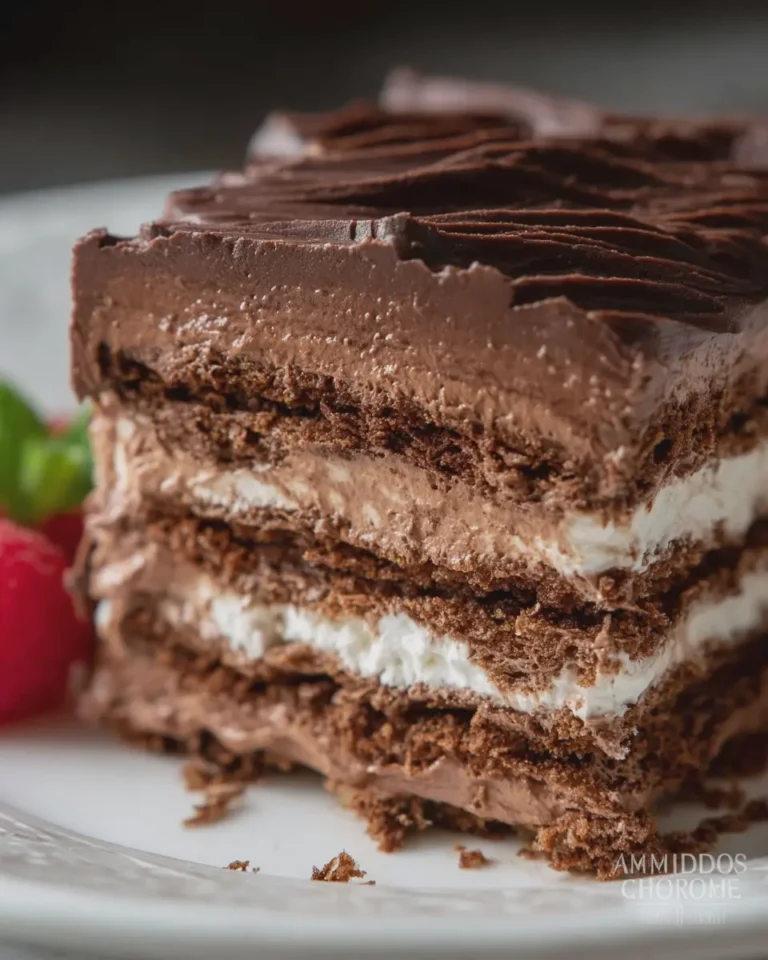
Introduction to Chocolate Icebox Cake
When it comes to desserts that are easy to make and absolutely delicious, chocolate icebox cake undoubtedly stands out. For young professionals juggling busy schedules, this dessert checks all the boxes: it’s no-bake, requires minimal ingredients, and delivers on rich, creamy flavor that will impress friends and family alike.
Why Chocolate Icebox Cake is the Perfect Dessert for Young Professionals
Let’s face it—between meetings, fitness classes, and social commitments, time is a precious commodity. That’s where our star player, the chocolate icebox cake, shines. Here are some reasons why this dessert deserves a permanent spot in your recipe repertoire:
- Effortless Preparation: With just a few simple ingredients—think chocolate cookies, whipped cream, and chocolate pudding—you can whip up this delectable dessert in no time. Just layer and chill!
- Make-Ahead Convenience: Planning a gathering? This cake can be made days in advance, allowing your fridge to do all the work while you focus on other details.
- Crowd-Pleaser: Whether it’s a birthday party, potluck, or just a cozy gathering with friends, chocolate always wins. In fact, studies show that dessert can boost mood, making it the perfect ending to any occasion.
- Customizable: Feeling adventurous? You can easily infuse different flavors or toppings based on your preferences. Add some fresh fruit or a drizzle of caramel for an enhanced experience.
In an age where quick recipes reign supreme, it’s refreshing to have a dessert that tastes sophisticated yet is so uncomplicated. Plus, who can resist the nostalgia of a chocolate icebox cake? It’s reminiscent of childhood treats and family gatherings, making it a perfect indulgence after a long day.
As you dive into making this delightful dessert, consider pairing it with a nice cup of coffee or herbal tea. Not only does it enhance the flavors, but it also creates a cozy atmosphere for enjoying your culinary masterpiece.
So roll up your sleeves and let’s create a show-stopping chocolate icebox cake that will have your friends asking for the recipe!
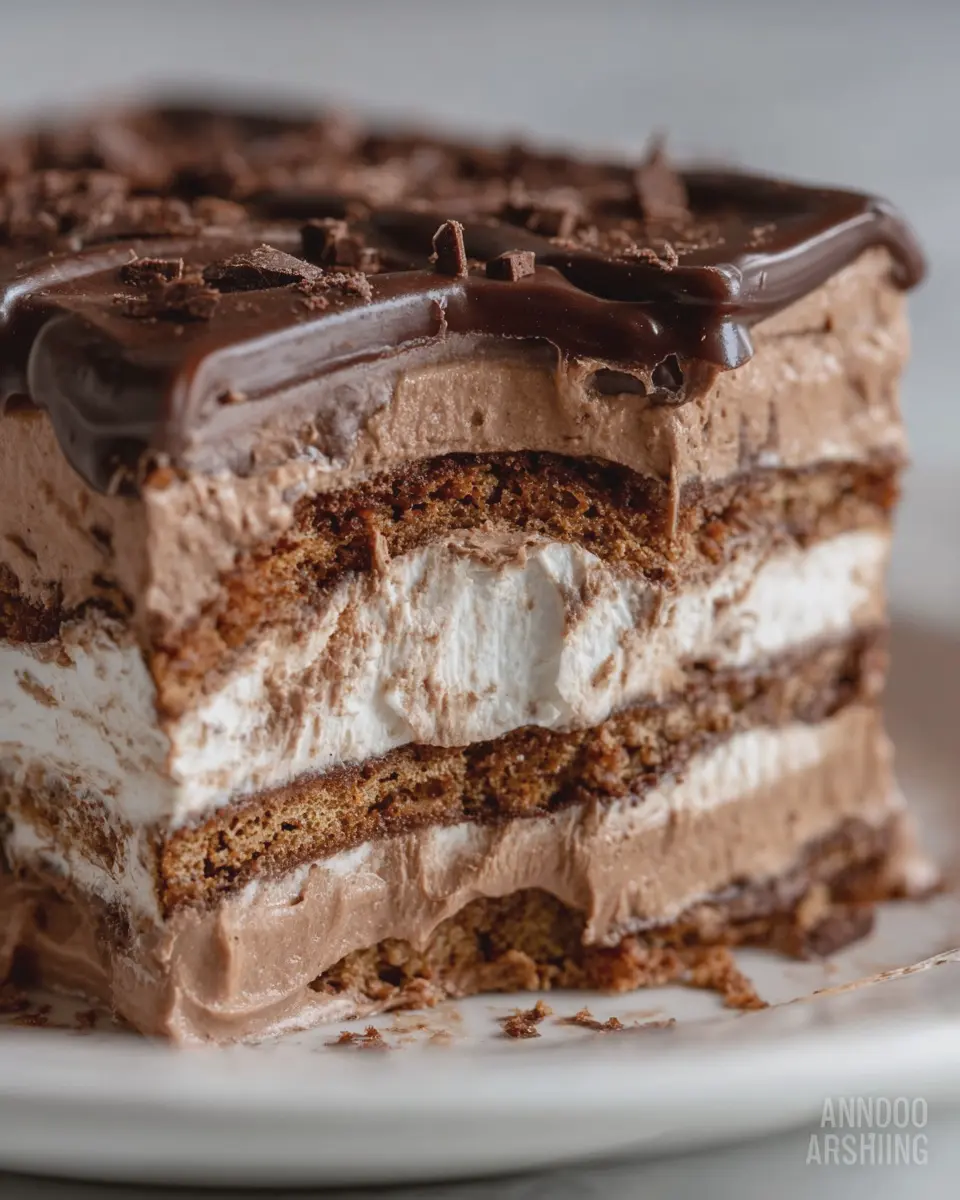
Ingredients for Chocolate Icebox Cake
Essential ingredients for a delicious homemade treat
Creating a heavenly chocolate icebox cake is surprisingly simple! Here’s what you need to get started:
- Chocolate wafer cookies: These are the backbone of your cake, adding the perfect crunch and complementing the creamy texture.
- Whipped cream: Freshly whipped cream is essential for a light, airy filling. Store-bought works too if you’re short on time.
- Cocoa powder: Unsweetened cocoa powder adds a rich chocolatey flavor that elevates your cake.
- Granulated sugar: Sweeten the deal! Sugar will enhance the creaminess and balance the bitterness of the cocoa.
- Vanilla extract: A splash of vanilla brings all the flavors together beautifully.
Looking for more inspiration? Check out this article for tips on ingredient sourcing.
Optional toppings and variations to consider
Feel free to get creative! Here are some optional toppings and variations that can transform your chocolate icebox cake:
- Fresh berries: Strawberries, raspberries, or blueberries add a burst of freshness.
- Chocolate shavings or curls: For a touch of elegance, sprinkle these on top.
- Peanut butter: Swirl in some creamy peanut butter for a delectable twist.
- Nuts: Chopped pecans or walnuts can add a lovely crunch.
Experiment with these flavors to make your cake unique and personal!
Step-by-Step Preparation of Chocolate Icebox Cake
Creating a chocolate icebox cake can be one of the most satisfying kitchen projects you’ll ever undertake. This delightfully simple yet indulgent dessert requires minimal baking and can be prepared in a few easy steps. It’s perfect for impressing your friends at a casual get-together or simply treating yourself. Let’s get into the details of how to whip up this creamy, chocolaty masterpiece!
Gather and Prepare Your Ingredients
Before diving in, make sure you have all the ingredients on hand. Here’s what you’ll need:
- 2 cups heavy cream
- 1 package (8 oz) cream cheese, softened
- 1 cup powdered sugar
- 1 teaspoon vanilla extract
- 1 ½ packages chocolate graham crackers (about 14-16 crackers)
- 1 cup semi-sweet chocolate chips (for ganache)
- ⅓ cup milk
Begin by taking out your cream cheese and letting it soften at room temperature for about 30 minutes. This makes it easier to blend with other ingredients later.
Why is preparation so important, you ask? Having everything ready allows you to move smoothly through each step without fumbling through drawers or cabinets.
Mix the Cream Cheese Filling
Once your cream cheese is softened, it’s time to create that luxurious filling. In a mixing bowl, beat the cream cheese with an electric mixer until it’s creamy and smooth. Add the powdered sugar and vanilla extract. Beat until combined. Next, in a separate bowl, whip the heavy cream until it forms stiff peaks. This might take a few minutes, but it will make your filling light and airy.
Gently fold the whipped cream into the cream cheese mixture until evenly combined. You want to keep as much air in the mixture as possible—this is what gives your chocolate icebox cake its wonderful texture.
Layer the Chocolate Graham Crackers
Now comes the fun part! Grab a 9×13-inch pan or an 8×8-inch square pan. You will start layering your ingredients. Lay down a single layer of chocolate graham crackers at the bottom. You can break them into pieces to fit snugly. It’s okay if they don’t look perfect—this is a no-fuss dessert!
Assemble the Cake
Once you have your first layer of graham crackers, spread half of the cream filling on top, smoothing it out evenly. Add another layer of graham crackers, and then repeat with the remaining cream filling. Finally, top with one last layer of graham crackers to finish it off.
Prepare the Chocolate Ganache Topping
The crowning glory of your chocolate icebox cake is, without a doubt, the chocolate ganache. This is incredibly easy to prepare! Simply combine the chocolate chips and milk in a microwave-safe bowl. Microwave in 30-second intervals, stirring in between, until the mixture is smooth and silky. Allow it to cool slightly; you’ll want it pourable but not hot.
Once it’s cooled, pour the ganache over the top layer of graham crackers, ensuring an even coat. You can use a spatula to gently spread it out if needed, letting it drizzle down the sides a bit for an added touch of elegance.
Chill and Set the Cake
The final step in your chocolate icebox cake adventure is the hardest—waiting! Cover the cake with plastic wrap and let it chill in the refrigerator for at least 4 hours, or overnight if possible. This allows the graham crackers to soften and absorb the delicious cream, creating that quintessential icebox cake texture that everyone loves.
When you’re ready to serve, just slice into squares and enjoy your homemade delight!
If you’re looking for variations or tips, check out sites like Serious Eats for expert advice and broader dessert ideas. Enjoy your delicious creation, and happy baking!
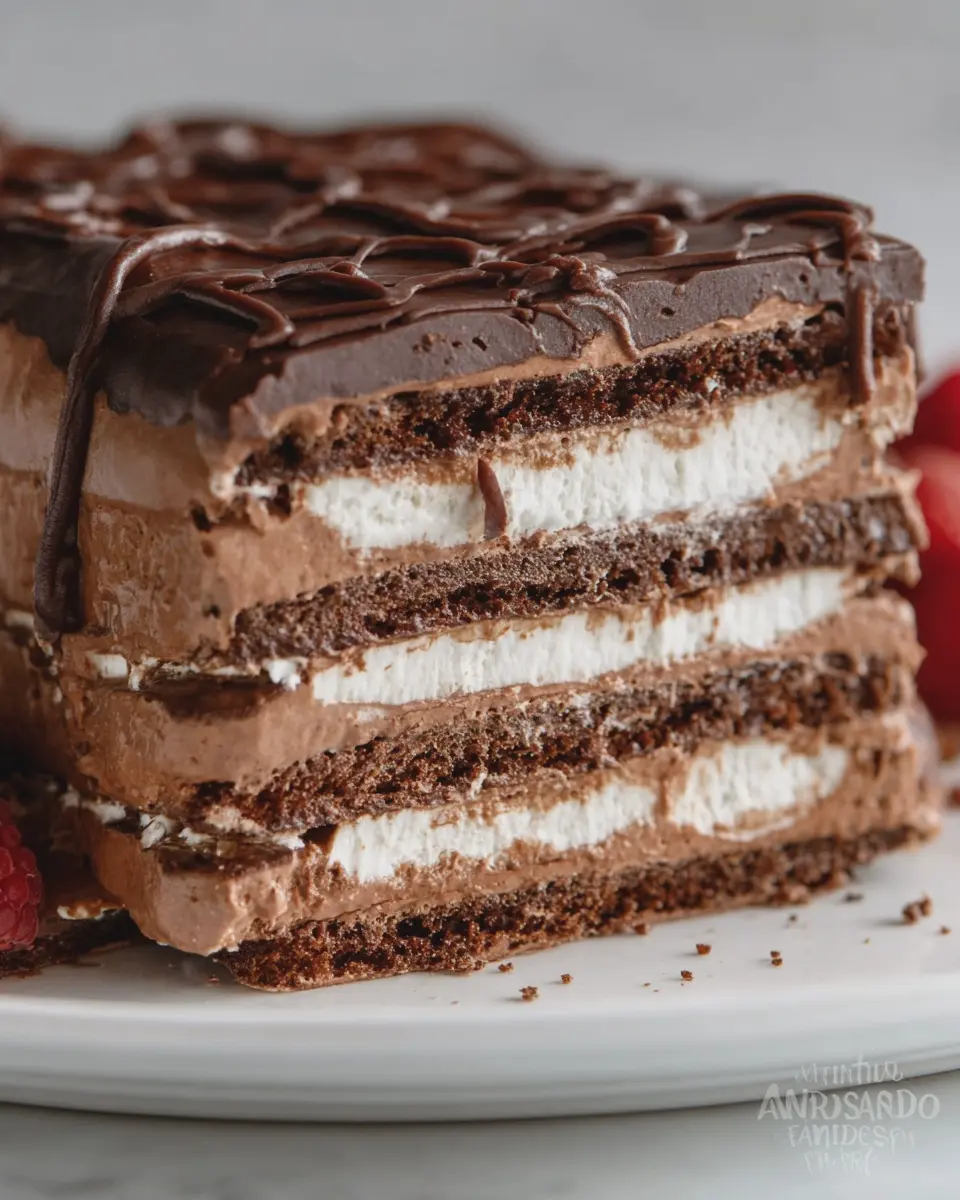
Creative Variations on Chocolate Icebox Cake
Classic Chocolate Icebox Cake with a Twist
If you’re a fan of the traditional chocolate icebox cake, you’re in for a treat! Consider adding a dash of espresso powder to the chocolate mixture for a luxurious mocha flavor that will elevate your cake to new heights. The bitterness of the espresso perfectly complements the sweetness, making it a delightful dessert for coffee lovers.
You can also mix in some crushed-up cookies—think Oreo or graham cracker varieties—to give your icebox cake a fun texture. Not only does this create a satisfying crunch, but it also brings a new flavor dynamic that can impress your friends and family. For a modern spin, try layering in some whipped cream infused with a hint of vanilla or almond extract. It’s these little tweaks that can transform a classic into an extraordinary culinary experience.
Adding Fruits or Nuts for Extra Flavor
Why stop at chocolate when you can integrate fruits and nuts into your chocolate icebox cake for a burst of flavor? Sliced strawberries or raspberries can beautifully contrast with the rich layers of chocolate. Incorporating walnuts or pecans offers a crunchy surprise that works harmoniously with the creamy texture.
- Fruit Options: Fresh bananas, cherries, or even a zesty orange zest can really transport your cake to a new realm.
- Nut Choices: Go for roasted almonds or hazelnuts for that nutty crunch, and consider toasting them lightly to enhance their flavor.
Whether you’re celebrating a special occasion or just indulging in a sweet treat, these creative variations will not only tantalize your taste buds but also impress anyone you serve. For more inspiration, check out this article on Flavor Combinations That Work to explore even more exciting ideas!
Cooking Tips and Notes for Chocolate Icebox Cake
Common mistakes to avoid
When making your chocolate icebox cake, a few missteps can lead to less-than-perfect results. Here are tips to keep in mind:
- Over-soaking the cookies: Aim for just a quick dip in the milk or coffee—too long can lead to a mushy texture.
- Neglecting the layer distribution: Ensure even layers of whipped cream or filling between cookies. This will guarantee a balanced flavor and texture.
- Skipping the chill time: Patience is key! Allow enough chilling time for the flavors to meld and the cake to set properly.
For more technique-oriented advice, check out Serious Eats for solid baking tips.
Storing the cake for optimal freshness
To keep your chocolate icebox cake fresh and delicious:
- Use airtight containers: Tightly cover your cake to avoid any moisture loss or absorption of odors from the fridge.
- Best enjoyed within a week: While it can last up to seven days, the taste is optimal in the first two to three days when it’s freshly set.
Simply follow these steps, and you’ll be enjoying every slice of your masterpiece!
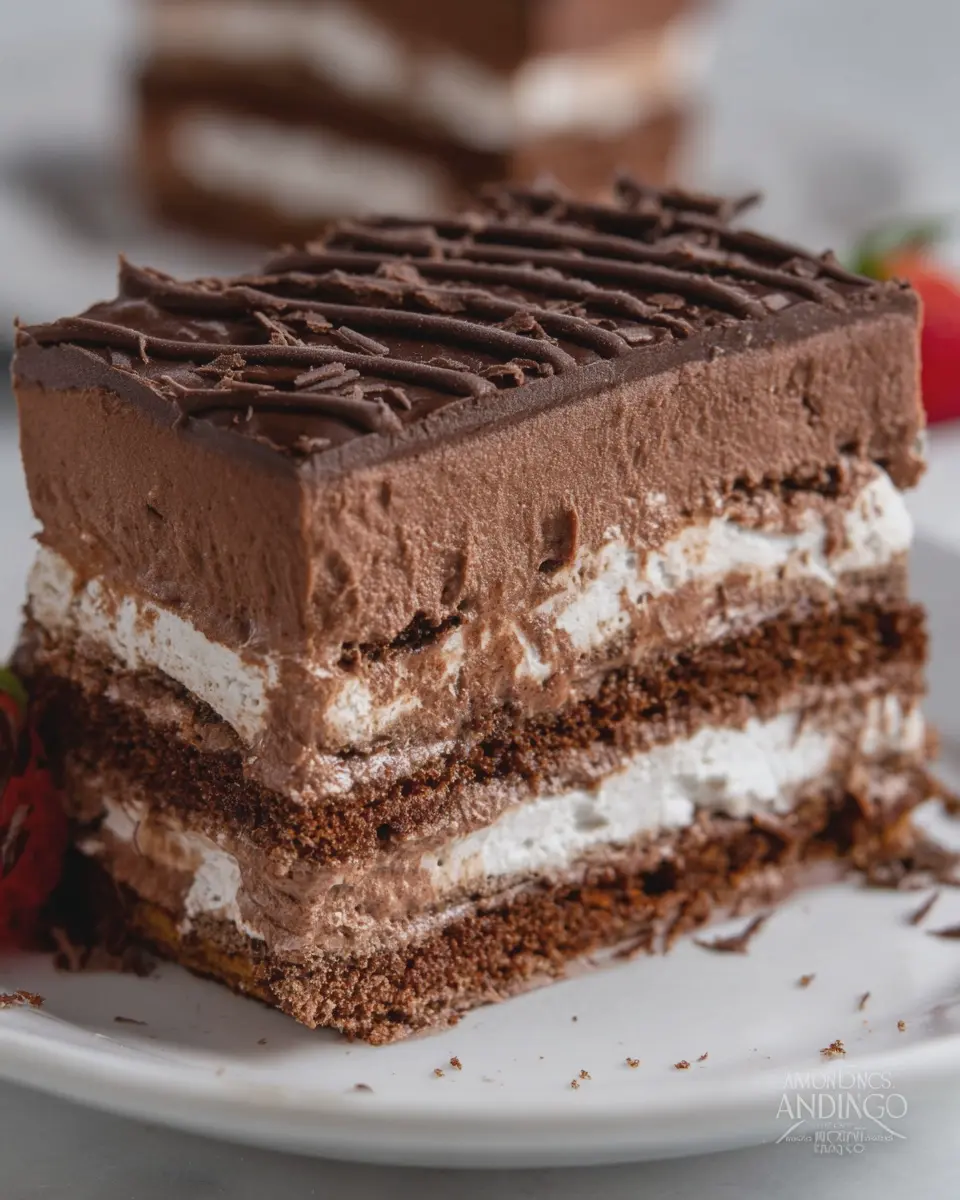
Serving Suggestions for Chocolate Icebox Cake
Best ways to serve your icebox cake
When it comes to serving your delicious chocolate icebox cake, presentation is key. Start by slicing your cake into generous pieces—think “little indulgences” that invite guests for more! Place each slice on a plate and garnish with a dollop of freshly whipped cream or a sprinkle of chocolate shavings for that extra touch of elegance.
Additionally, consider layering a few fresh berries, like strawberries or raspberries, next to each slice; not only do they add color, but the tartness beautifully complements the sweet chocolate flavor. If you want to go the extra mile, drizzle some caramel or raspberry sauce over the slice for a stunning visual effect.
Pairing options for a complete dessert experience
To enhance your chocolate icebox cake experience, serve it alongside a scoop of vanilla ice cream for that decadent contrast of temperatures and flavors. For a refreshing twist, why not pair it with a cup of hot brewed coffee or a rich espresso?
If you’re feeling adventurous, you might also consider serving it with a homemade peppermint tea or an herbal infusion—both will provide a comforting balance to the rich chocolate. Don’t forget to check out this article for more inspiration on pairing options!
With these serving suggestions, your chocolate icebox cake will not only be a feast for the taste buds but a treat for the eyes as well!
Time Breakdown for Chocolate Icebox Cake
Preparation Time
Making a delightful chocolate icebox cake takes about 30 minutes in the kitchen. This includes whipping up the creamy filling and layering it with your favorite chocolate cookies. Don’t worry; the process is straightforward, and you’ll be rewarded with a stunning dessert that tastes like it came from a bakery!
Chilling Time
Once your cake is assembled, it’s essential to let it chill in the refrigerator for at least 4 hours. This step allows the flavors to meld together beautifully and gives the cookies time to soften. For the best results, chill it overnight if your schedule allows.
Total Time
In total, you should set aside approximately 4.5 to 5 hours from start to finish. With just a bit of patience, you’ll have a delectable chocolate icebox cake that’s perfect for any gathering. For a deeper dive into the scientific benefits of chilling desserts, check out Serious Eats. You’ll find that taking the time to chill isn’t just an optional step; it’s key to a truly decadent treat!
Nutritional Facts for Chocolate Icebox Cake
Calories per serving
When indulging in a slice of chocolate icebox cake, it’s good to be mindful of the caloric content. Typically, a single serving contains about 300-350 calories. This makes it a delightful yet decadent dessert to enjoy in moderation!
Key nutritional highlights
Beyond its tempting taste, the chocolate icebox cake has some nutritional points worth noting:
- Fat: Around 15g, primarily from dairy sources—perfect for a creamy texture.
- Carbohydrates: Approximately 40g, providing quick energy, thanks to the sugars from chocolate and cream.
- Protein: Offers a modest 5g per serving, thanks to the added dairy.
- Vitamins and Minerals: The cocoa used can be a source of antioxidants, promoting heart health!
It’s always best to pair desserts with healthy options in your diet—lean proteins, whole grains, and plenty of fruits and vegetables. This balanced approach can help maintain your overall nutritional goals while still savoring something sweet. For more on maintaining nutritional balance, check out resources from Harvard Health. Why not enjoy that slice with a side of fresh berries for a burst of vitamins?
FAQs about Chocolate Icebox Cake
How can I make my chocolate icebox cake even more chocolaty?
If you’re a true chocolate lover, why stop at just cacao in the cream? Here are some simple tricks to amp up the chocolate flavor in your cake:
- Use chocolate wafers: Opt for dark chocolate wafers instead of regular ones for an extra rich base.
- Add cocoa powder: Mix in a few tablespoons of unsweetened cocoa powder into your whipped cream for a deeper flavor.
- Chocolate ganache: Drizzle or layer a thick chocolate ganache between the layers for a luscious touch.
These additions not only enhance the chocolateiness but also create a dessert that’s sure to impress.
What can I substitute if I don’t have Cool Whip?
No Cool Whip? No problem! You can make your own whipped topping with ease. Here’s what to do:
- Whipped cream: Use heavy cream and whip it until soft peaks form. You can sweeten it with powdered sugar and a splash of vanilla extract.
- Cream cheese: For a richer texture, blend cream cheese with whipped cream. This adds a creamy tang that balances the sweetness nicely.
For more variations, consider checking out detailed homemade whipped cream recipes here.
How long does the cake last in the fridge?
Your chocolate icebox cake can last about 3 to 5 days in the fridge, but trust me, it’ll likely disappear much sooner. Store it covered to maintain freshness. If you’re planning ahead for gatherings or special occasions, keep this in mind! The longer the cake sits, the more the flavors meld together, enhancing the overall experience.
Feel free to ask any other questions! Your journey into the world of chocolate icebox cake is just beginning, and I’m here to help.
Conclusion on Chocolate Icebox Cake
The joy of making and sharing your dessert creation
Creating a chocolate icebox cake is not just about the delicious end product; it’s also about the joy that comes from making and sharing it. Imagine the smiles on your friends’ faces as you serve this creamy, chocolatey delight at your next gathering. Crafting your dessert provides a sense of fulfillment, especially when you can whip up something so simple yet indulgent.
When you make a chocolate icebox cake, you’re not just baking; you’re creating memories. Invite friends over to share a slice, and bask in the communal joy that dessert can bring. For tips on hosting sweet get-togethers, check out this helpful guide on hosting dessert parties. Plus, as you enjoy each decadent bite, you’ll be reminded that it’s the little moments that make life truly delicious.
So roll up your sleeves, gather your ingredients, and let the chocolate magic begin!
PrintChocolate Icebox Cake: The Best Indulgent Treat for Everyone
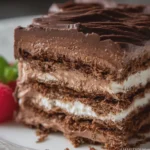
Indulge in the rich and creamy layers of Chocolate Icebox Cake, a dessert that’s perfect for all chocolate lovers.
- Prep Time: 20 minutes
- Cook Time: 0 minutes
- Total Time: 4 hours 20 minutes
- Yield: 8 servings 1x
- Category: Dessert
- Method: No-Bake
- Cuisine: American
- Diet: Vegetarian
Ingredients
- 2 cups heavy whipping cream
- 1 cup powdered sugar
- 1 teaspoon vanilla extract
- 24 chocolate wafer cookies
- 1 cup chocolate pudding mix
- 2 cups milk
Instructions
- In a large bowl, whip the heavy cream until it begins to thicken.
- Add the powdered sugar and vanilla extract, and continue whipping until stiff peaks form.
- In another bowl, mix the chocolate pudding with milk until smooth.
- Begin layering the chocolate wafer cookies and chocolate pudding mixture in a dish.
- Alternate layers of whipped cream and chocolate pudding, finishing with whipped cream on top.
- Refrigerate for at least 4 hours or overnight before serving.
Notes
- This cake can be made a day in advance for better flavor.
- Feel free to add chocolate shavings on top for decoration.
Nutrition
- Serving Size: 1 slice
- Calories: 350
- Sugar: 25g
- Sodium: 150mg
- Fat: 22g
- Saturated Fat: 14g
- Unsaturated Fat: 6g
- Trans Fat: 0g
- Carbohydrates: 40g
- Fiber: 1g
- Protein: 4g
- Cholesterol: 100mg
Keywords: Chocolate Icebox Cake