

1. Introduction
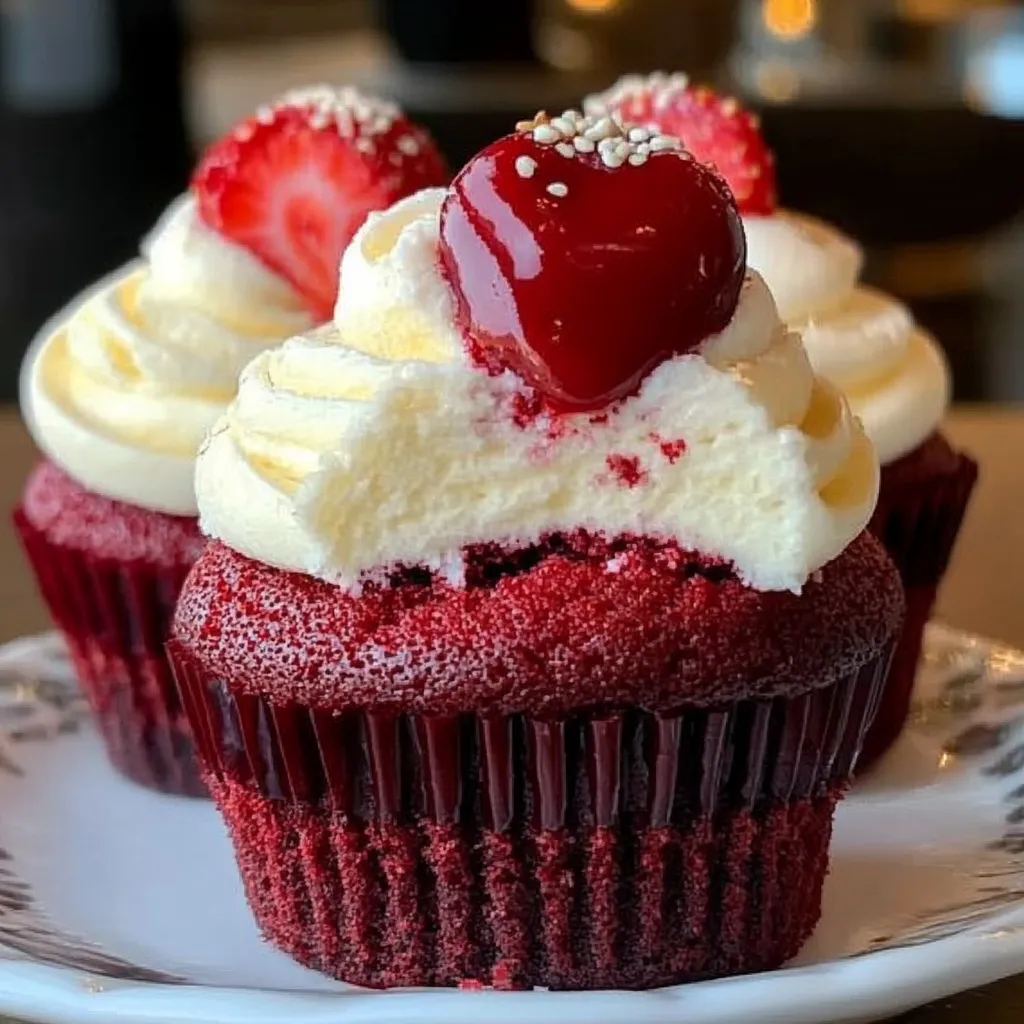
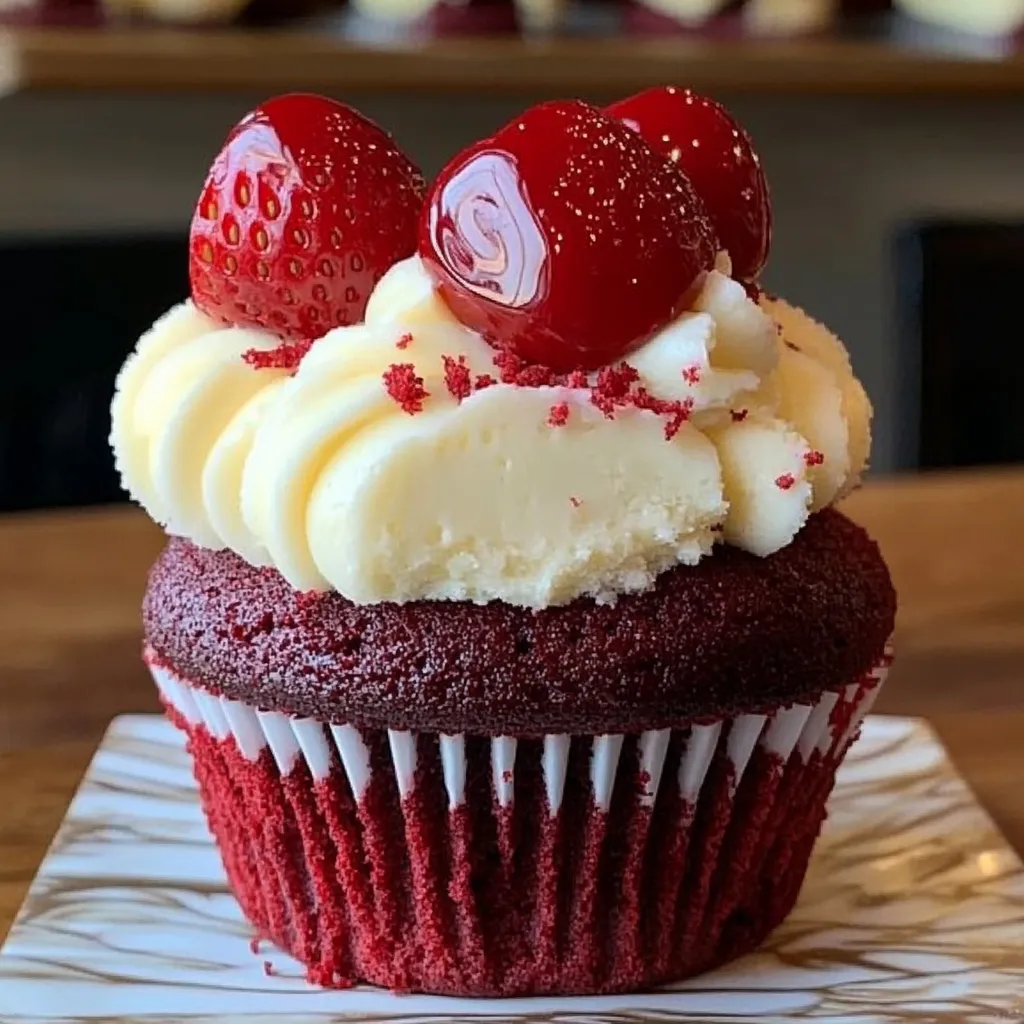
Red Velvet Crush Cupcakes are more than just a treat—they’re a showstopper with every bite. These cupcakes are the perfect twist on the classic red velvet cake, infused with a rich cocoa base and velvety cream cheese swirl that melts into the batter like a dream. What makes them truly stand out is their tangy-sweet contrast, vibrant crimson hue, and that iconic cream cheese marble right in the center.
Whether you’re baking for a party, a cozy family gathering, or just to satisfy a craving, these cupcakes offer the ideal balance of moist texture and creamy richness. They’re a bite-sized celebration of flavor and color.
In this guide, you’ll learn how to master the art of baking Red Velvet Crush Cupcakes from scratch. We’ll explore their origins, break down the science of key ingredients, and walk you through the foolproof method—plus pro tips and FAQs to make your bake perfect.
2. Origins & Background
While many believe red velvet cake originated in the American South, its earliest rise to fame traces back to the Waldorf-Astoria Hotel in New York during the 1920s. According to Wikipedia, the cake was designed to be a “velvety” soft version of chocolate cake—lighter in both texture and cocoa content. It gained popularity during WWII, when bakers used beet juice to enhance color and moisture.
Unlike traditional chocolate cakes, red velvet relies on just a touch of cocoa powder, giving it that signature hint of chocolate without overpowering sweetness. Combined with acidic buttermilk and vinegar, the reaction creates a finer crumb and a slight tang, making it noticeably distinct from both chocolate and vanilla cakes. As WSJ highlights, this tangy profile, along with vibrant red coloring, defines red velvet’s identity.
The modern Red Velvet Crush Cupcake—popularized by creatives like DolceRecipe—builds on this legacy. By swirling in cream cheese before baking, the cupcakes combine the richness of a cheesecake with the moistness of red velvet cake. It’s an innovative twist that elevates a familiar favorite into something irresistibly eye-catching and indulgent..
3. Ingredient Deep Dive
3.1 Flour & Cocoa
The base of Red Velvet Crush Cupcakes starts with all-purpose flour, offering balanced structure for cupcakes that are sturdy yet soft. For those craving a finer crumb, cake flour is an option—it’s lower in protein, reducing gluten formation and giving a delicate texture.
Unsweetened cocoa powder—used in minimal quantity—adds that subtle chocolate undertone without overpowering the batter. According to Sally’s Baking Addiction, it’s this restraint that differentiates red velvet from chocolate cake. This cocoa also reacts with acids like vinegar and buttermilk to boost both color and texture.
3.2 Fat: Butter vs. Oil
Butter plays a critical role in flavor and structure. Softened unsalted butter provides a creamy texture and rich taste, especially when beaten with sugar until light and fluffy—a foundational step in the creaming method. As noted on Handle the Heat, butter ensures the cupcakes hold their shape while still offering softness.
For extra moisture, some bakers substitute or blend in vegetable oil. While it doesn’t contribute much flavor, oil keeps the crumb soft even after refrigeration. The choice between butter and oil—or using both—is key to mastering cupcake texture depending on your preference.
3.3 Buttermilk & Vinegar
Together, buttermilk and vinegar activate the baking soda, giving these cupcakes a gentle lift and fluffy interior. The acidity also enhances color vibrancy and contributes a unique tang. Bon Appétit emphasizes this pairing as essential to red velvet’s distinct character and moist consistency.
3.4 Red Food Coloring
The signature hue of red velvet comes from food coloring—but type matters. Gel food coloring offers stronger pigmentation without thinning the batter. According to Southern Living, this helps achieve a vibrant red finish while maintaining proper structure and balance within the cupcake mix.
4. Step-by-Step Recipe Walkthrough
4.1 Dry & Wet Prep
Begin by sifting the dry ingredients—flour, cocoa powder, baking soda, and salt—into a bowl. This aerates the mix and removes clumps, setting the stage for a smooth batter.
Separately, whisk together the buttermilk, white vinegar, vanilla extract, and red food coloring. This mixture not only adds flavor and acid but also evenly distributes the vibrant red color. Combining your wet ingredients beforehand helps streamline the mixing process and ensures consistency across every cupcake.
4.2 Creaming & Mixing
In a large bowl, beat softened butter and granulated sugar until the mixture is light, pale, and fluffy—about 2–3 minutes. This step creates air pockets, helping the cupcakes rise properly.
Add the egg and beat until fully incorporated. Then, with the mixer on low, alternate additions of the dry ingredients and red buttermilk mixture, beginning and ending with the dry. This method prevents overmixing and ensures a tender, evenly mixed batter. Be careful not to overbeat once everything is added—just mix until smooth.
4.3 Cream Cheese Swirl Prep
In a separate bowl, combine softened cream cheese, sugar, and vanilla extract. Beat until the mixture is completely smooth and lump-free. This creamy blend will form the cheesecake swirl, adding a rich, tangy contrast to the sweet cake base. Use a small spoon or piping bag for clean, centered application.
4.4 Assembly & Swirling
Line a 12-cup muffin tin with paper liners. Fill each one about two-thirds full with red velvet batter. Carefully drop 1 teaspoon of the cream cheese mixture onto the center of each. Using a toothpick, gently swirl the cream cheese into the top of the batter to create a marbled effect.
4.5 Baking & Cooling
Preheat the oven to 350°F (175°C) and bake the cupcakes for 18–20 minutes. The tops should spring back when touched, and a toothpick inserted in the center should come out clean or with a few moist crumbs.
Allow the cupcakes to cool in the muffin tin for 5–10 minutes before transferring them to a wire rack. This resting time helps set the structure and makes removal easier. Once cooled completely, serve immediately or store in an airtight container. The cream cheese swirl makes refrigeration essential, but flavor and texture stay optimal for up to 3 days.
5. Tips & Common Pitfalls
5.1 Room-Temperature Ingredients Matter
Using room-temperature ingredients is essential for even mixing and proper aeration of your Red Velvet Crush Cupcakes. Cold eggs or butter can cause the batter to curdle and bake unevenly. As Handle the Heat explains, this simple step ensures a smoother batter and better rise.
5.2 Measuring & Sifting for Accuracy
To avoid a dense or dry cupcake, always spoon and level your flour and cocoa instead of scooping. According to the Wall Street Journal, this method helps maintain the perfect balance of ingredients. Sifting also aerates the mix, which leads to a lighter crumb.
5.3 Food Coloring: Less is More
When using red food coloring, opt for gel-based varieties. They offer vibrant color without thinning the batter. Start with a small amount and increase as needed—overuse can lead to a bitter aftertaste. DolceRecipe suggests building the color gradually for optimal balance.
5.4 Avoid Overmixing at All Costs
Once your wet and dry ingredients are combined, mix only until just incorporated. Overmixing develops too much gluten, resulting in cupcakes that are tough or rubbery. Stir gently on low speed and stop as soon as the batter comes together for a tender, moist result.
5.5 Baking Variations for Altitudes & Ovens
Baking at high altitudes or with convection ovens requires a few adjustments. At higher elevations, reduce sugar slightly, increase the oven temperature by 15–25°F, and decrease baking time to prevent dryness. With convection ovens, lower the temperature by 25°F and monitor closely. Cupcakes bake faster due to circulating air. If your oven runs hot, rotate the pan halfway through to avoid uneven tops. These tweaks ensure your Red Velvet Crush Cupcakes bake evenly, rise properly, and maintain that moist, delicious interior every time—no matter your location or equipment.
6. Variations & Creative Twists
For a lighter crumb, substitute cake flour for all-purpose. Cake flour contains less protein, which means less gluten and a softer bite. This simple swap transforms your Red Velvet Crush Cupcakes into a bakery-style experience.
Want a moister texture? Use a blend of butter and oil. Cakes by MK recommends this combination to retain structure from butter while benefiting from oil’s unmatched moisture-locking ability. It’s a trick worth trying if you want to improve shelf life without sacrificing flavor.
Another pro tip is adding a touch of brewed coffee to deepen the cocoa notes. Handle the Heat highlights how coffee enhances chocolate flavors without tasting like coffee. Try replacing a tablespoon of buttermilk with cooled espresso for extra depth.
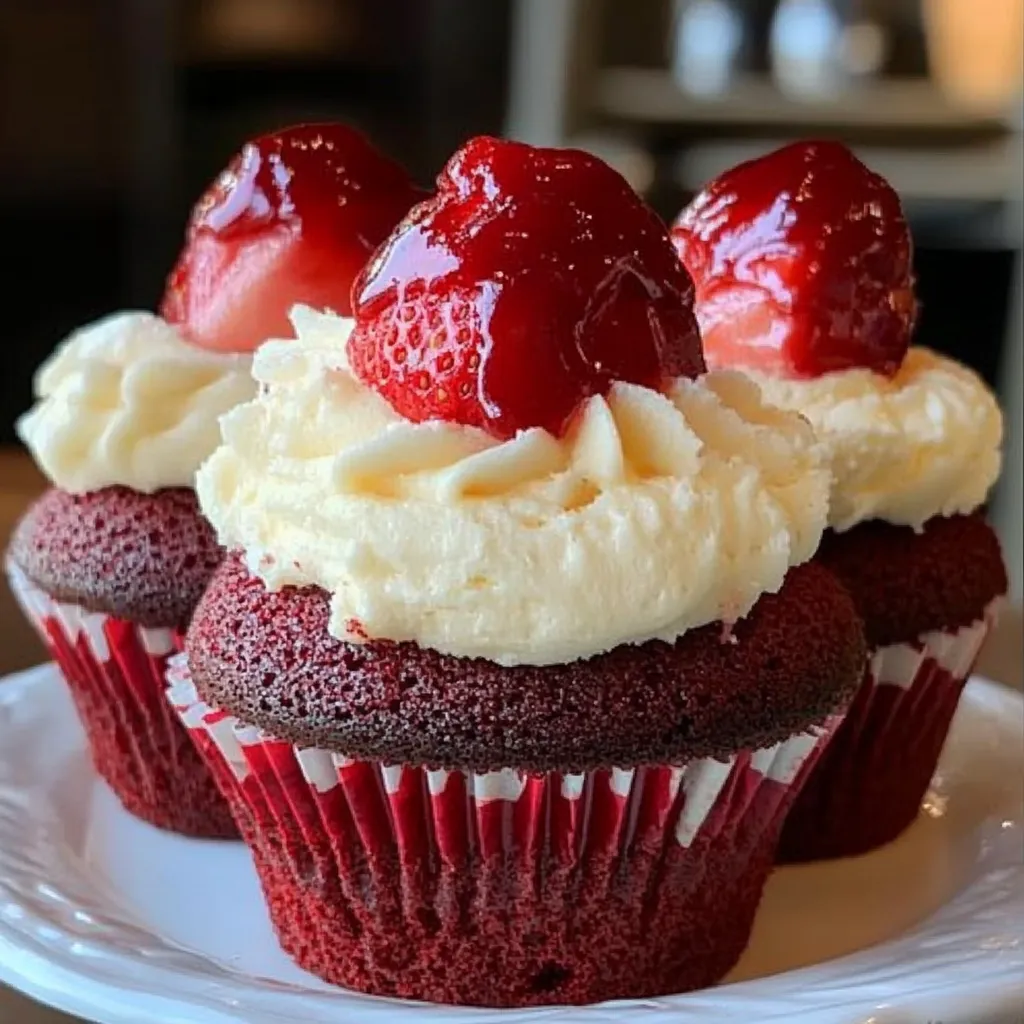
Toppings are another fun way to elevate presentation. Add a crumb topping, toasted pecans, or fresh berries after baking for a gourmet finish. Paula Deen and DolceRecipe both showcase how a few thoughtful extras make these cupcakes perfect for gifting or parties.
7. Serving & Storage Tips
Red Velvet Crush Cupcakes are ideal for parties, afternoon tea, or just treating yourself after a long day. Their vibrant red hue and cream cheese swirl make them naturally eye-catching on dessert tables.
For best flavor and freshness, store cupcakes in an airtight container in the refrigerator. Because of the cream cheese swirl, refrigeration is necessary to avoid spoilage. Let them come to room temperature before serving for optimal texture.
Want to plan ahead? These cupcakes freeze beautifully. Simply freeze unfrosted cupcakes in a freezer-safe bag or container for up to 2 months. Thaw in the fridge overnight or at room temp for 1–2 hours before serving. You can even prepare a fresh swirl topping before serving to make them feel bakery-fresh again.
8. Frequently Asked Questions
Q1: Can I use cake flour instead of all-purpose flour?
Yes! Cake flour gives a finer, more tender crumb. Just swap 1:1 and sift for best results.
Q2: What’s a good substitute for buttermilk?
You can use 1/2 cup of milk + 1/2 tablespoon of vinegar or lemon juice. Let it sit for 5–10 minutes before adding. Handle the Heat and Recipes Tasteful recommend this homemade version with consistent results.
Q3: Why swirl cream cheese into the batter instead of on top?
Swirling it in before baking creates a marbled texture and richer taste throughout the cupcake. Topping it afterward won’t integrate the tangy contrast as well.
Q4: Can I make these gluten-free or vegan?
Yes. Use a gluten-free 1:1 flour mix and vegan butter. Substitute the egg with flaxseed or applesauce and use plant-based cream cheese for the swirl.
Q5: How long do they last?
Stored in the fridge, they’re fresh for 3–4 days. Freeze for longer storage—up to 2 months—without compromising flavor or texture.
9. Conclusion
With their luscious cream cheese swirl, subtle cocoa base, and moist, tender crumb, these Red Velvet Crush Cupcakes offer everything you love in a classic dessert—with a twist. By understanding your ingredients and following key techniques like gentle mixing and room-temperature prep, you’ll bake cupcakes that rival any bakery.
So why not whip up a batch this weekend? Swirl in the goodness, bake to perfection, and share the joy. Don’t forget to tag us when you post your masterpiece—cupcake love deserves to be seen and shared!
PrintRed Velvet Crush Cupcakes: A Decadent Swirl of Sweet & Tangy Delight
Decadent red velvet cupcakes with a rich cocoa base and a tangy cream cheese swirl baked right in – soft, moist, and irresistible.
- Prep Time: 15 minutes
- Cook Time: 20 minutes
- Total Time: 35 minutes
- Yield: 12 cupcakes 1x
- Category: Dessert
- Method: Baking
- Cuisine: American
- Diet: Vegetarian
Ingredients
- 1 1/4 cups all-purpose flour
- 1 tbsp unsweetened cocoa powder
- 1/2 tsp baking soda
- 1/4 tsp salt
- 1/2 cup buttermilk, room temperature
- 1/2 tbsp white vinegar
- 1/2 tsp vanilla extract
- 1/2 oz red food coloring (1 tbsp)
- 1/2 cup unsalted butter, softened
- 3/4 cup granulated sugar
- 1 large egg
- For the Cream Cheese Swirl:
- 4 oz cream cheese, softened
- 2 tbsp granulated sugar
- 1/2 tsp vanilla extract
Instructions
- Preheat oven to 350°F (175°C) and line a 12-cup muffin tin with cupcake liners.
- In a bowl, whisk together flour, cocoa powder, baking soda, and salt.
- In another bowl, combine buttermilk, vinegar, vanilla extract, and red food coloring.
- In a large mixing bowl, beat butter and sugar until light and fluffy (2–3 minutes).
- Add egg and mix until fully combined.
- Add dry ingredients in three parts, alternating with the buttermilk mixture, beginning and ending with the dry ingredients. Mix just until combined.
- In a small bowl, beat cream cheese, sugar, and vanilla until smooth.
- Fill each cupcake liner about 2/3 full with batter. Spoon 1 tsp of cream cheese mixture on top and swirl with a toothpick.
- Bake for 18–20 minutes, or until a toothpick inserted in the center comes out clean.
- Cool cupcakes in the tin for a few minutes, then transfer to a wire rack to cool completely.
Notes
- Ensure all ingredients are at room temperature for best mixing results.
- Use gel food coloring for vibrant red without thinning the batter.
- Do not overmix the batter once combined to maintain tenderness.
- Store cupcakes in an airtight container in the refrigerator for up to 4 days.
Nutrition
- Serving Size: 1 cupcake
- Calories: 230
- Sugar: 17g
- Sodium: 180mg
- Fat: 11g
- Saturated Fat: 7g
- Unsaturated Fat: 3g
- Trans Fat: 0g
- Carbohydrates: 27g
- Fiber: 0.5g
- Protein: 3g
- Cholesterol: 40mg
Keywords: red velvet cupcakes, cream cheese swirl, easy red velvet, baking recipe, cupcake swirl