Introduction to $300 Frosting
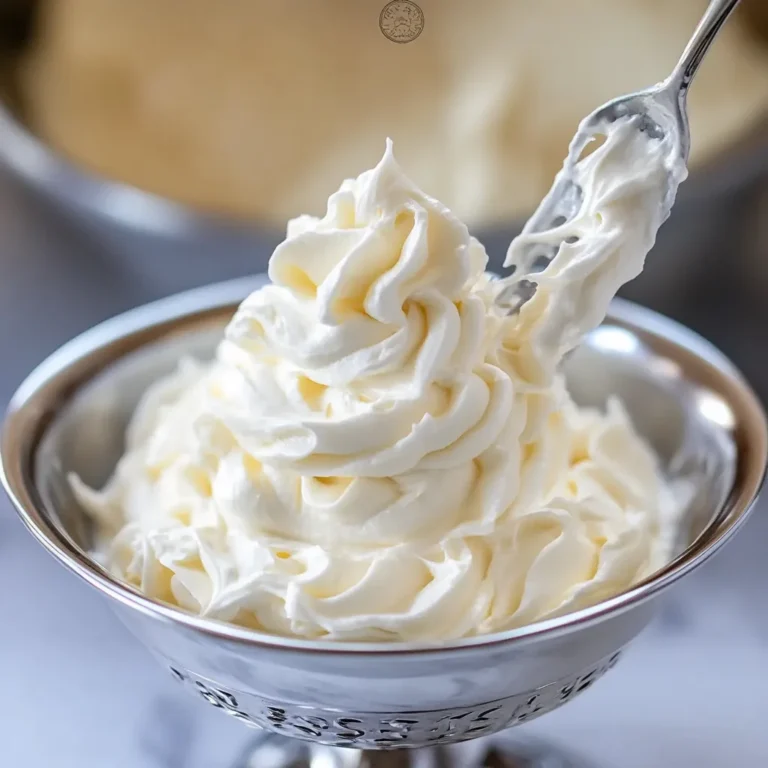
When it comes to desserts, frosting can make or break a dish, and $300 frosting is in a league of its own. Known for its light, creamy texture and perfectly balanced sweetness, this frosting has earned its unique name by being so good that some might think it’s worth a small fortune. While the origins of the name remain unclear, one thing is certain: this frosting stands out as a buttercream alternative that feels luxurious and indulgent.
Unlike traditional powdered sugar-based frostings, $300 frosting uses a flour and milk base to create a silky smooth texture. This technique ensures the frosting is not overly sweet, making it perfect for those who want a sophisticated flavor profile. Whether you’re topping cupcakes, cakes, or other desserts, this frosting adds a professional touch that is sure to impress.
For those seeking to refine their frosting techniques, learning the science behind perfect frosting can help you understand why $300 frosting is a game-changer. From the method to its ingredients, every detail works together to create a truly unique result.
Ingredients for Perfection
To create the perfect $300 frosting, you’ll need a simple list of pantry staples. Here’s what makes this frosting shine:
- 1 cup whole milk: Provides the creamy base for the frosting. The milk’s fat content is crucial for achieving the smooth, pudding-like consistency.
- 5 tablespoons all-purpose flour: Thickens the milk mixture into a stable base without the grittiness of powdered sugar.
- 1 cup unsalted butter (room temperature): Adds richness and a creamy texture. Using room temperature butter ensures easy mixing and a light finish.
- 1 cup granulated sugar: Sweetens the frosting without being overly sugary. Granulated sugar dissolves during the whipping process to create a smooth texture.
- 1 teaspoon vanilla extract: Enhances the flavor with a subtle, sweet aroma. Vanilla extract is key to giving the frosting its signature taste.
Each ingredient plays a vital role in achieving the light and fluffy texture of $300 frosting. By carefully balancing these components, you’ll create a frosting that is truly one-of-a-kind. For more tips on achieving the perfect base, check out this guide on creaming butter and sugar like a pro.
This frosting is more than just a topping—it’s an experience that elevates your baked goods to the next level. Stay tuned as we explore the step-by-step process to create this frosting masterpiece!
Preparing the Milk and Flour Mixture
The milk and flour mixture is the foundation of the $300 frosting, and its preparation is key to achieving the signature silky texture. Follow these steps to create a smooth, pudding-like base:
Step-by-Step Instructions
- Combine the ingredients:
- In a medium saucepan, whisk together 1 cup of whole milk and 5 tablespoons of all-purpose flour.
- Make sure the mixture is smooth and free of lumps before turning on the heat.
- Cook the mixture:
- Place the saucepan over medium heat and begin stirring constantly with a whisk or a spatula.
- Stir until the mixture thickens to a pudding-like consistency. This typically takes about 5-7 minutes.
- Remove from heat:
- Once thickened, take the saucepan off the heat and transfer the mixture to a heat-safe bowl.
- Allow the mixture to cool completely to room temperature before using it in the frosting.
Tips for a Lump-Free Mixture
To ensure your base is smooth and lump-free:
- Whisk thoroughly before turning on the heat. This prevents clumps from forming during the cooking process.
- Use a non-stick saucepan to avoid scorching the milk or sticking.
- Stir constantly as the mixture cooks to evenly distribute heat and prevent lumps.
- If lumps form, strain the mixture through a fine-mesh sieve while it’s still warm.
Why Cooling is Essential
Cooling the milk and flour mixture completely is critical for the success of $300 frosting. If the base is even slightly warm, it can cause the butter in the next step to melt, resulting in a runny or separated frosting. Patience here pays off—allow the mixture to rest until it reaches room temperature. For even cooling, you can transfer it to a shallow dish and cover it with plastic wrap to prevent a skin from forming.
By mastering this step, you’ll create a perfectly smooth base that ensures your frosting will whip up light, fluffy, and delicious. For more tips on handling pudding-like textures, check out this helpful guide on the science behind perfect frosting.
Creaming Butter and Sugar
The process of creaming butter and sugar is a crucial step in making the perfect $300 frosting. It’s the secret behind achieving a smooth, fluffy texture that blends seamlessly with the milk and flour mixture. Here’s how to do it right.
How to Cream Butter and Sugar to Perfection
- Start with room-temperature butter:
- Use 1 cup of unsalted butter that’s softened to room temperature. This ensures it blends easily with the sugar.
- Add the sugar gradually:
- Combine the butter with 1 cup of granulated sugar in a mixing bowl.
- Gradually add the sugar while beating to avoid clumping and to allow air to incorporate.
- Mix until light and fluffy:
- Using a mixer, beat the butter and sugar together on medium speed for about 3-5 minutes.
- The mixture should turn pale in color and have a light, fluffy consistency.
Tools for Best Results
- Stand mixer: Ideal for larger batches and offers more power and stability, making it easier to achieve the light, airy texture.
- Hand mixer: A more affordable option that’s perfect for smaller batches. While it requires a bit more effort, it can still yield excellent results.
For professional-level tips on the creaming process, check out how to cream butter and sugar like a pro.
Common Mistakes to Avoid
- Using cold butter: Cold butter won’t blend properly, leaving chunks and preventing a smooth texture.
- Over-creaming: Beating the butter and sugar for too long can cause the mixture to become greasy and dense, negatively affecting the frosting.
- Skipping the scraping: Failing to scrape down the sides of the bowl can lead to uneven mixing. Always pause to scrape the bowl with a spatula for uniform results.
Mastering the butter and sugar creaming process ensures your frosting will have the perfect balance of sweetness and creaminess, setting the stage for the fluffy $300 frosting that everyone loves.
Combining the Mixtures
Combining the cooled milk mixture with the creamed butter and sugar is the final step in creating the light and fluffy $300 frosting. This step requires attention to detail to ensure the frosting achieves the perfect texture and consistency. Here’s how to do it right:
Step-by-Step Process
- Ensure the milk mixture is completely cool:
- The milk and flour base must be at room temperature. If it’s even slightly warm, it can melt the butter and ruin the texture.
- Add the milk mixture gradually:
- Begin by adding small portions of the cooled milk mixture to the creamed butter and sugar.
- Beat on medium speed after each addition until the mixture is fully incorporated.
- Increase mixing speed:
- Once all the milk mixture has been added, increase the mixer speed to medium-high.
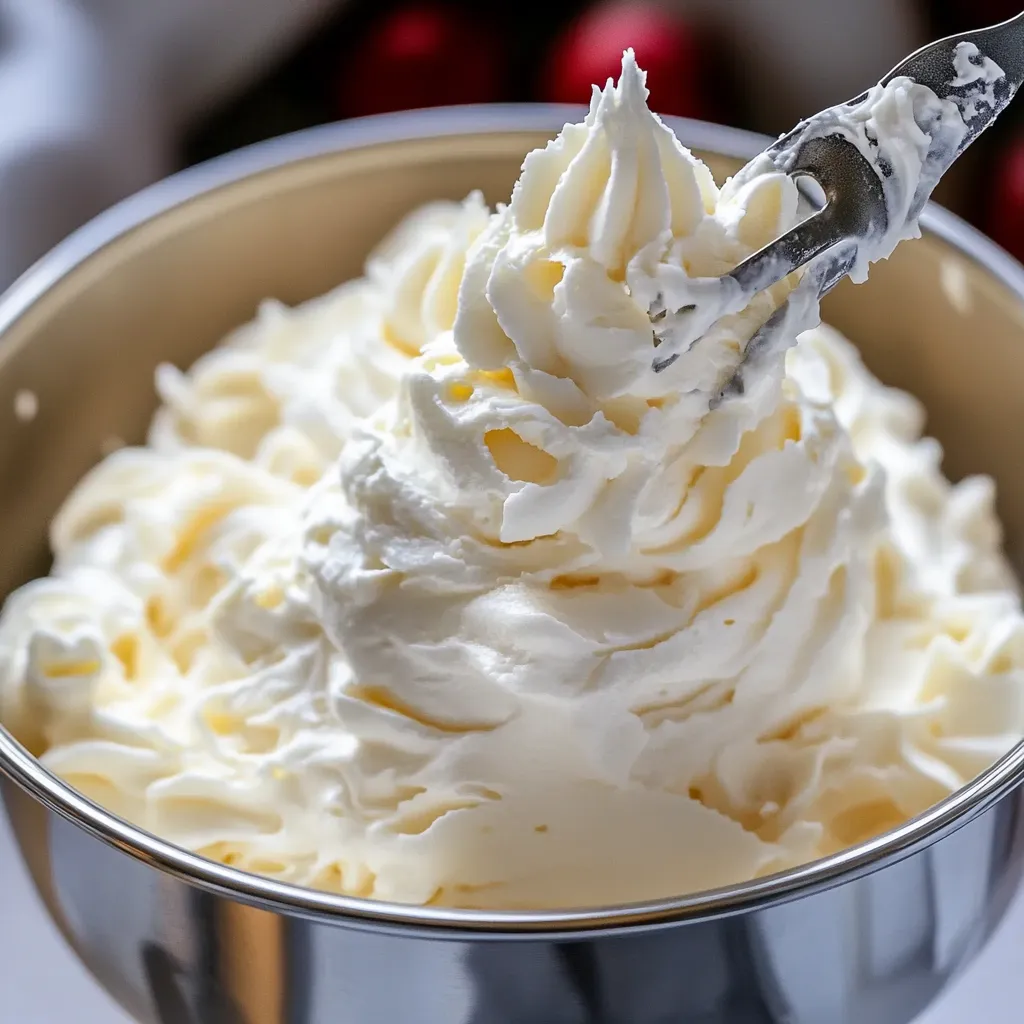
- Whip the frosting for about 5-7 minutes until it becomes light, smooth, and creamy.
- Add vanilla extract:
- Incorporate 1 teaspoon of vanilla extract during the final mixing stage to enhance the flavor.
For more details on achieving the perfect frosting consistency, refer to the science behind perfect frosting.
Tips for Smooth and Creamy Consistency
- Scrape the bowl frequently: Stop the mixer occasionally to scrape down the sides and bottom of the bowl with a spatula. This ensures even mixing.
- Use the right mixer attachments: A paddle attachment (stand mixer) or regular beaters (hand mixer) work best for this step. Avoid whisk attachments as they can incorporate too much air.
- Be patient: Whipping the frosting for the full 7-8 minutes helps achieve the desired light and airy texture.
Troubleshooting Common Issues
- Grainy texture: This can occur if the sugar wasn’t fully creamed in the earlier step. Whip the frosting longer or use superfine sugar for future batches.
- Separation: If the mixture appears separated, it could be due to temperature issues. Place the bowl in the fridge for 10-15 minutes, then whip again.
- Too stiff or too soft: Adjust by adding a small amount of milk (for stiffness) or powdered sugar (for softness) to balance the consistency.
By carefully combining these components, you’ll create the silkiest, most luscious frosting perfect for any dessert. For professional mixing techniques, check out how to cream butter and sugar like a pro.
Adding Vanilla and Perfecting the Frosting
The final step in creating $300 frosting is adding the vanilla extract and whipping the mixture to perfection. This step transforms the frosting into the light, fluffy masterpiece that elevates cakes and cupcakes.
Role of Vanilla Extract in Enhancing Flavor
Vanilla extract is the secret ingredient that gives $300 frosting its rich and aromatic flavor. Here’s why it matters:
- It adds depth and warmth to the frosting without overpowering the subtle sweetness.
- The natural sweetness of vanilla balances the creaminess of the butter and milk mixture.
- High-quality vanilla extract can make a noticeable difference in the overall taste of your frosting.
Make sure to use pure vanilla extract for the best results. Imitation vanilla can leave an artificial aftertaste that diminishes the frosting’s quality.
How to Whip the Frosting
Whipping the frosting correctly is crucial for achieving the airy, cloud-like texture that $300 frosting is famous for:
- Add the vanilla extract:
- Once the milk mixture and creamed butter are fully combined, add 1 teaspoon of vanilla extract to the bowl.
- Start whipping:
- Beat the frosting on medium-high speed using a hand mixer or stand mixer.
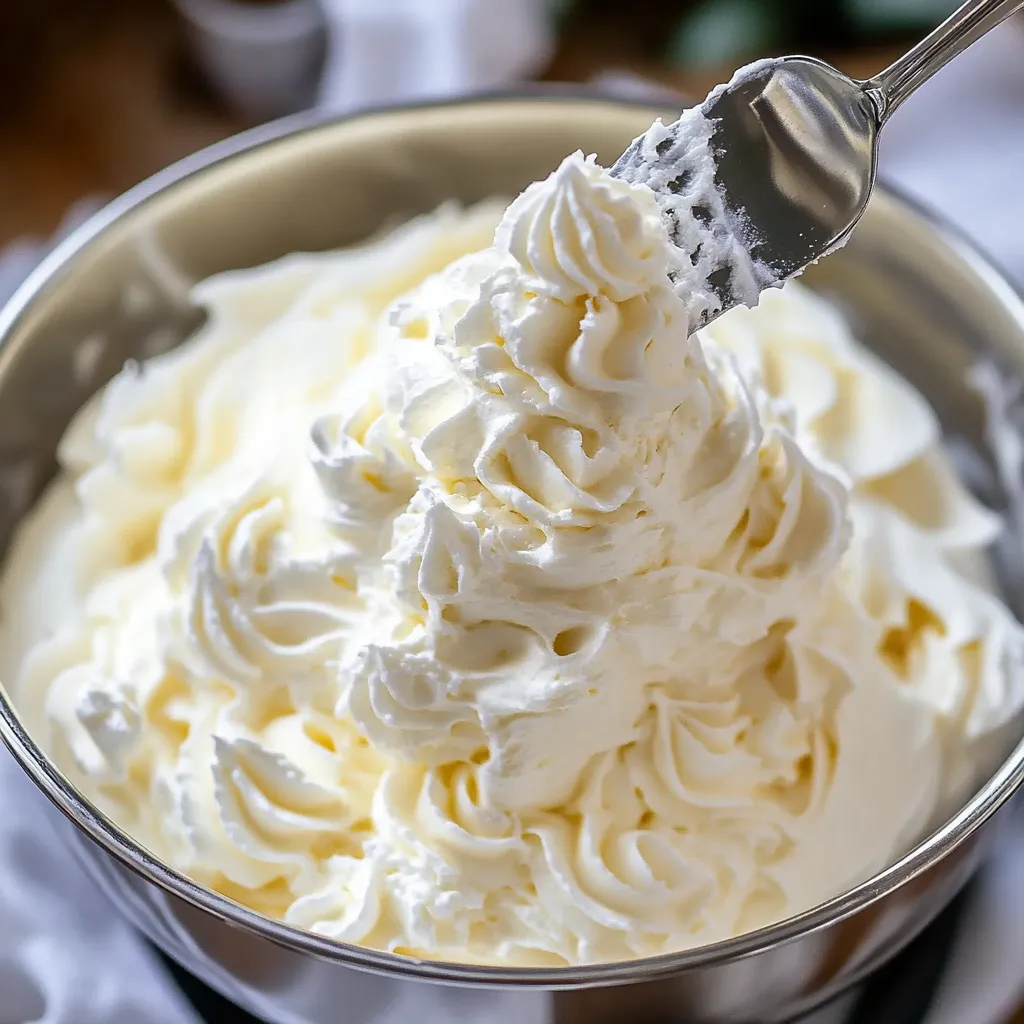
- Continue whipping for 7-8 minutes. During this time, the frosting will become lighter and fluffier.
- Check the consistency:
- Stop the mixer occasionally to scrape down the sides of the bowl for even mixing.
- The frosting should hold soft peaks and feel smooth when spread.
Adjustments for Taste and Consistency
- For a stronger vanilla flavor: Add an additional ½ teaspoon of vanilla extract or a pinch of vanilla bean paste for an extra burst of flavor.
- To fix a frosting that’s too stiff: Add a teaspoon of milk at a time, whipping after each addition, until it reaches the desired consistency.
- To thicken frosting: If the mixture is too soft, add a small amount of powdered sugar and whip to incorporate.
With these final steps, your $300 frosting is ready to use. Spread it over your favorite cakes or cupcakes for a professional-quality finish. For more tips on perfecting frosting techniques, explore the science behind perfect frosting.
Applications and Tips for $300 Frosting
$300 frosting is a versatile and luxurious topping that pairs beautifully with a variety of desserts. Its light, creamy texture and balanced sweetness make it an excellent choice for those looking to elevate their baking. Here’s how to make the most of this frosting.
Best Desserts to Pair with $300 Frosting
- Cakes: This frosting is perfect for classic layer cakes like vanilla, chocolate, or red velvet. Its silky texture spreads easily and complements rich cake flavors without overpowering them.
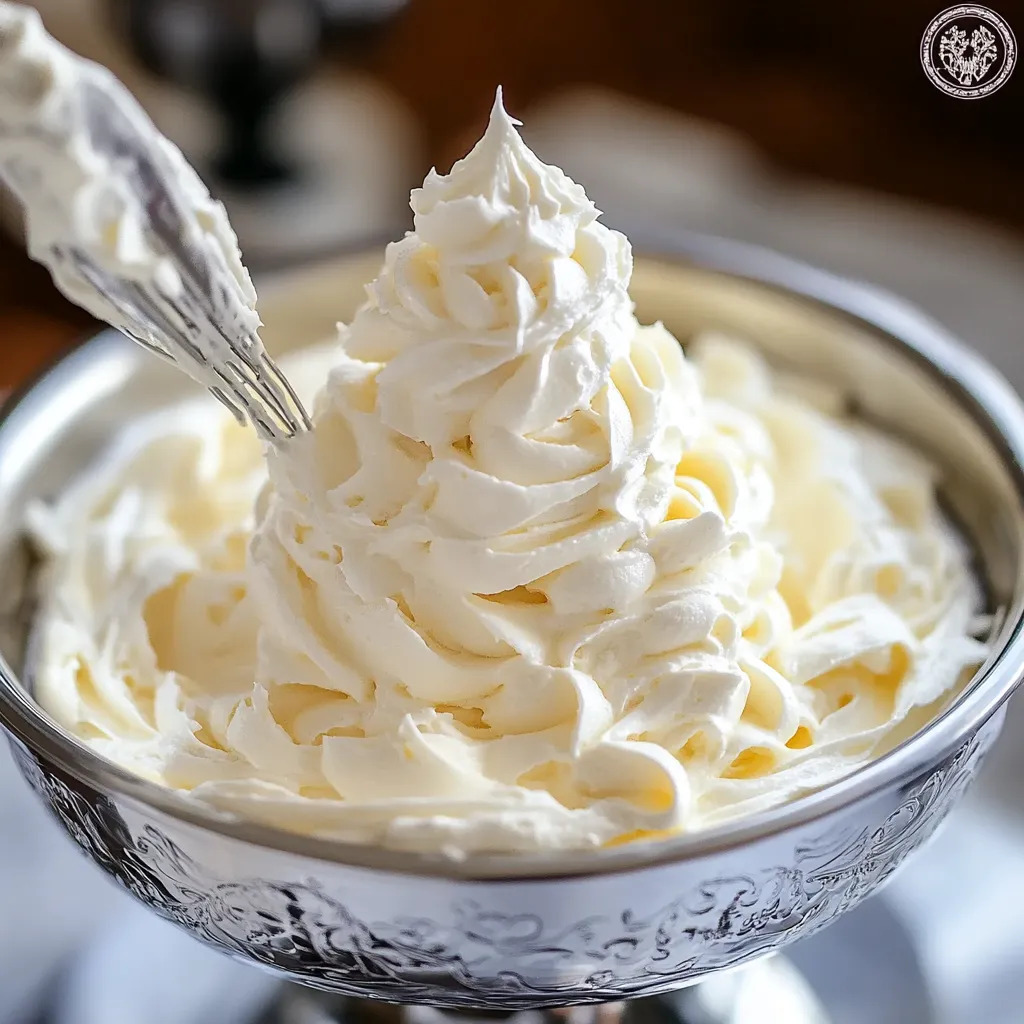
- Cupcakes: Use $300 frosting to top moist cupcakes for an elegant and polished look. Its light consistency pipes beautifully through a piping bag.
- Sheet cakes and snack cakes: Ideal for creating a simple yet stunning finish on sheet cakes, adding a touch of sophistication to casual bakes.
Tips for Frosting Cakes and Cupcakes
- Chill your cake layers: Cold cake layers make frosting easier to spread and help maintain its fluffy consistency.
- Use an offset spatula: This tool ensures a smooth and even application when frosting cakes or cupcakes.
- Pipe with precision: For cupcakes, use a star tip or round tip to create decorative swirls. Whip the frosting for the full 7-8 minutes to ensure it holds its shape.
To refine your frosting techniques, check out how to cream butter and sugar like a pro for professional tips.
Creative Ways to Use This Frosting in Desserts
- Frosting Sandwich Cookies: Use it as a filling for homemade cookie sandwiches. Its smooth texture makes for an irresistible treat.
- Layered Dessert Cups: Layer the frosting with crushed cookies or fresh berries in a glass for a stunning no-bake dessert.
- Filling for Pastries: Spread $300 frosting inside cream puffs or use it as a filling for doughnuts.
With its versatility, $300 frosting will quickly become your go-to choice for desserts. Its silky, professional-quality finish ensures every treat looks as good as it tastes. For more inspiration, explore the science behind perfect frosting.
Storage and Shelf Life of $300 Frosting
Proper storage is essential to maintain the freshness and silky texture of $300 frosting. This frosting’s unique composition means it requires a bit more care than traditional powdered sugar-based frostings, but it’s well worth the effort.
How to Store $300 Frosting
- Refrigeration: Store $300 frosting in an airtight container in the refrigerator. It will keep fresh for up to 5-7 days.
- Freezing: For longer storage, freeze the frosting in a sealed, freezer-safe container for up to 3 months. Thaw it overnight in the refrigerator before using.
Tips for Maintaining Freshness and Texture
- Keep it airtight: Exposure to air can dry out the frosting and alter its texture. Always use an airtight container or cover it tightly with plastic wrap.
- Re-whip before use: After refrigeration or freezing, the frosting may lose its light and fluffy texture. Let it come to room temperature, then re-whip for 2-3 minutes to restore its consistency.
- Avoid prolonged exposure to heat: This frosting is best kept cool due to its butter and milk base, as high temperatures can cause it to separate or melt.
For more detailed tips on frosting storage and care, visit the science behind perfect frosting.
Common Questions About Refrigeration and Re-Whipping
- Can I use the frosting straight from the fridge?
It’s best to let it sit at room temperature for about 30 minutes before applying. Cold frosting is harder to spread and won’t have the desired silky finish. - What if my frosting separates after storage?
Simply re-whip it to bring the ingredients back together. If needed, add a teaspoon of milk to restore smoothness.
With proper storage and care, $300 frosting remains delicious and ready to use for all your baking creations.
Frequently Asked Questions (FAQs)
To help you make the most of your $300 frosting, here are answers to some common questions about this unique and versatile recipe.
1. What Makes $300 Frosting Different from Traditional Frostings?
$300 frosting stands out due to its milk and flour base, which creates a light and silky texture that’s less sweet than traditional powdered sugar frostings. This makes it perfect for those who prefer a more refined and balanced flavor. For more insights, explore the science behind perfect frosting.
2. Can I Substitute Margarine or Cream Cheese for Butter?
Yes, you can substitute margarine or cream cheese for butter, but it will slightly alter the flavor and texture. Cream cheese adds a tangy flavor and a denser texture, making it ideal for pairing with cakes like carrot or red velvet.
3. How Do I Fix a Grainy Frosting Texture?
A grainy texture typically occurs if the sugar hasn’t fully dissolved. To fix this:
- Re-whip the frosting for several minutes to help dissolve the sugar.
- Ensure the butter is fully creamed during preparation to prevent grains.
Check how to cream butter and sugar like a pro for expert tips.
4. Is This Frosting Suitable for Warm Weather?
Since $300 frosting uses a butter base, it’s sensitive to heat and may soften or melt in warm weather. To use it in warmer conditions:
- Chill the frosting before application.
- Store desserts in the fridge until just before serving.
5. Can I Use Alternative Sweeteners Instead of Granulated Sugar?
Granulated sugar works best for achieving the frosting’s smooth consistency, but alternatives like superfine sugar or caster sugar can also be used. Avoid liquid sweeteners, as they may affect the texture and stability.
These tips ensure your $300 frosting turns out perfect every time!
Conclusion
$300 frosting is truly a game-changer in the world of desserts, offering a light, silky texture and balanced sweetness that sets it apart from traditional frostings. Its unique milk and flour base creates a luscious consistency that’s perfect for frosting cakes, cupcakes, and more.
To achieve the perfect $300 frosting, remember these key tips:
- Always let the milk mixture cool completely before combining it with the butter and sugar.
- Whip the frosting for the full 7-8 minutes to achieve its light and fluffy texture.
- Use high-quality vanilla extract to elevate the flavor profile.
Don’t be afraid to experiment! Try adding different flavor extracts or pairing this frosting with a variety of desserts. Whether you’re frosting a simple cupcake or a multi-layered cake, $300 frosting will bring a professional touch to your creations.
This recipe is perfect for both beginners and seasoned bakers looking to try something new. With a little patience and attention to detail, you’ll master this frosting and delight everyone who tastes it. So go ahead—give it a try and make your desserts unforgettable!
PrintThe Ultimate $300 Frosting Recipe
A luxurious, silky frosting with a light and fluffy texture, perfect for cakes, cupcakes, and other desserts.
- Prep Time: 10 minutes
- Cook Time: 5-7 minutes
- Total Time: 15-17 minutes
- Yield: Enough to frost one 9-inch cake or 12-16 cupcakes
- Category: Dessert
- Method: Whipping
- Cuisine: American
- Diet: Vegetarian
Ingredients
– 1 cup whole milk
– 5 tbsp all-purpose flour
– 1 cup unsalted butter, room temperature
– 1 cup granulated sugar
– 1 tsp vanilla extract
Instructions
1. In a saucepan, whisk milk and flour over medium heat until thickened to a pudding-like consistency. Let cool completely.
2. Cream butter and sugar together until light and fluffy.
3. Add the cooled milk mixture gradually and beat until smooth.
4. Mix in vanilla and whip for 7-8 minutes until fluffy.
Notes
– Ensure the milk mixture is completely cool before combining.
– Re-whip after refrigeration for a smoother texture.
– Store in an airtight container in the refrigerator for up to 5 days.
Nutrition
- Calories: 150
- Sugar: 12g
- Sodium: 5mg
- Fat: 10g
- Saturated Fat: 6g
- Carbohydrates: 12g
- Protein: 1g
- Cholesterol: 30mg

