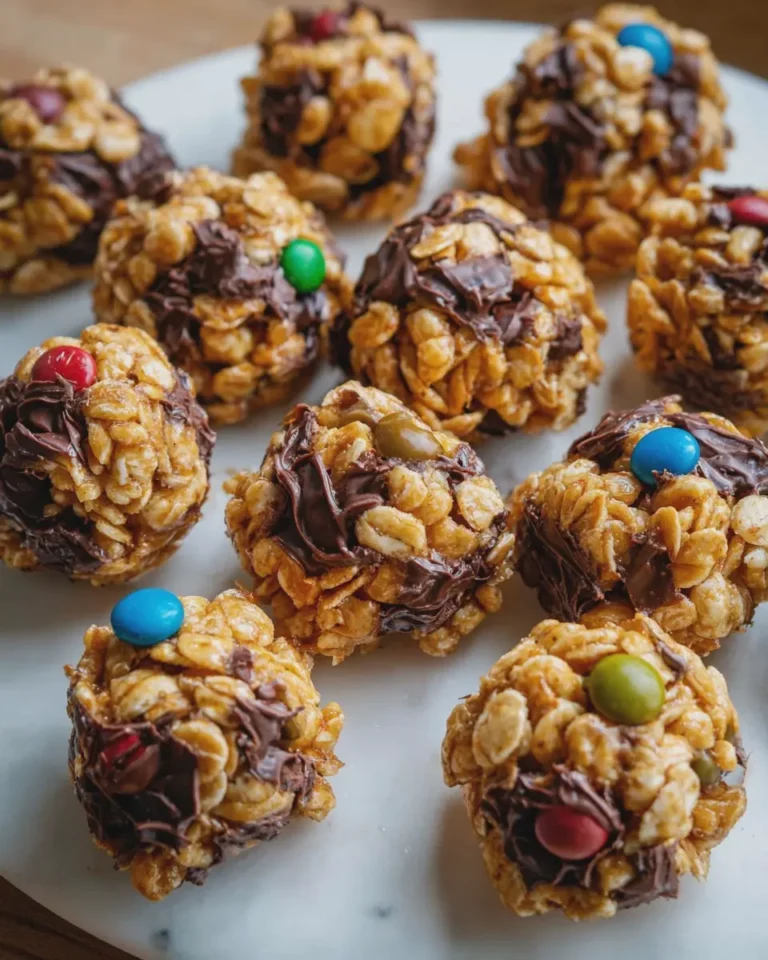
Introduction to No-Bake Cereal Clusters
If you’ve found yourself stuck in a cycle of takeout and microwave meals, you’re not alone. Many young professionals juggle demanding jobs and personal lives that leave little time for elaborate cooking. This is where no-bake recipes come to the rescue, transforming your kitchen into a space of possibility, even on the busiest of days. Imagine whipping up a treat in less time than it takes to order a meal. Sounds dreamy, right? That’s the beauty of no-bake cereal clusters.
Why No-Bake Recipes Are a Game Changer for Young Professionals
With the hustle and bustle of daily life, quick and easy recipes have become essential. No-bake recipes not only save time but also reduce the hassle of preheating ovens and dirtying multiple pans. You can simply mix your ingredients, let them set, and voilà—snacks ready to go!
Here are some compelling reasons why no-bake cereal clusters are perfect for you:
-
Minimal Prep Time: Whipping up a batch takes mere minutes compared to traditional baking. You can stir up your cereal clusters while catching up on your favorite podcast or show.
-
No Complicated Ingredients: Most no-bake recipes require just a handful of common staples. Think cereal, nut butter, and a sweetener — simple, right?
-
Healthy Customization: You can tailor these clusters to fit your dietary preferences. Want them gluten-free? Swap in a gluten-free cereal. Need a nut-free option? Use sunflower seed butter. The options are endless!
-
Great for Meal Prep: Make a big batch on the weekend, and you have a handy snack for those busy weekdays. Simply grab a cluster on your way out the door!
Research has shown that having healthy snacks on hand can significantly reduce impulse eating and junk food consumption (Healthy Eating Research). By preparing homemade no-bake cereal clusters, you’re nurturing not only your body but also your wallet!
So why not give these delicious and easy clusters a try? Your future self will thank you.
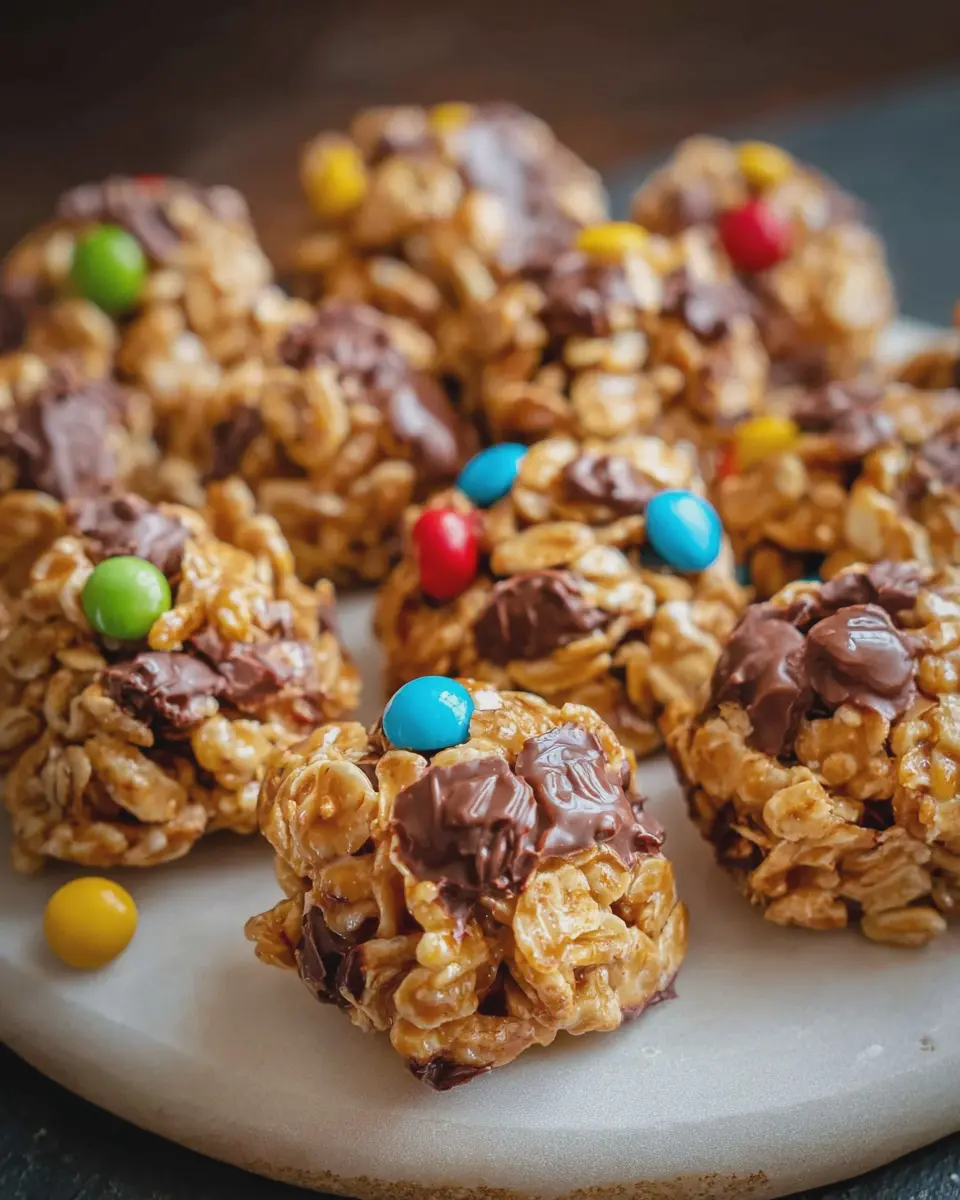
Essential Ingredients You’ll Need for Delicious Clusters
When it comes to crafting homemade no-bake cereal clusters, having the right ingredients is essential. These delightful bites are not just a treat; they’re a convenient snack for your busy lifestyle. So, let’s gather what you need!
-
Cereal of Your Choice: Opt for your favorite brand, whether it’s a classic cornflake or a crunchy granola. Aim for about 3 cups to give your clusters that perfect crunch.
-
Nut Butter: Go with creamy peanut butter, almond butter, or sunflower seed butter if you’re looking for a nut-free option. About half a cup will bind your ingredients beautifully.
-
Sweetener: Use honey or maple syrup to add natural sweetness. Just a quarter cup is all it takes to elevate the flavors.
-
Add-Ins: Think raisins, chocolate chips, or nuts. Choose about a cup of your preferred mix-ins to personalize your clusters.
-
Flavorings: A sprinkle of cinnamon or a dash of vanilla extract can make all the difference.
Now, all you need is a mixing bowl and a bit of time to create these tasty no-bake cereal clusters. For some additional tips on healthy snacking, check out resources from the USDA or American Heart Association.
Step-by-Step Preparation for No-Bake Cereal Clusters
Making no-bake cereal clusters can be a fun and straightforward way to whip up a tasty snack without spending all day in the kitchen. Let’s dive into the steps you need to take to create these delightful treats that are perfect for any occasion!
Gather Your Equipment and Ingredients
Before we get cooking, let’s make sure we have everything you’ll need right at your fingertips. Here’s a handy checklist for your no-bake cereal clusters:
Equipment:
- Mixing bowl
- Microwave-safe bowl
- Spoon or spatula
- Parchment paper or silicone mat
- Baking sheet
Ingredients:
- 1 cup almond bark (or white chocolate chips)
- 1/2 cup peanut butter (creamy or crunchy, your choice)
- 3 cups of your favorite cereal (like Rice Krispies, Cheerios, or any other type you love)
- 1/2 cup M&Ms (or any chocolate candy of your choice)
- Sprinkles (for that added fun factor!)
By gathering all your equipment and ingredients beforehand, you’ll streamline the process and avoid any last-minute runs to the store. Plus, who doesn’t love having everything ready to go?
Melt the Almond Bark and Peanut Butter
Now, let’s get to the fun part! Start by melting the almond bark and peanut butter together.
- Break the almond bark into smaller pieces and place them in a microwave-safe bowl.
- Add the peanut butter for that rich flavor. Microwave in 30-second increments, stirring in between until everything is nice and smooth.
Tip: Be careful not to overheat. If you see some melting but it’s not fully liquefied, take it out and stir! The residual heat will help continue melting the mixture.
Combine the Cereal and Mixture
Once your almond bark and peanut butter blend is smooth, it’s time to mix it with your cereal.
- Pour your favorite cereal into a large mixing bowl.
- Add the melted almond bark and peanut butter mixture over the cereal.
- Gently fold the cereal and mixture together with a spatula until all the cereal pieces are coated.
Make sure everything is evenly distributed; this ensures every cluster has that tasty combination of flavors.
Add M&Ms and Sprinkles
The fun doesn’t stop there! You can customize your no-bake cereal clusters just the way you like.
- Gently fold in 1/2 cup of M&Ms into the mixture.
- For that creative pop, sprinkle in some sprinkles as well. This adds a delightful crunch and makes your snack visually appealing.
Feel free to experiment with the mix-ins. Dried fruits, nuts, or even mini marshmallows can work beautifully here. The goal is to make them your own! You can check out more ideas on popular recipe blogs for inspiration.
Form and Chill the Clusters
Now that you have your tasty mixture ready, let’s shape those clusters!
- Line a baking sheet with parchment paper or a silicone mat.
- Using a spoon, scoop out small amounts of the mixture and form them into clusters on the sheet.
- Chill the baking sheet in the refrigerator for about 30 to 60 minutes, or until the clusters firm up.
Don’t rush this step; letting them chill properly allows the clusters to hold their shape and be easy to grab later.
Once your no-bake cereal clusters are ready, store them in an airtight container at room temperature for a quick grab-and-go snack. They’re not only delicious but also an excellent option for busy young professionals like you! Enjoy these delightful treats while on a break, or share them at your next gathering. Happy snacking!
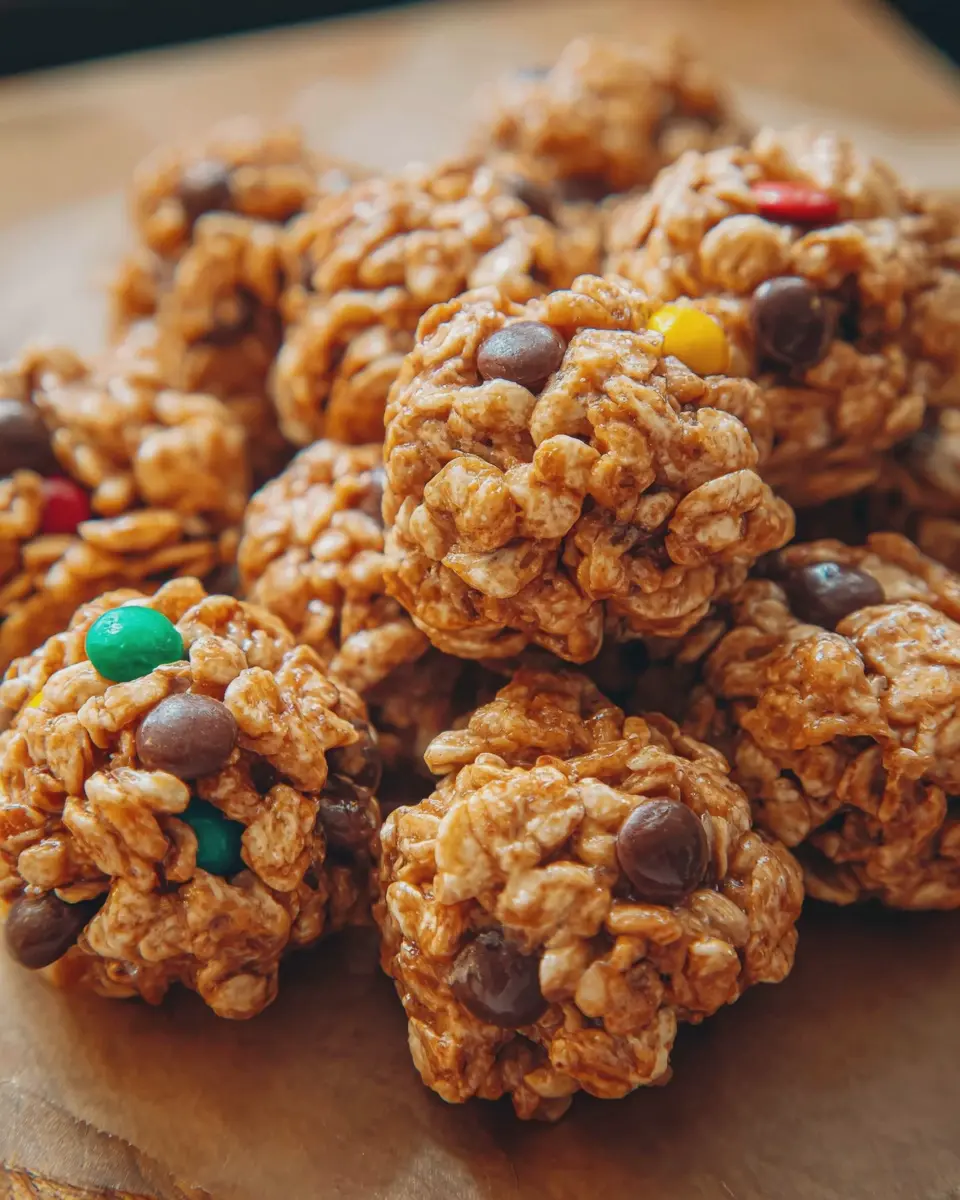
Variations on No-Bake Cereal Clusters
No-bake cereal clusters are not only quick and easy to make, but they’re also a blank canvas for creativity in the kitchen! Here are a few variations to keep your taste buds excited.
Chocolate Lovers’ Version: Adding Cocoa Powder
If you’re a chocolate fanatic, this version is for you! Simply stir in a few tablespoons of unsweetened cocoa powder into your no-bake cereal clusters mixture. This adds a rich chocolate flavor without any hassle. You can even melt some dark chocolate and drizzle it over your clusters for an extra indulgence. Don’t forget to check out brands like Ghirardelli for high-quality cocoa options that really elevate your recipes.
Nut-Free Option: Substituting with Sunflower Butter
For those with nut allergies or if you’re just looking for a different flavor profile, sunflower butter is a fantastic alternative to traditional nut butters. It gives your no-bake cereal clusters a delightful, nutty taste without compromising texture. Pair it with a touch of honey or maple syrup for sweetness that perfectly complements the sunflower butter. Plus, you can learn more about the benefits of sunflower seeds on sites like Healthline, which can inspire you to get creative.
Healthy Spin: Using Whole Grain Cereal
Elevating the health factor of your no-bake cereal clusters is as simple as opting for whole grain cereal. Whole grain options, like bran flakes or whole grain oats, not only add fiber but also contribute more nutritional benefits. This small switch can significantly enhance the health profile of your snacks. According to a review from the Whole Grains Council, adding whole grains to your diet can reduce the risk of chronic diseases.
With these variations, you can enjoy a delightful blend of flavors while keeping snack time fun and exciting! What’s your favorite twist on no-bake cereal clusters? Let us know in the comments!
Cooking Tips and Notes for No-Bake Cereal Clusters
Pro Tips for the Perfect Cluster Formation
To achieve those irresistibly chewy and crunchy no-bake cereal clusters, there are a few tricks to keep in mind. First, ensure your mixture is well-combined—the sticky sweetener (think honey or maple syrup) should coat every flake or piece. A great way to achieve this is by using a spatula to fold ingredients gently but thoroughly.
If you want the clusters to hold together better, consider incorporating a touch of nut butter; it not only adds flavor but also enhances binding. Want to elevate the taste? Try mixing in some spices or a pinch of sea salt for that sweet-and-savory balance!
How to Store Your Clusters for Freshness
Once your no-bake cereal clusters are formed and set, it’s important to store them properly. Place them in an airtight container at room temperature for up to a week. For longer freshness, consider refrigerating them. If you’re looking to make a big batch, they can also freeze well—just make sure to layer parchment paper between clusters to prevent sticking.
These tips will help you create delicious treats that stay fresh for those late-night snack cravings or lunchbox surprises. For more insights on no-bake snacks, check out this article by Epicurious!
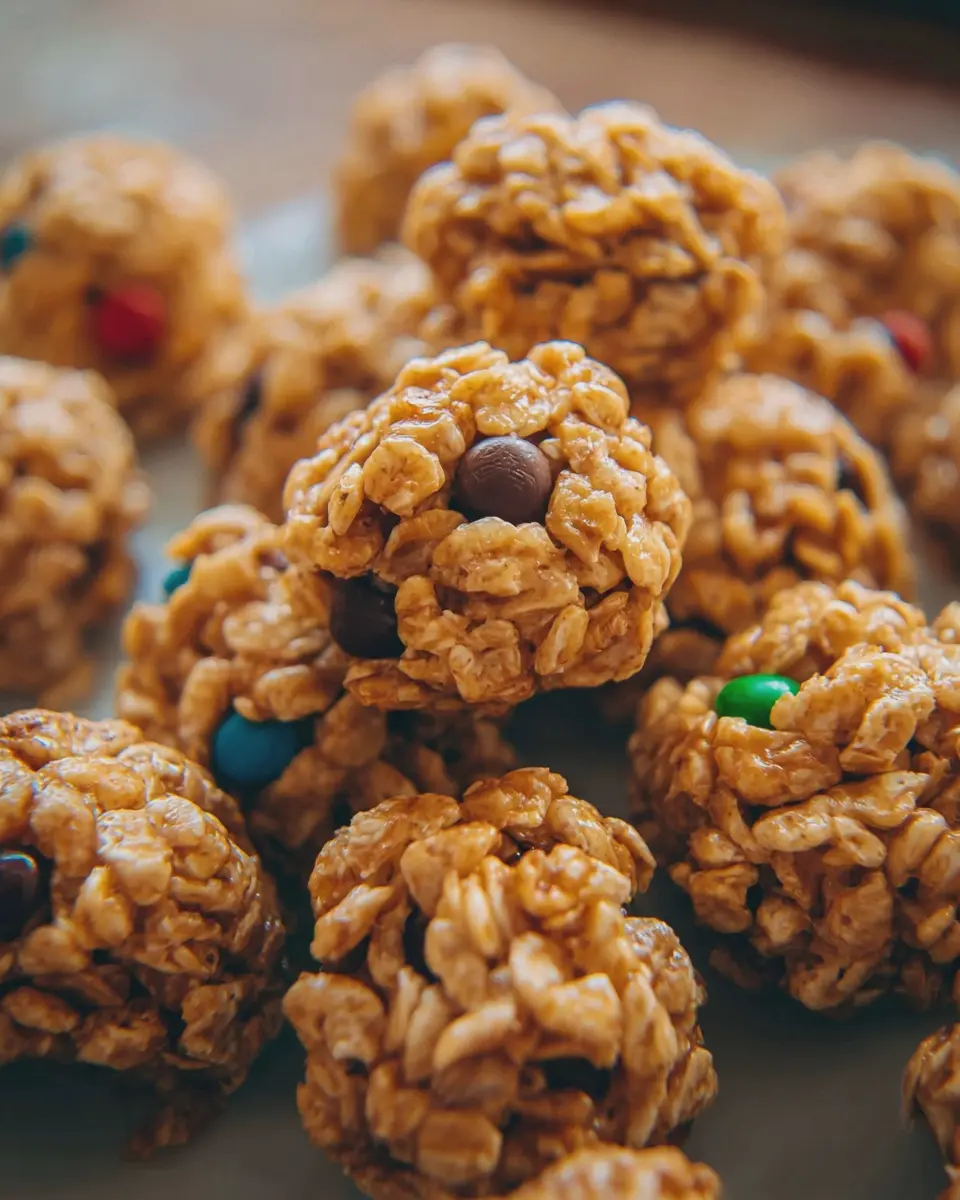
Serving Suggestions for No-Bake Cereal Clusters
Perfect Pairings: Snacks and Treats
When it comes to enjoying no-bake cereal clusters, think outside the box! These delightful bites pair wonderfully with a variety of snacks. Try them alongside:
- Yogurt: Drizzle some honey on yogurt and sprinkle no-bake cereal clusters for a crunchy twist.
- Fruit: Combine with fresh fruits like strawberries or bananas for a refreshing snack.
- Dips: Serve with peanut butter or chocolate dip for a fun treat during movie nights.
Looking for more ideas? Websites like Taste of Home offer endless inspiration for complementary flavors!
How to Serve at Gatherings or as Gifts
Planning an event? No-bake cereal clusters make the perfect crowd-pleaser. Set them out in decorative bowls for a casual gathering or package them into cute jars as thoughtful gifts. They are versatile enough to suit any occasion! You could even tie a ribbon around the jar, adding a personal touch.
For an elegant touch at brunch, pair them with herbal teas or refreshing fruit-infused waters. Your guests will appreciate the effort, and they’ll rave about the flavors! Plus, you can highlight all the health benefits these clusters bring, making them a guilt-free indulgence.
Time Breakdown for No-Bake Cereal Clusters
When you’re craving a quick and satisfying snack, no-bake cereal clusters come to your rescue! Here’s a handy time breakdown to help you plan your snack-making session effortlessly.
Preparation Time
Making no-bake cereal clusters is a breeze! You’ll need about 10 to 15 minutes for preparation. Gather your ingredients: your choice of cereal, nut butter, and any add-ins like dried fruit or chocolate chips. It’s all about mixing and merging flavors!
Setting Time
After shaping your clusters, the setting time is crucial. Allow them to chill in the refrigerator for 30 to 60 minutes. This will ensure they firm up nicely for that perfect crunch.
Total Time
All in all, you’re looking at a total of 40 to 75 minutes to whip up these delightful treats. The best part? Most of that time is hands-off, allowing you to tackle other tasks or enjoy a bit of leisure.
Now that you know how simple it is, why not give these no-bake cereal clusters a try? Perfect for a busy lifestyle, they fit right into your day. For more ideas on quick snacks, check out The Kitchn’s guide to easy recipes.
Nutritional Facts for No-Bake Cereal Clusters
Calories per Cluster
Each delightful no-bake cereal cluster typically contains about 100 calories. This makes them a fantastic guilt-free treat or a quick snack when energy levels dip during your busy day. It’s a perfect option for anyone looking to satisfy a sweet tooth without going overboard.
Protein Content
You can expect around 3 grams of protein per cluster, depending on the specific ingredients you choose. To boost this, consider incorporating some nut butter or protein-enriched cereals. A protein-packed snack can help keep you full and energized throughout the day!
Key Nutrients
These no-bake treats are not just tasty; they also deliver essential nutrients, including:
- Fiber: Up to 2 grams, aiding digestion and promoting a feeling of fullness.
- Healthy Fats: If you add nuts or seeds, you’ll benefit from omega-3 and omega-6 fats, which are great for heart health.
- Vitamins and Minerals: Ingredients like oats and nuts provide B vitamins, magnesium, and iron.
For a deeper dive into the nutritional benefits of oats, check out Whole Grains Council. Balancing your diet with nutrient-dense options like these no-bake cereal clusters can play a vital role in your overall well-being. Enjoy!
FAQs about No-Bake Cereal Clusters
Can I use different types of cereal for these clusters?
Absolutely! One of the best things about no-bake cereal clusters is their versatility. You can use virtually any type of cereal you love—Cheerios, Rice Krispies, or even granola. Mix and match to create your desired texture and flavor. If you’re feeling adventurous, try adding ingredients like puffed rice for extra crunch or chocolate cereal for a sweet twist. The world is your oyster!
What’s the best way to store leftover clusters?
To keep your no-bake cereal clusters fresh, store them in an airtight container at room temperature. Make sure they’re completely cooled before sealing them up, as trapped heat can lead to sogginess. For extra protection against humidity, consider using a resealable plastic bag within the container.
How long do the clusters typically last?
When stored properly, no-bake cereal clusters can last about a week. But let’s be honest—once you try them, they may not stick around that long! If you want to extend their shelf life, consider freezing them. Just be sure to separate layers with parchment paper to prevent sticking.
For detailed recipes and tips on variations, check out the sources like Food Network or BBC Good Food for inspiration. Enjoy your culinary adventure!
Conclusion on No-Bake Cereal Clusters
Embracing Homemade Snacks for a Healthier Lifestyle
Creating your own no-bake cereal clusters is not just about indulging in a tasty treat; it’s a step towards a healthier lifestyle. When you make snacks at home, you control the quality and quantity of ingredients, reducing added sugars and unhealthy fats commonly found in store-bought versions. Plus, these delightful clusters are incredibly versatile! You can swap in your favorite cereals, add-ins like dried fruits or nuts, and sweeteners to suit your taste preferences.
So next time cravings strike, avoid the processed aisles and whip up a batch of these simple treats. You’ll satisfy your sweet tooth while nourishing your body, making it a perfect choice for busy young professionals. To explore more benefits of homemade snacks, check out resources from Harvard Health and Nutrition.gov. Happy snacking!
PrintNo-Bake Cereal Clusters: Easy Treats for Any Time Craving

No-Bake Cereal Clusters are a quick and delightful treat perfect for satisfying those little cravings any time of the day.
- Prep Time: 10 minutes
- Cook Time: 0 minutes
- Total Time: 40 minutes
- Yield: 12 servings 1x
- Category: snacks
- Method: no-bake
- Cuisine: American
- Diet: vegetarian
Ingredients
- 3 cups cereal of your choice
- 1 cup peanut butter
- 1/2 cup honey
- 1/2 cup chocolate chips
Instructions
- In a large mixing bowl, combine the cereal and chocolate chips.
- In a saucepan over low heat, melt the peanut butter and honey together, stirring until smooth.
- Pour the melted mixture over the cereal and chocolate chips, stirring to combine.
- Using a cookie scoop, place clusters onto a baking sheet lined with parchment paper.
- Refrigerate for at least 30 minutes to set.
Notes
- Feel free to add nuts or dried fruit for extra flavor and texture.
Nutrition
- Serving Size: 1 cluster
- Calories: 150
- Sugar: 10g
- Sodium: 50mg
- Fat: 7g
- Saturated Fat: 1g
- Unsaturated Fat: 5g
- Trans Fat: 0g
- Carbohydrates: 18g
- Fiber: 2g
- Protein: 4g
- Cholesterol: 0mg
Keywords: No-Bake Cereal Clusters, easy treats, snacks