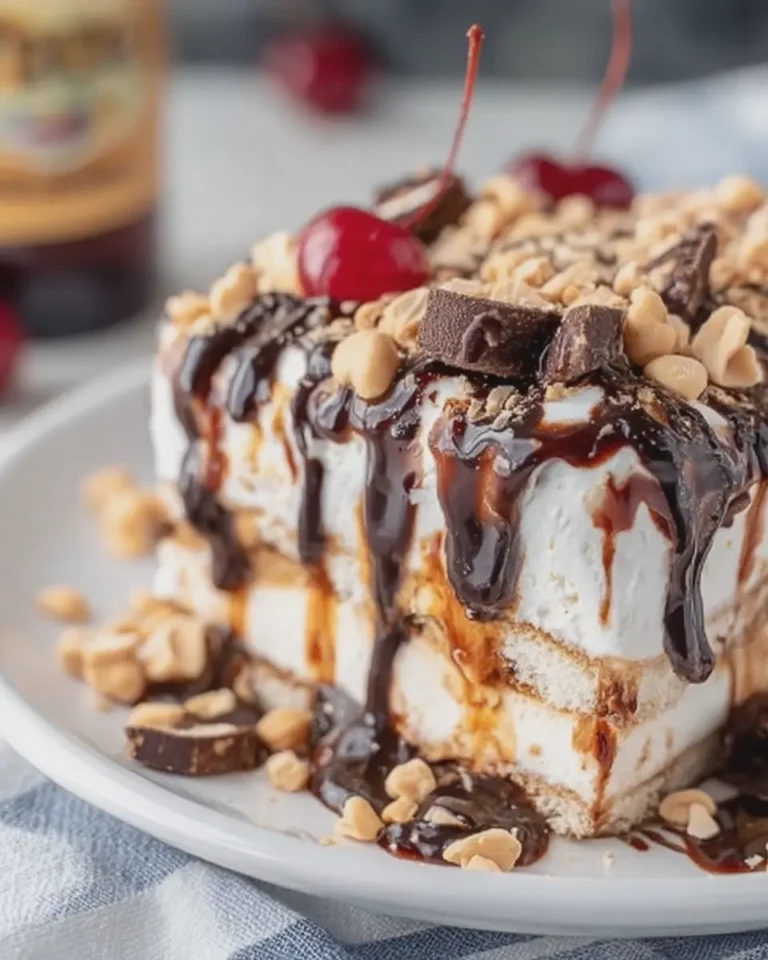
Introduction to Mom’s Ice Cream Dessert
When life gets busy, it’s often the little things that bring a smile. One such delight is Mom’s Ice Cream Dessert, a sweet concoction that seamlessly blends flavors and satisfies your cravings. This delightful treat is not just a dessert; it’s an experience that transports you back to lazy summer days when the simplest pleasures were all that mattered.
The Perfect Blend of Comfort and Indulgence
For young professionals juggling work, social life, and personal commitments, Mom’s Ice Cream Dessert is a go-to treat that’s effortlessly satisfying. It’s easy to whip up, allowing you to indulge without spending hours in the kitchen. Imagine coming home after a long day, and there it is—your homemade dessert waiting for you in the freezer, ready to be enjoyed. You deserve that little moment of joy!
Why Young Professionals Should Embrace This Dessert
Here are some reasons why Mom’s Ice Cream Dessert is ideal for your busy lifestyle:
- Quick and Easy Preparation: This dessert comes together in a flash. With just a few simple ingredients, you can create something that feels indulgent but is incredibly easy to manage.
- Versatile and Customizable: Want to cater to your taste buds? Feel free to swap in your favorite flavors or toppings! Add some fresh fruits or crunchy nuts to make it your own.
- Perfect for Gatherings: Planning a last-minute get-together? Mom’s Ice Cream Dessert is an impressive yet effortless way to wow your friends without stress. Just make sure to have some spoons handy!
In a world where meal prep can seem daunting, indulging in sweet treats is a wonderful way to reward yourself. Plus, studies show that enjoying dessert can improve your mood and reduce stress (source: Harvard Health). So why not treat yourself?
Whether you’re unwinding after a long week or celebrating with friends, Mom’s Ice Cream Dessert is sure to add a sprinkle of joy to your day. Get ready to scoop up some happiness!
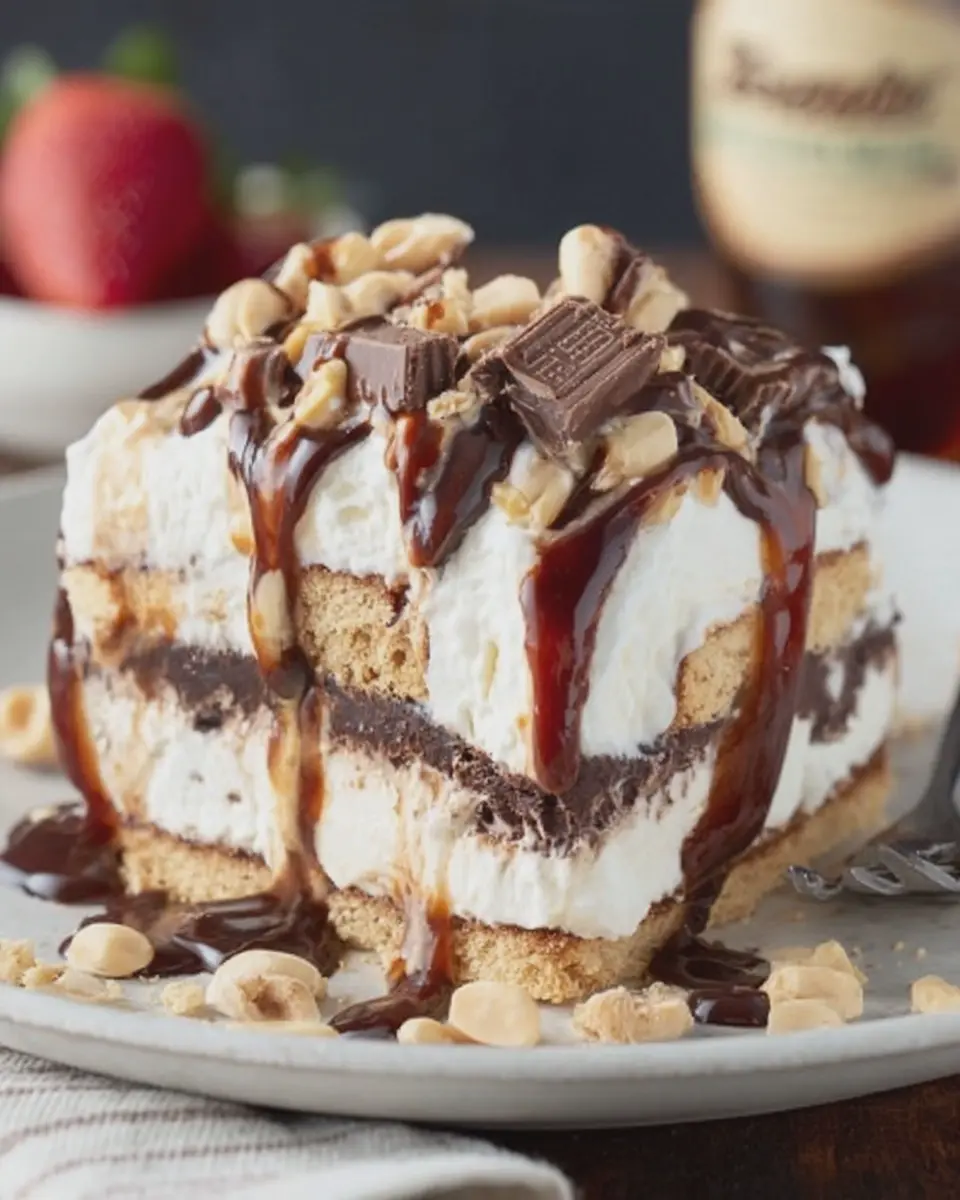
Ingredients for Mom’s Ice Cream Dessert
Creating Mom’s Ice Cream Dessert is all about gathering the right ingredients that bring back memories of family gatherings and sweet summer days. This delightful treat requires a simple yet effective list of components, easy enough to find at your local grocery store. Here’s what you’ll need:
- Ice Cream: Choose your favorite flavors. Classic vanilla is versatile, but chocolate or strawberry also pair well!
- Cookies: About 2 cups of crushed cookies—think Oreos or chocolate chip for added texture.
- Toppings: A mix of your favorite toppings such as sprinkles, chocolate syrup, and whipped cream—these add a splash of color and fun!
- Nuts: Optional, but chopped walnuts or almonds provide a delightful crunch.
- Fruits: Fresh berries or sliced bananas can brighten up your dessert while adding a nutritional boost.
Feel free to mix and match based on what you love! Not only does this dessert savor the summer vibes, but it’s also adaptable for gatherings of all sizes. For some inspiration on more variations in ice cream desserts, check out resources like Food Network for creative ideas.
Now that you have your ingredients ready, let’s dive into the fun part—assembling Mom’s Ice Cream Dessert!
Step-by-step Preparation of Mom’s Ice Cream Dessert
Mom’s Ice Cream Dessert is a nostalgic treat that brings back sweet memories of family gatherings and hot summer days. What makes this dessert so special? It’s the combination of rich chocolate sauce, a crunchy cookie base, and ice cream that melts in your mouth. Whether you’re looking for a show-stopping dessert for a party or just want to treat yourself after a long week, this recipe is a winner. Here’s how to make it, step by step.
Prepare the Chocolate Sauce
The heart of Mom’s Ice Cream Dessert lies in its delicious chocolate sauce. Trust me, this simple sauce will elevate the dish to the next level!
- Ingredients:
- 1 cup of semi-sweet chocolate chips
- 1/2 cup of heavy cream or alternative like evaporated milk
-
Melt the Chocolate: In a small saucepan over low heat, combine the chocolate chips and heavy cream. Stir continuously until the chocolate is completely melted and the mixture is smooth.
-
Simmer Gently: Once melted, let the mixture simmer for a minute to ensure it thickens and coats the back of a spoon perfectly. This should take about 5-7 minutes total.
-
Cool It Down: Remove the saucepan from the heat and let the chocolate sauce cool for a bit. This step is essential; if you pour it hot over the ice cream later, it can melt it too quickly.
Create the Cookie Base
Now that the chocolate is cooling, it’s time to whip up the cookie crust. Think of it as a foundation for the entire dessert!
- Ingredients:
- 2 cups of crushed chocolate cookies (like Oreos)
- 1/2 cup of melted butter
-
Mix and Mingle: In a medium bowl, combine the crushed cookies and melted butter. The mixture should resemble wet sand. It’s a bit messy, but that’s what makes baking fun!
-
Press It Down: Transfer the cookie mixture into a greased 9×9-inch baking pan. Press it down firmly with the back of a measuring cup or your hands to create an even layer.
-
Bake It: Preheat your oven to 350°F (175°C) and bake the cookie base for about 8-10 minutes until it’s set. Allow it to cool completely.
Assemble the Ice Cream Layer
With the cookie base ready, it’s time for the main star: the ice cream!
- Ingredients:
- 1 1/2 quarts of your favorite ice cream (chocolate, vanilla, or even a mix)
-
Scoop It Out: Allow the ice cream to soften at room temperature for about 10-15 minutes. This makes it easier to spread.
-
Layer It Up: Once softened, scoop the ice cream onto the cooled cookie base. Use a spatula to spread it evenly across the base, making sure to create a nice smooth layer.
Add the Chocolate Sauce Layer
Now that the ice cream is settled, it’s time to add that luscious chocolate layer we prepared earlier.
-
Pour the Sauce: Drizzle the slightly cooled chocolate sauce generously over the ice cream. Don’t be shy! The more the merrier.
-
Swirl It In: For an artistic touch, you can use a knife or spatula to swirl the chocolate sauce into the ice cream slightly.
Top It Off and Freeze
Almost there—just a few more steps before you can indulge in this delightful dessert!
- Ingredients:
- Whipped cream (optional)
- Chocolate shavings, crushed nuts, or sprinkles for garnish
-
Final Touches: If you choose, spread a layer of whipped cream over the chocolate sauce. Then sprinkle your desired toppings.
-
Time to Chill: Cover the entire pan with plastic wrap and place it in the freezer. Let it freeze for at least 4 hours (or overnight if you can wait that long).
When it’s time to serve, slice into squares and watch everyone’s eyes light up. Mom’s Ice Cream Dessert is sure to impress! If you have any extra chocolate sauce left, feel free to drizzle more over each serving. Enjoy every creamy, crunchy bite!
For more tips on creating delicious desserts, you can check out reputable sources like Bon Appétit or New York Times Cooking. Happy cooking!
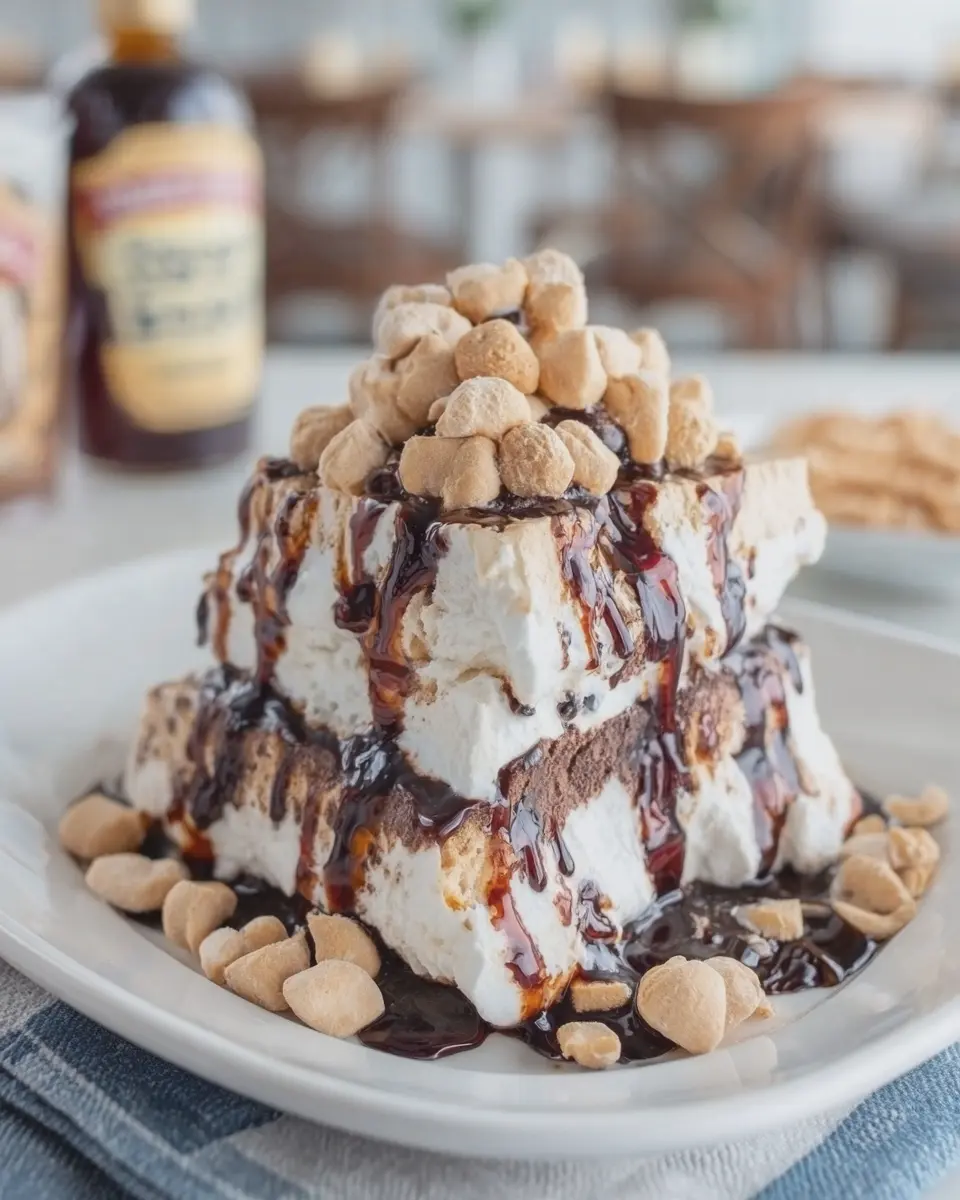
Variations on Mom’s Ice Cream Dessert
Who could resist the charm of Mom’s Ice Cream Dessert? It’s not just a treat; it’s a nostalgic journey back to carefree summers. While you may cherish the classic version, why not switch things up and explore some delightful variations? Here’s how you can create exciting new flavors that will impress your friends and satisfy your cravings.
Vanilla Ice Cream with Caramel Sauce
This variation is a classic, simple yet oh-so-elegant! Start with rich, creamy vanilla ice cream, and drizzle a generous amount of homemade or store-bought caramel sauce on top. For added texture, consider sprinkling a few chopped peanuts or sea salt flakes to elevate this dessert to new heights. Don’t forget to serve it in a chilled bowl to keep everything fresh and creamy.
If you’re feeling adventurous, you could even try making your own caramel sauce. It’s surprisingly easy! Just combine sugar, butter, and cream, and you’ll have a decadent topping that’ll make your dessert unforgettable. For further inspiration, check out this caramel sauce recipe from Serious Eats.
Mixed Berry Ice Cream with Granola Topping
For a fruitier twist, try using mixed berry ice cream. Blend fresh or frozen berries—strawberries, blueberries, and raspberries—into creamy ice cream for a refreshing yet indulgent treat. Top this vibrant mix with a sprinkle of crunchy granola for texture. Not only does this add a satisfying crunch, but it also provides a dose of healthy grains.
This variation is perfect for warm afternoons when you crave something light yet fulfilling. Plus, the bright colors of the berries will surely make your Mom’s Ice Cream Dessert stand out at any gathering! You can also check out resources from nutrition experts to see the benefits of incorporating fruits into your sweets.
Exploring these variations not only keeps things exciting but also offers a chance to get creative in the kitchen while enjoying a beloved classic!
Cooking Tips and Notes for Mom’s Ice Cream Dessert
Creating Mom’s Ice Cream Dessert is a nostalgic experience that will have everyone dreaming of sunny afternoons. Here are some friendly tips to make your dessert turn out perfectly every time.
Be Creative with Flavors
Feel free to experiment with different ice cream flavors. Vanilla is classic, but don’t shy away from mango or pistachio for a twist! You could even mix in some homemade sauces or fresh fruits — think berry compote or caramel sauce for added depth.
Think About the Textures
Layering is key to making Mom’s Ice Cream Dessert visually stunning and tasty. Consider incorporating crispy elements like crushed nuts or granola for that satisfying crunch.
Temperature Matters
Ensure your ice cream is slightly softened before assembly. This helps in spreading and layering without making a mess. If it’s too hard, let it sit at room temperature for just a few minutes—this will make all the difference!
For more inspiring ideas, check out this guide on layering desserts effectively. Your family will thank you! And remember, cooking is all about joy and creativity—enjoy the process!
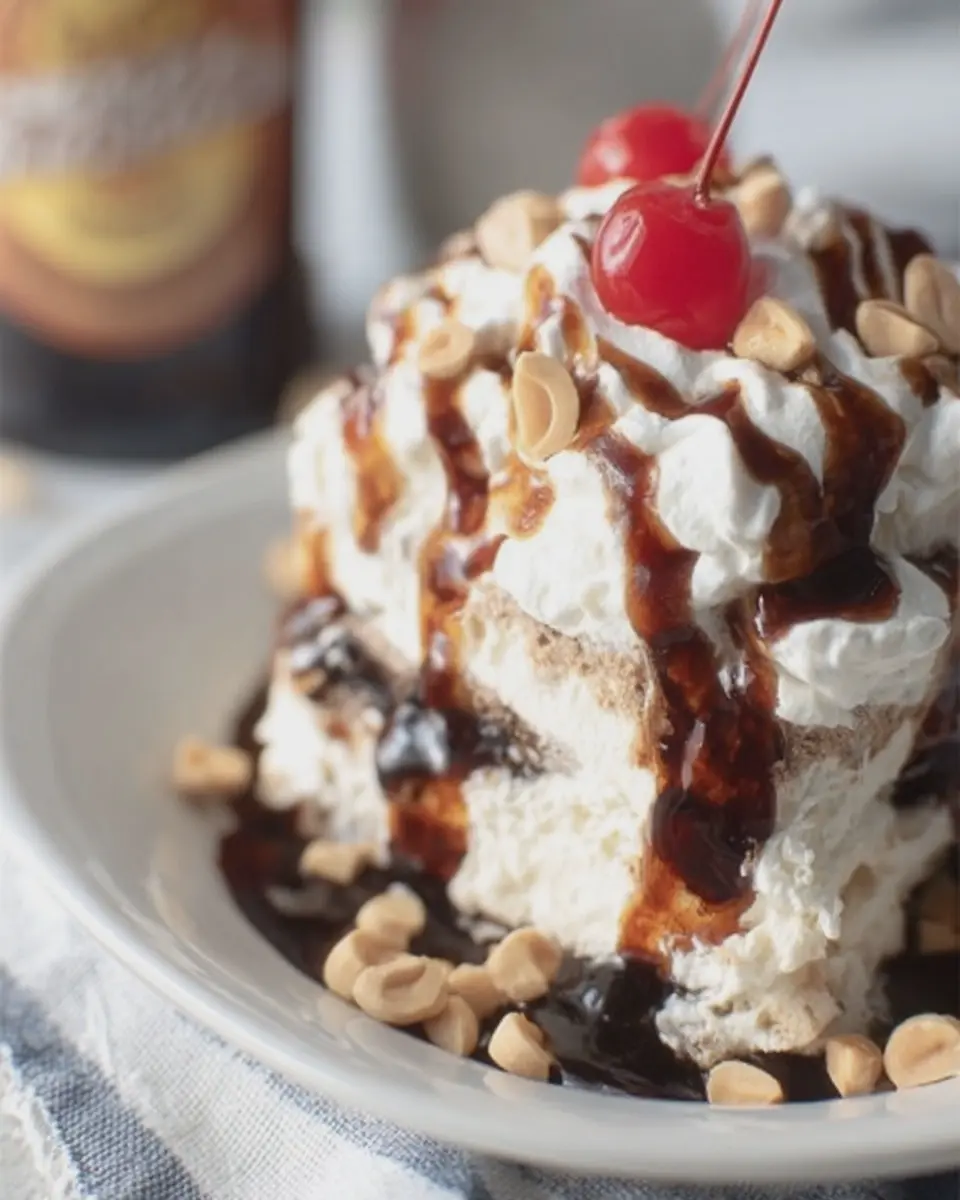
Serving Suggestions for Mom’s Ice Cream Dessert
Enjoying Mom’s Ice Cream Dessert isn’t just about the delicious treat itself; it’s about the experience! Here are some delightful serving suggestions to elevate your dessert game.
Presenting the Dessert
- Use Attractive Bowls: Choose colorful or vintage bowls to make your dessert pop. A visually appealing presentation can heighten the anticipation of that first scoop!
- Layer It Up: Consider layering the ice cream with fresh fruit, chocolate sauce, or sprinkles. This not only enhances flavor but also makes each bite a little surprise.
Pair It with Complementary Sides
- Crunchy Toppings: Think toasted nuts or crushed Turkey Bacon for a unique twist. The added texture can really bring your dessert to life.
- Soft and Sweet: Serve with a small portion of soft cookies or even brownies on the side. They create a delightful combination, making every bite memorable.
Drinks to Serve Alongside
Instead of traditional beverages, try pairing your dessert with refreshing herbal teas or flavored sparkling water. These options cleanse the palate wonderfully without overpowering the sweetness of Mom’s Ice Cream Dessert.
Hosting a gathering? Consider these suggestions to give your guests an unforgettable experience with a nostalgic touch from your childhood! For more ideas on enhancing your desserts, check out Food Network for tips and tricks.
Time Breakdown for Mom’s Ice Cream Dessert
Preparation Time
Getting everything ready for Mom’s Ice Cream Dessert is a breeze! You’ll need about 15 minutes to gather your ingredients, whip up the base, and layer it all together. This quick prep sets the stage for a delightful treat.
Cooking Time
Although the term “cooking” might not fully apply here, you’ll want to let your masterpiece chill. Toss it in the freezer for about 2 hours, ensuring it’s perfectly set before serving.
Total Time
In just 2 hours and 15 minutes, you can have a delectable Mom’s Ice Cream Dessert ready to impress family or friends! Isn’t it great how a bit of waiting leads to a delicious payoff? For a seamless experience, check out this helpful guide to ice cream desserts for tips and tricks.
Nutritional Facts for Mom’s Ice Cream Dessert
When it comes to treating yourself with Mom’s Ice Cream Dessert, understanding the nutritional facts can help you enjoy every scoop guilt-free. Here’s a breakdown of what you can expect from this indulgent treat.
Calories
Each serving of Mom’s Ice Cream Dessert packs approximately 250 calories. It’s a delightful way to satisfy a sweet tooth without completely derailing your dietary goals.
Sugar
You might be surprised to find that a serving contains around 18 grams of sugar. While it’s perfect for a treat now and then, be mindful of how it fits into your overall daily sugar intake—especially if you’re juggling busy schedules and personal wellness goals.
Serving Size
Typically, a serving size for Mom’s Ice Cream Dessert is about half a cup. This portion control helps in enjoying this delicious dessert while keeping your eating habits in check. Remember, balance is key!
For more detailed nutritional insights, you might find resources like the USDA FoodData Central helpful. Understanding what you eat is just as essential as enjoying it!
FAQs about Mom’s Ice Cream Dessert
Can I use different flavors of ice cream?
Absolutely! One of the best aspects of Mom’s Ice Cream Dessert is its versatility. You can mix and match flavors based on your mood or what you have in your freezer. Think classic options like chocolate, vanilla, and strawberry, or get adventurous with cookie dough, mint chocolate chip, or even seasonal flavors like pumpkin spice. The key is to consider flavor balance—if you’re using a rich flavor, like chocolate, you might want to balance it with a lighter one, such as vanilla or strawberry.
How do I store leftovers?
While it’s tempting to devour the whole dessert in one sitting, we know life happens. If you do have leftovers, simply cover your Mom’s Ice Cream Dessert with plastic wrap or transfer it to an airtight container for storage. Pop it in the freezer, and it should stay fresh for up to a week. Just remember to let it sit at room temperature for a few minutes before digging in again—this will make serving a whole lot easier!
What can I use instead of whipped topping?
If you’re looking for alternatives to whipped topping in Mom’s Ice Cream Dessert, there are plenty of options! You might try:
- Heavy cream: Whip it up with a touch of sugar for a more homemade flavor.
- Coconut cream: This is a great dairy-free substitute that adds a unique flavor.
- Greek yogurt: For a healthier twist, blend it with a bit of honey to sweeten.
Feel free to get creative! Each option will bring its own delightful twist to the dish.
For more tips on dessert variations, you might check out sites like Serious Eats or Bon Appétit. Happy cooking!
Conclusion on Mom’s Ice Cream Dessert
As we wrap up our journey through Mom’s Ice Cream Dessert, it’s clear this delight isn’t just a recipe; it’s a tradition that brings back fond memories of summer evenings and family gatherings. This versatile dessert can be tailored to suit any palate, whether you prefer a classic vanilla base or an adventurous flavor like peanut butter fudge.
Many find that sharing a Mom’s Ice Cream Dessert recipe becomes a ritual in itself, allowing new generations to relish the same joys. Consider experimenting with new toppings or flavors that reflect your style. For more inspiration, check out sites like Serious Eats for innovative ideas and variations.
Ultimately, this dessert is a sweet reminder of the comfort and love that come from home-cooked treats. So gather your friends, scoop some ice cream, and make memories that will last a lifetime!
PrintMom’s Ice Cream Dessert: The Best Indulgent Treat for Everyone
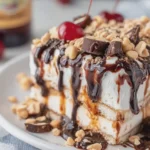
A delightful and indulgent ice cream dessert that will satisfy everyone.
- Prep Time: 20 minutes
- Total Time: 2 hours 20 minutes
- Yield: 8 servings 1x
- Category: Dessert
- Method: No-bake
- Cuisine: American
- Diet: Vegetarian
Ingredients
- 2 cups vanilla ice cream
- 1 cup chocolate syrup
- 1 cup crushed nuts
- 1 cup whipped cream
Instructions
- In a large dish, layer the vanilla ice cream.
- Drizzle with chocolate syrup.
- Sprinkle crushed nuts on top.
- Add a layer of whipped cream.
- Repeat layers as desired.
- Freeze for at least 2 hours before serving.
Notes
- For additional flavor, consider adding fruit or cookie crumbles.
- Ensure ice cream is softened before layering.
Nutrition
- Serving Size: 1 slice
- Calories: 300
- Sugar: 25g
- Sodium: 150mg
- Fat: 15g
- Saturated Fat: 8g
- Unsaturated Fat: 5g
- Trans Fat: 0g
- Carbohydrates: 40g
- Fiber: 1g
- Protein: 5g
- Cholesterol: 30mg
Keywords: Mom's Ice Cream Dessert, ice cream, indulgent treat